이더넷 쉴드 또는 Micro SD 카드 보유기가 있는 다른 쉴드를 보유하고 있다면, 별도의 Micro SD 카드 모듈이 필요하지 않습니다. 단순히 Micro SD 카드를 쉴드의 보유기에 삽입하면 됩니다.
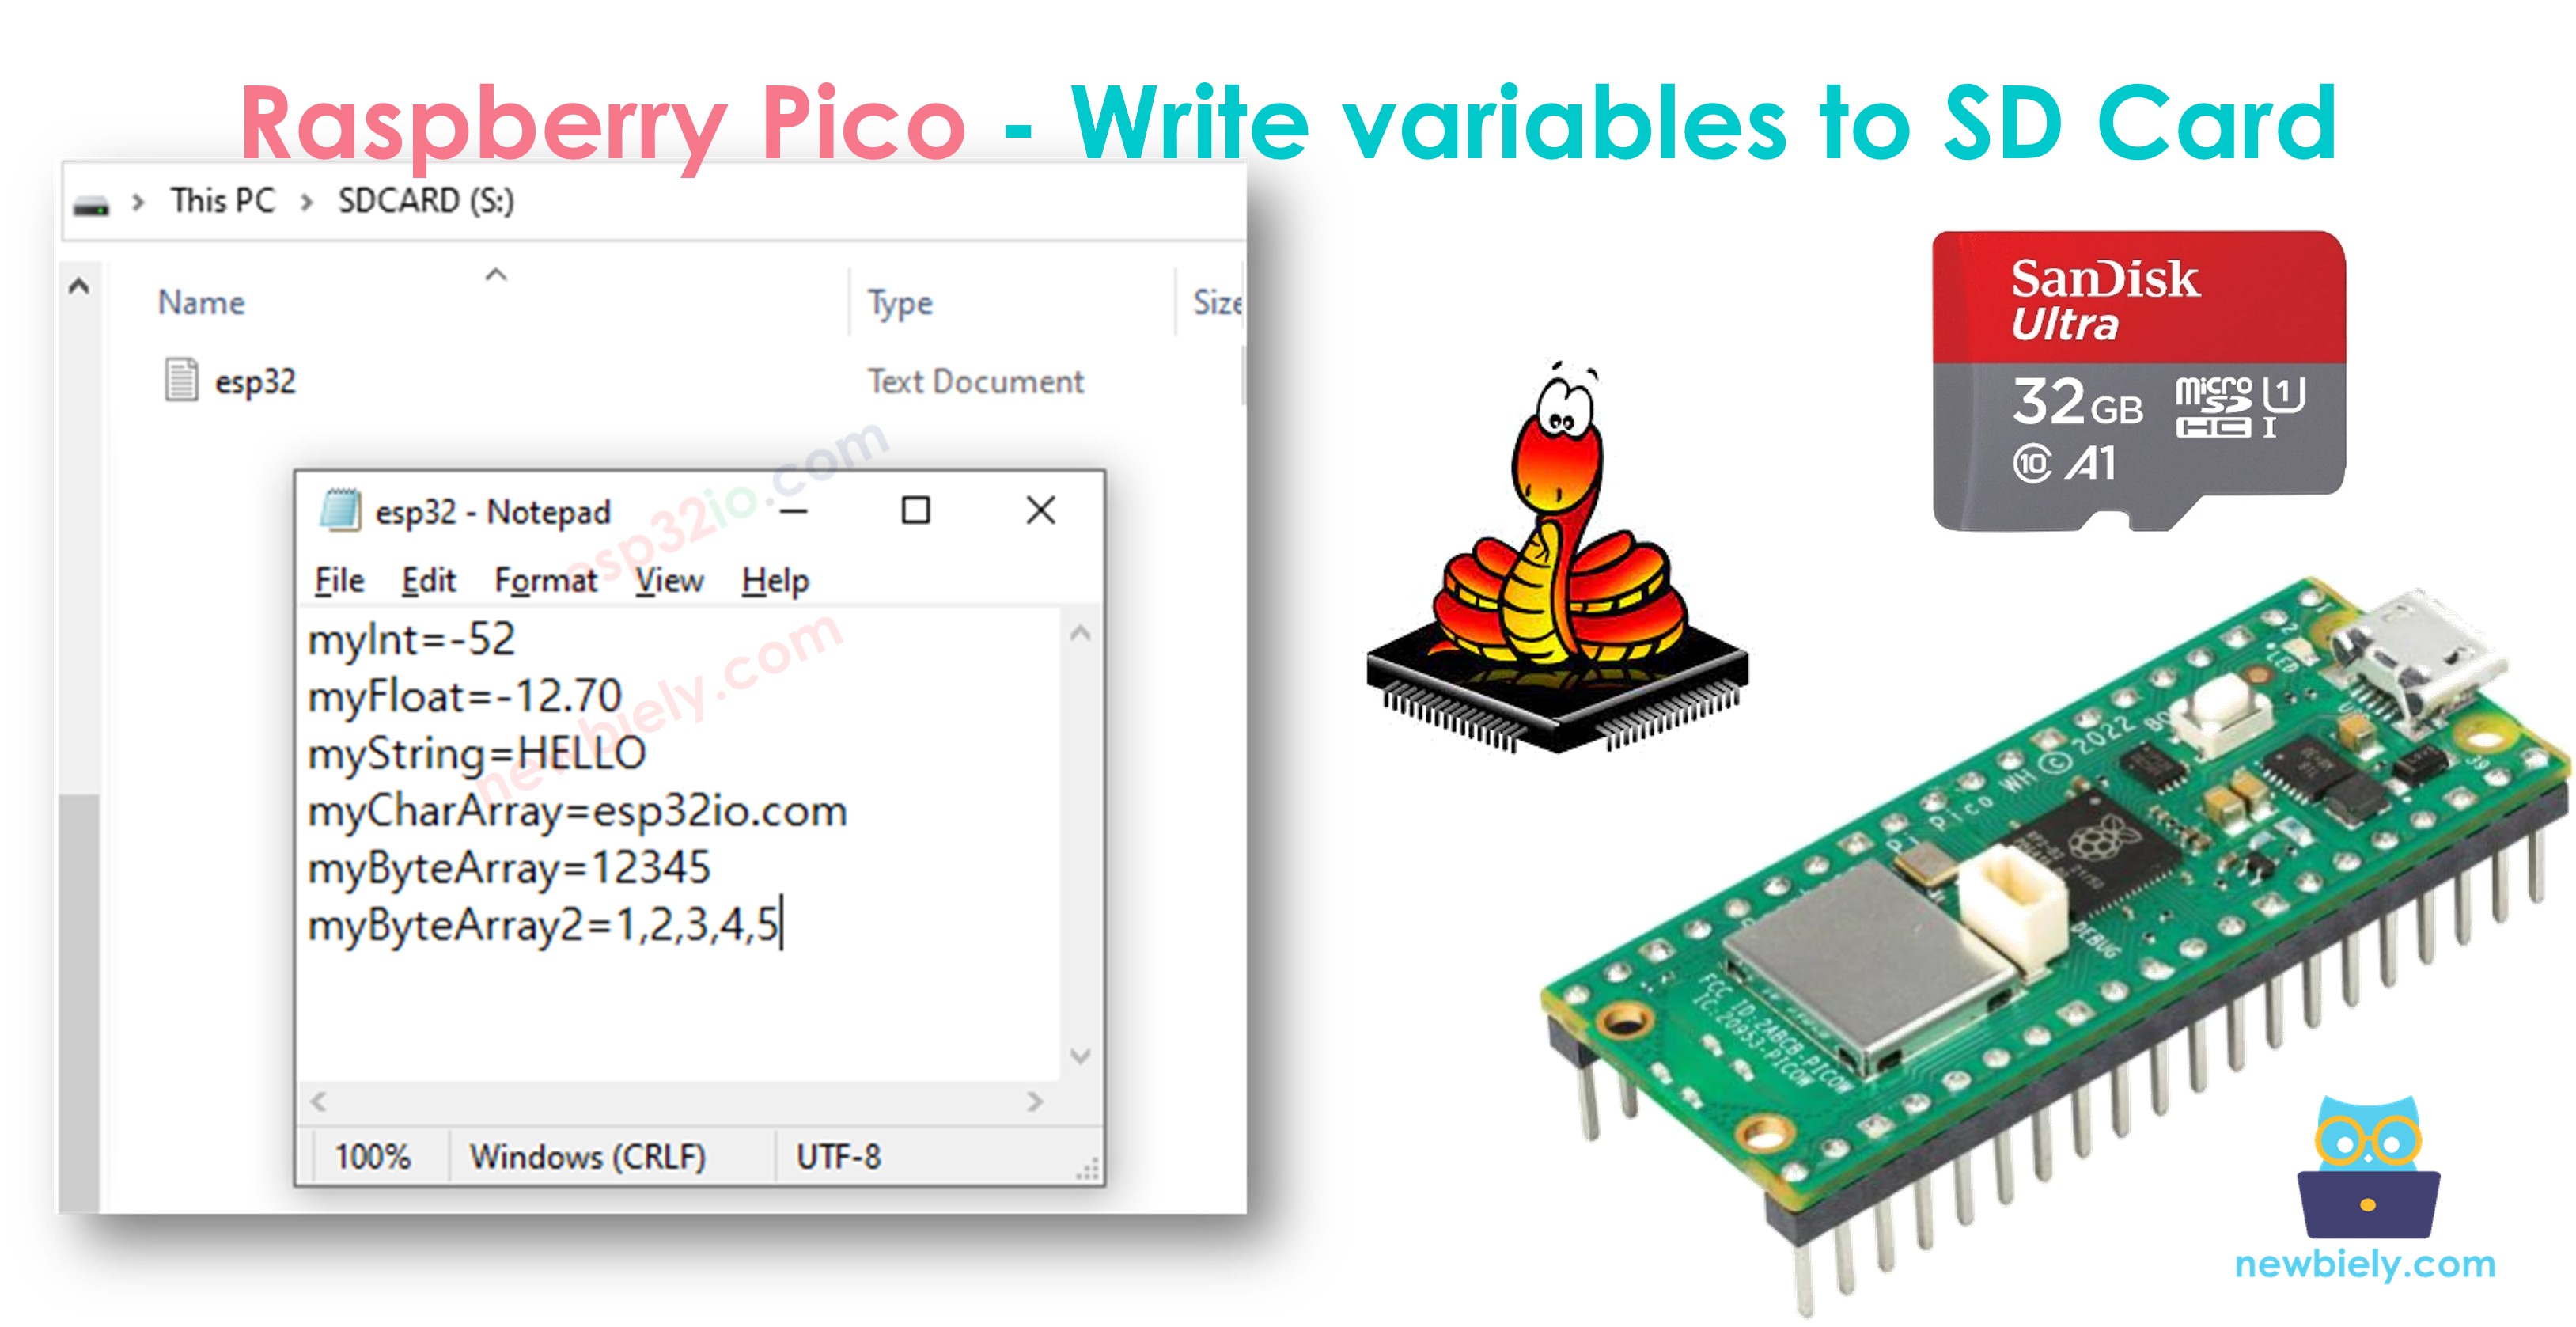
라즈베리 파이 파이코 - 마이크로 SD 카드의 파일에 변수를 쓰는 방법
아래 코드는 다음 작업을 수행합니다:
마이크로 SD 카드에 정수 저장
마이크로 SD 카드에 실수 저장
마이크로 SD 카드에 텍스트 저장
마이크로 SD 카드에 문자열 저장
마이크로 SD 카드에 바이트 배열 저장
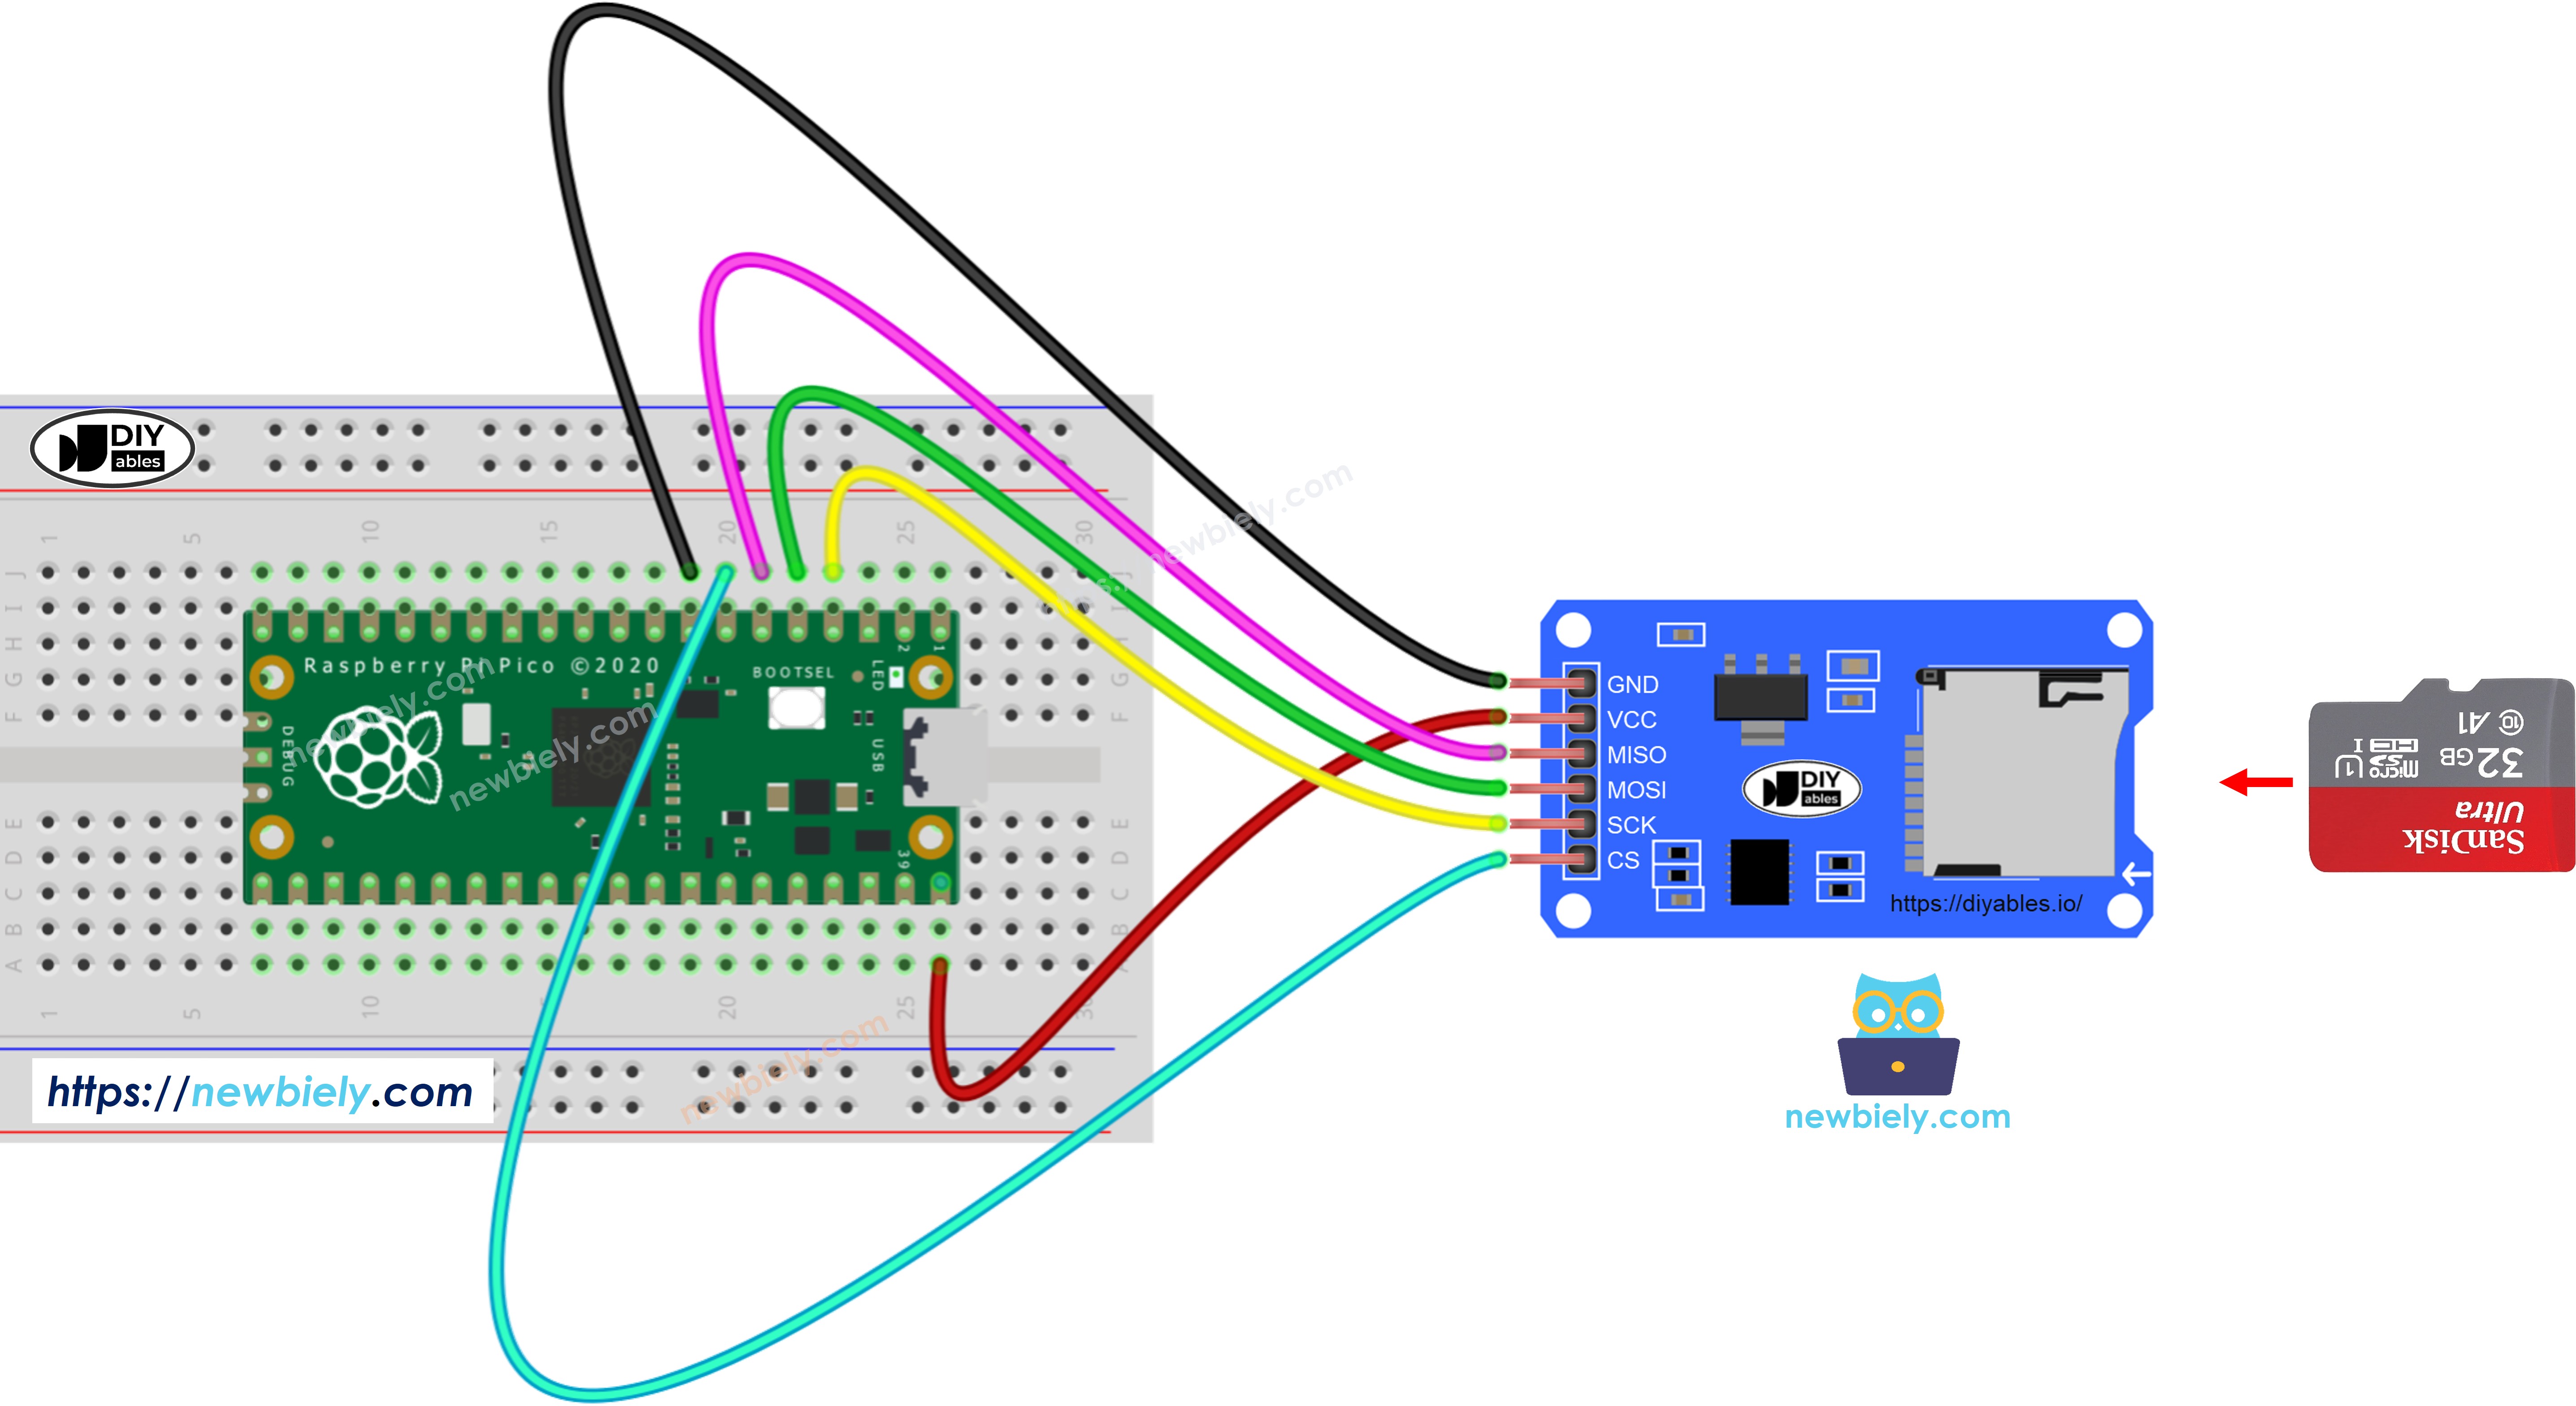
/* * 이 라즈베리 파이 피코 코드는 newbiely.kr 에서 개발되었습니다 * 이 라즈베리 파이 피코 코드는 어떠한 제한 없이 공개 사용을 위해 제공됩니다. * 상세한 지침 및 연결도에 대해서는 다음을 방문하세요: * https://newbiely.kr/tutorials/raspberry-pico/raspberry-pi-pico-write-variable-to-sd-card */import machineimport osimport sdcard# Define SPI pins for the Micro SD Card moduleSPI_SCK_PIN = 2 # The Raspberry Pi Pico pin GP2 connected to SCKSPI_MOSI_PIN = 3 # The Raspberry Pi Pico pin GP3 connected to MOSISPI_MISO_PIN = 4 # The Raspberry Pi Pico pin GP4 connected to MISOSPI_CS_PIN = 5 # The Raspberry Pi Pico pin GP5 connected to SS (CS)# Initialize SD card using SoftSPI and sdcard driverspi = machine.SoftSPI(baudrate=1000000, polarity=0, phase=0, sck=machine.Pin(SPI_SCK_PIN), mosi=machine.Pin(SPI_MOSI_PIN), miso=machine.Pin(SPI_MISO_PIN))cs = machine.Pin(SPI_CS_PIN, machine.Pin.OUT)try: sd = sdcard.SDCard(spi, cs) os.mount(sd, "/sd")print("SD CARD INITIALIZED.")exceptExceptionas e:print("SD CARD FAILED, OR NOT PRESENT!", e)raiseSystemExitprint("--------------------")file_path = "/sd/pico.txt"# Variables to writemy_int = -52my_float = -12.7my_string = "HELLO"my_char_array = "newbiely.com"my_byte_array = bytearray(b'12345')# Delete the file if it existstry: os.remove(file_path)exceptOSError:pass# Create new file and write variablestry: f = open(file_path, "w") f.write("{}\n".format(my_int)) # write int variable to SD card in line f.write("{:.2f}\n".format(my_float)) # write float variable to SD card in line f.write("{}\n".format(my_string)) # write string variable to SD card in line f.write("{}\n".format(my_char_array)) # write char array to SD card in line f.write(my_byte_array.decode()) # write byte array to SD card f.write("\n") # new line f.write(",".join(str(ch) for ch in my_byte_array.decode())) # write byte array with comma f.write("\n") # new line f.close()exceptExceptionas e:print("SD Card: Issue encountered while attempting to open the file pico.txt", e)# Open file for readingtry: f = open(file_path, "r")whileTrue: ch = f.read(1) # read characters one by one from Micro SD Cardifnot ch:breakprint(ch, end="") # print the character to the Shell f.close()exceptExceptionas e:print("SD Card: Issue encountered while attempting to open the file pico.txt", e)os.umount("/sd")
자세한 사용 방법
다음 지침을 단계별로 따르세요:
컴퓨터에 Thonny IDE가 설치되어 있는지 확인합니다.
Raspberry Pi Pico에 MicroPython 펌웨어가 설치되어 있는지 확인합니다.
Thonny IDE에서 도구 옵션으로 이동하여 MicroPython (Raspberry Pi Pico) 인터프리터를 선택합니다.
Interpreter 탭에서 드롭다운 메뉴에서 MicroPython (Raspberry Pi Pico)를 선택합니다.
올바른 포트가 선택되었는지 확인합니다. Thonny IDE는 포트를 자동으로 감지하지만, 필요에 따라 직접 선택할 수도 있습니다 (예: Windows의 COM3 또는 Linux의 /dev/ttyACM0).
위 코드를 복사하여 Thonny IDE의 에디터에 붙여넣습니다.
Raspberry Pi Pico에 스크립트를 저장합니다:
Save 버튼을 클릭하거나 Ctrl+S 키를 사용합니다.
저장 대화 상자에서 두 개의 섹션(이 컴퓨터 및 Raspberry Pi Pico)이 표시됩니다. Raspberry Pi Pico를 선택합니다.
파일 이름을 main.py로 저장합니다.
초록색 실행 버튼을 클릭하거나 F5 키를 눌러 스크립트를 실행합니다. 스크립트가 실행됩니다.
Thonny 하단의 Shell에서 메시지를 확인합니다.
스크립트의 이름을 main.py로 지정하고 Raspberry Pi Pico의 루트 디렉토리에 저장하면, Pico 전원 공급 또는 리셋 시마다 자동으로 실행됩니다. 이는 전원이 켜지는 즉시 실행되어야 하는 독립 실행형 응용 프로그램에 유용합니다. 만약 스크립트의 이름을 main.py 이외의 다른 이름으로 지정하면, Thonnys의 셸에서 수동으로 실행해야 합니다.
Micro SD 카드를 FAT16 또는 FAT32로 포맷합니다 (온라인에서 지침을 확인하세요)
제공된 코드를 복사하여 Thonny IDE에서 엽니다
Thonny IDE에서 Upload 버튼을 클릭하여 코드를 Raspberry Pi Pico로 전송합니다
MicroPython (Raspberry Pi Pico) • Board CDC @ COM29 ≡
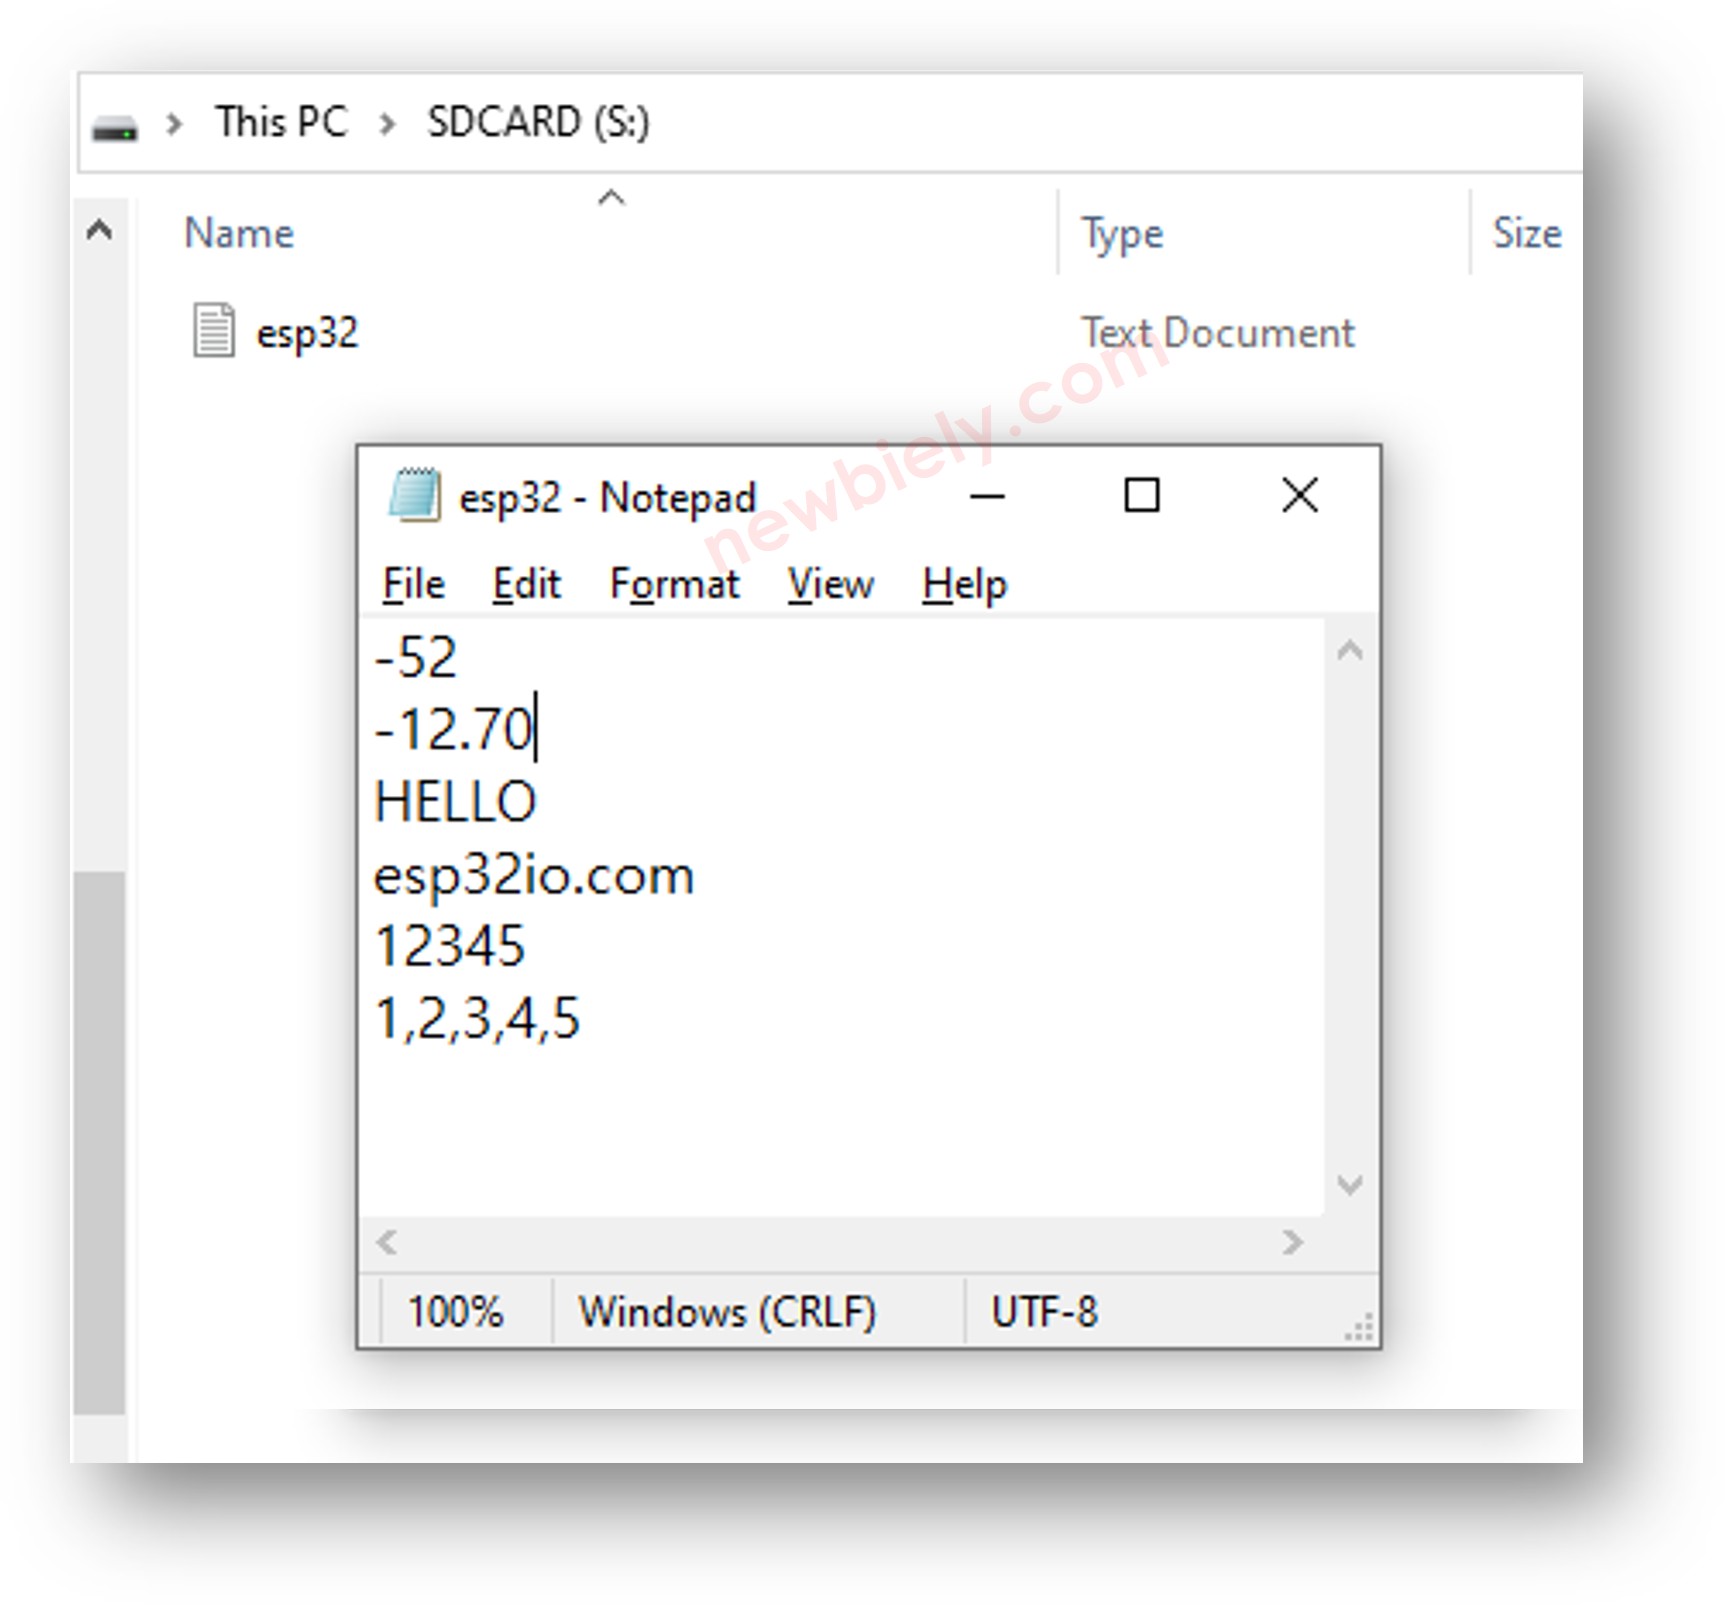
구성 요소에서 마이크로 SD 카드를 꺼내십시오.
마이크로 SD 카드를 USB SD 카드 리더기에 삽입하십시오.
USB SD 카드 리더기를 컴퓨터에 연결하십시오.
컴퓨터에서 arduino.txt 파일을 여십시오.
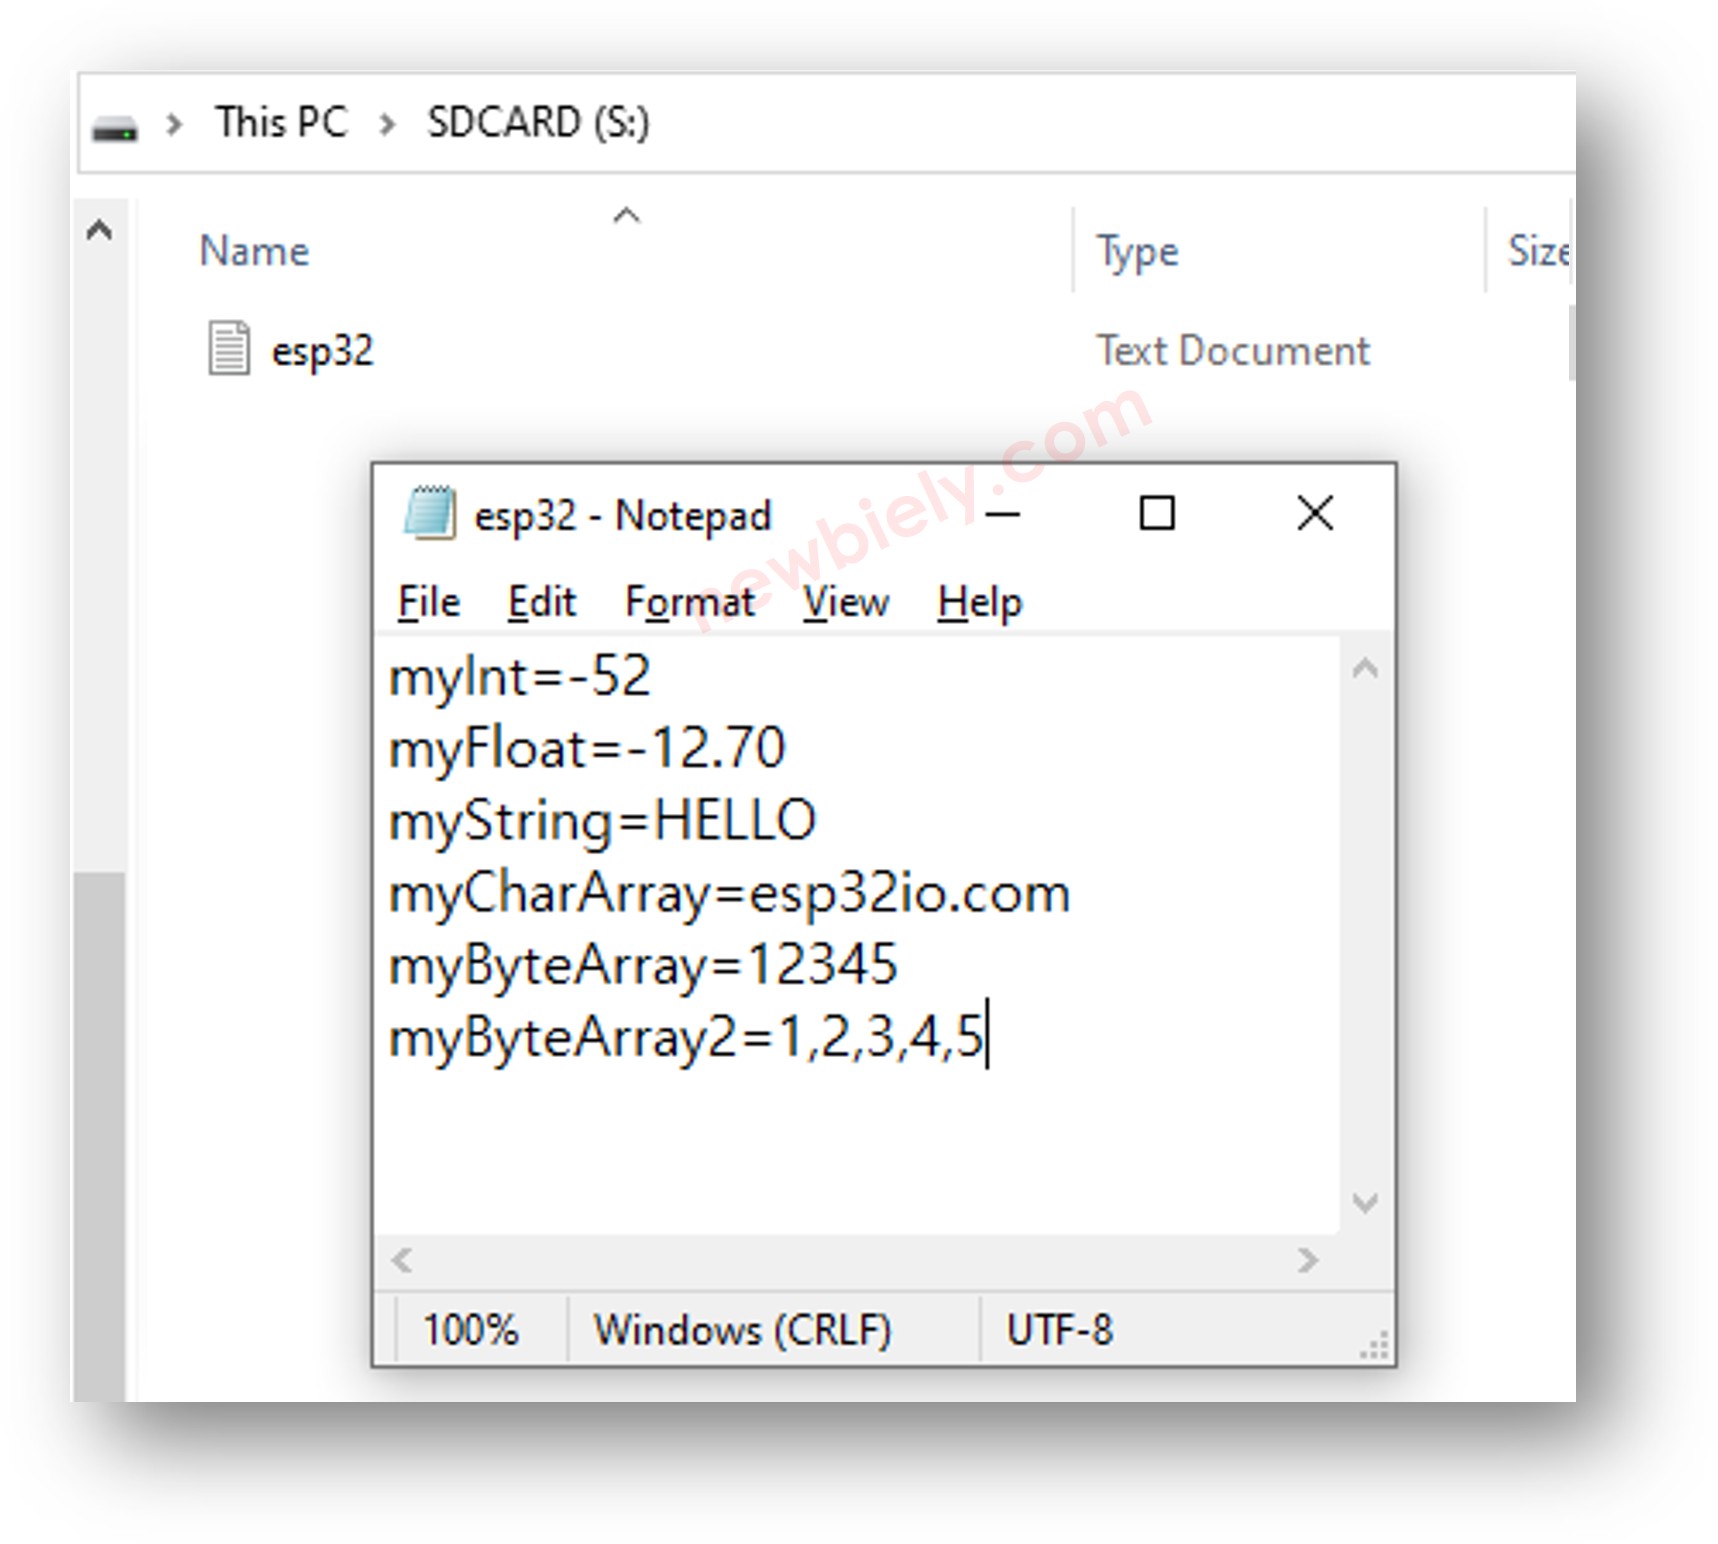
Raspberry Pi Pico - Micro SD 카드에 키-값을 파일에 기록하는 방법
/* * 이 라즈베리 파이 피코 코드는 newbiely.kr 에서 개발되었습니다 * 이 라즈베리 파이 피코 코드는 어떠한 제한 없이 공개 사용을 위해 제공됩니다. * 상세한 지침 및 연결도에 대해서는 다음을 방문하세요: * https://newbiely.kr/tutorials/raspberry-pico/raspberry-pi-pico-write-variable-to-sd-card */import machineimport osimport sdcard# Define SPI pins for the Micro SD Card moduleSPI_SCK_PIN = 2 # The Raspberry Pi Pico pin GP2 connected to SCKSPI_MOSI_PIN = 3 # The Raspberry Pi Pico pin GP3 connected to MOSISPI_MISO_PIN = 4 # The Raspberry Pi Pico pin GP4 connected to MISOSPI_CS_PIN = 5 # The Raspberry Pi Pico pin GP5 connected to SS (CS)# Initialize SD card using SoftSPI and sdcard driverspi = machine.SoftSPI(baudrate=1000000, polarity=0, phase=0, sck=machine.Pin(SPI_SCK_PIN), mosi=machine.Pin(SPI_MOSI_PIN), miso=machine.Pin(SPI_MISO_PIN))cs = machine.Pin(SPI_CS_PIN, machine.Pin.OUT)try: sd = sdcard.SDCard(spi, cs) os.mount(sd, "/sd")print("SD CARD INITIALIZED.")exceptExceptionas e:print("SD CARD FAILED, OR NOT PRESENT!", e)raiseSystemExitprint("--------------------")file_path = "/sd/pico.txt"# Variables to writemy_int = -52my_float = -12.7my_string = "HELLO"my_char_array = "newbiely.com"my_byte_array = bytearray(b'12345')# Delete the file if it existstry: os.remove(file_path)exceptOSError:pass# Create new file and write key-value pairstry: f = open(file_path, "w") f.write("myInt={}\n".format(my_int)) # write key=int to SD card f.write("myFloat={:.2f}\n".format(my_float)) # write key=float to SD card f.write("myString={}\n".format(my_string)) # write key=string to SD card f.write("myCharArray={}\n".format(my_char_array)) # write key=char array to SD card f.write("myByteArray={}\n".format(my_byte_array.decode())) # write key=byte array f.write("myByteArray2={}\n".format(",".join(str(ch) for ch in my_byte_array.decode()))) # write key=byte array with comma f.close()exceptExceptionas e:print("SD Card: Issue encountered while attempting to open the file pico.txt", e)# Open file for readingtry: f = open(file_path, "r")whileTrue: ch = f.read(1) # read characters one by one from Micro SD Cardifnot ch:breakprint(ch, end="") # print the character to the Shell f.close()exceptExceptionas e:print("SD Card: Issue encountered while attempting to open the file pico.txt", e)os.umount("/sd")
자세한 사용 방법
위 코드를 복사하여 Thonny IDE에서 엽니다.
Thonny IDE에서 Upload 버튼을 클릭하여 Raspberry Pi Pico로 코드를 전송합니다.