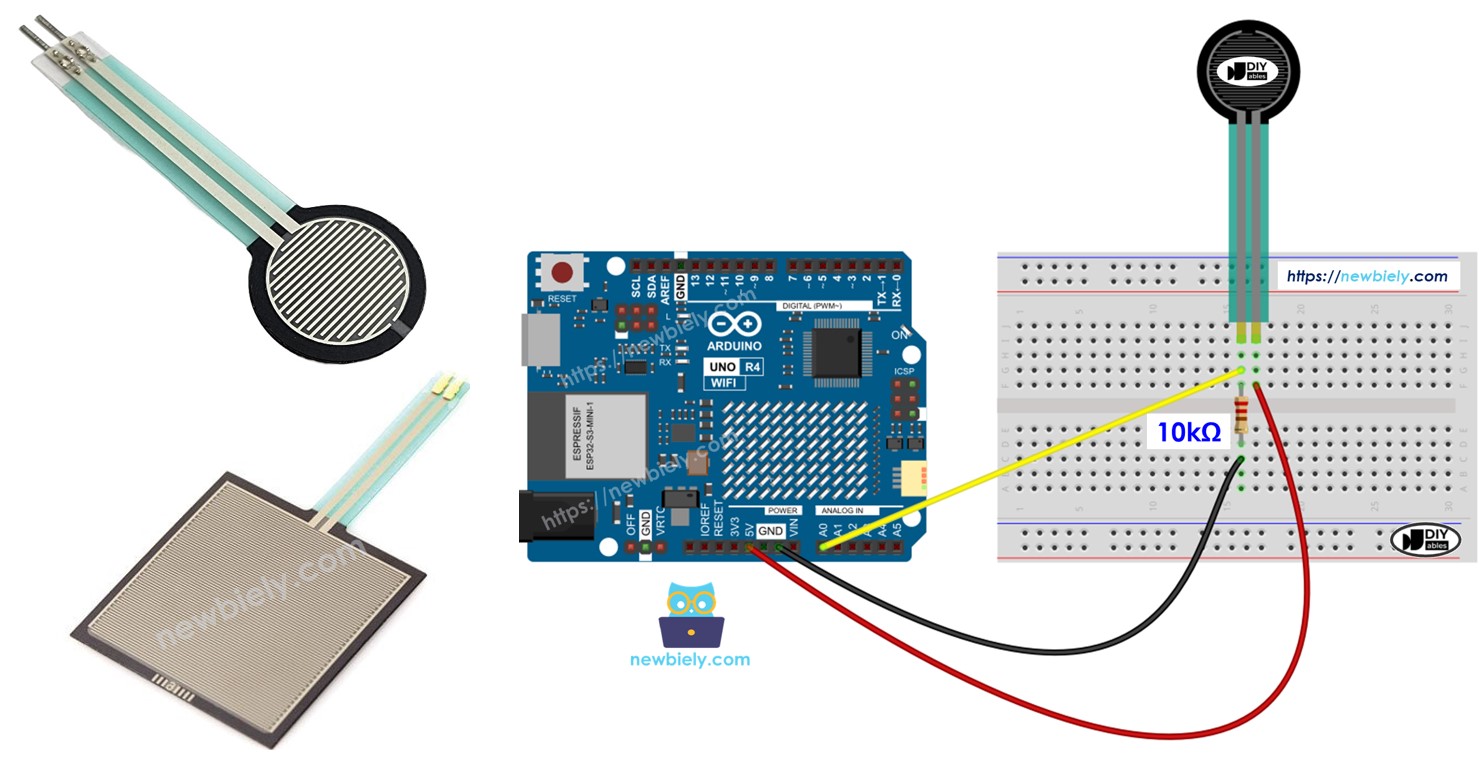
Arduino Uno R4와 기타 부품에 전원을 공급하는 가장 효과적인 방법을 확인하시려면, 아래 링크를 참조하세요: 아두이노 우노 R4 전원 공급 방법.
힘 센서를 위한 프로그래밍 방법
Arduino UNO R4에는 아날로그 입력에 사용되는 A0에서 A5로 라벨이 붙은 핀이 있습니다. 이 핀들은 0볼트에서 VCC까지의 전압을 0에서 1023 사이의 정수로 변환합니다. 이 숫자는 ADC 또는 아날로그 값으로 알려져 있습니다.
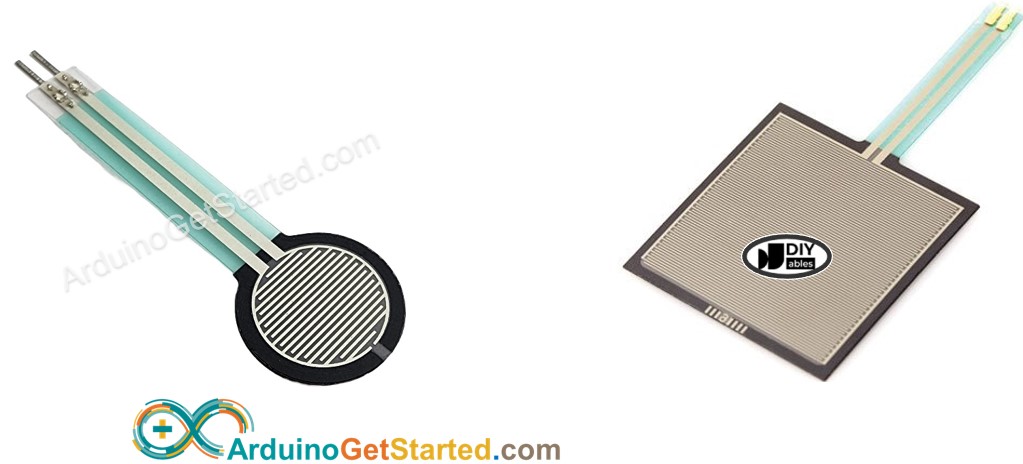
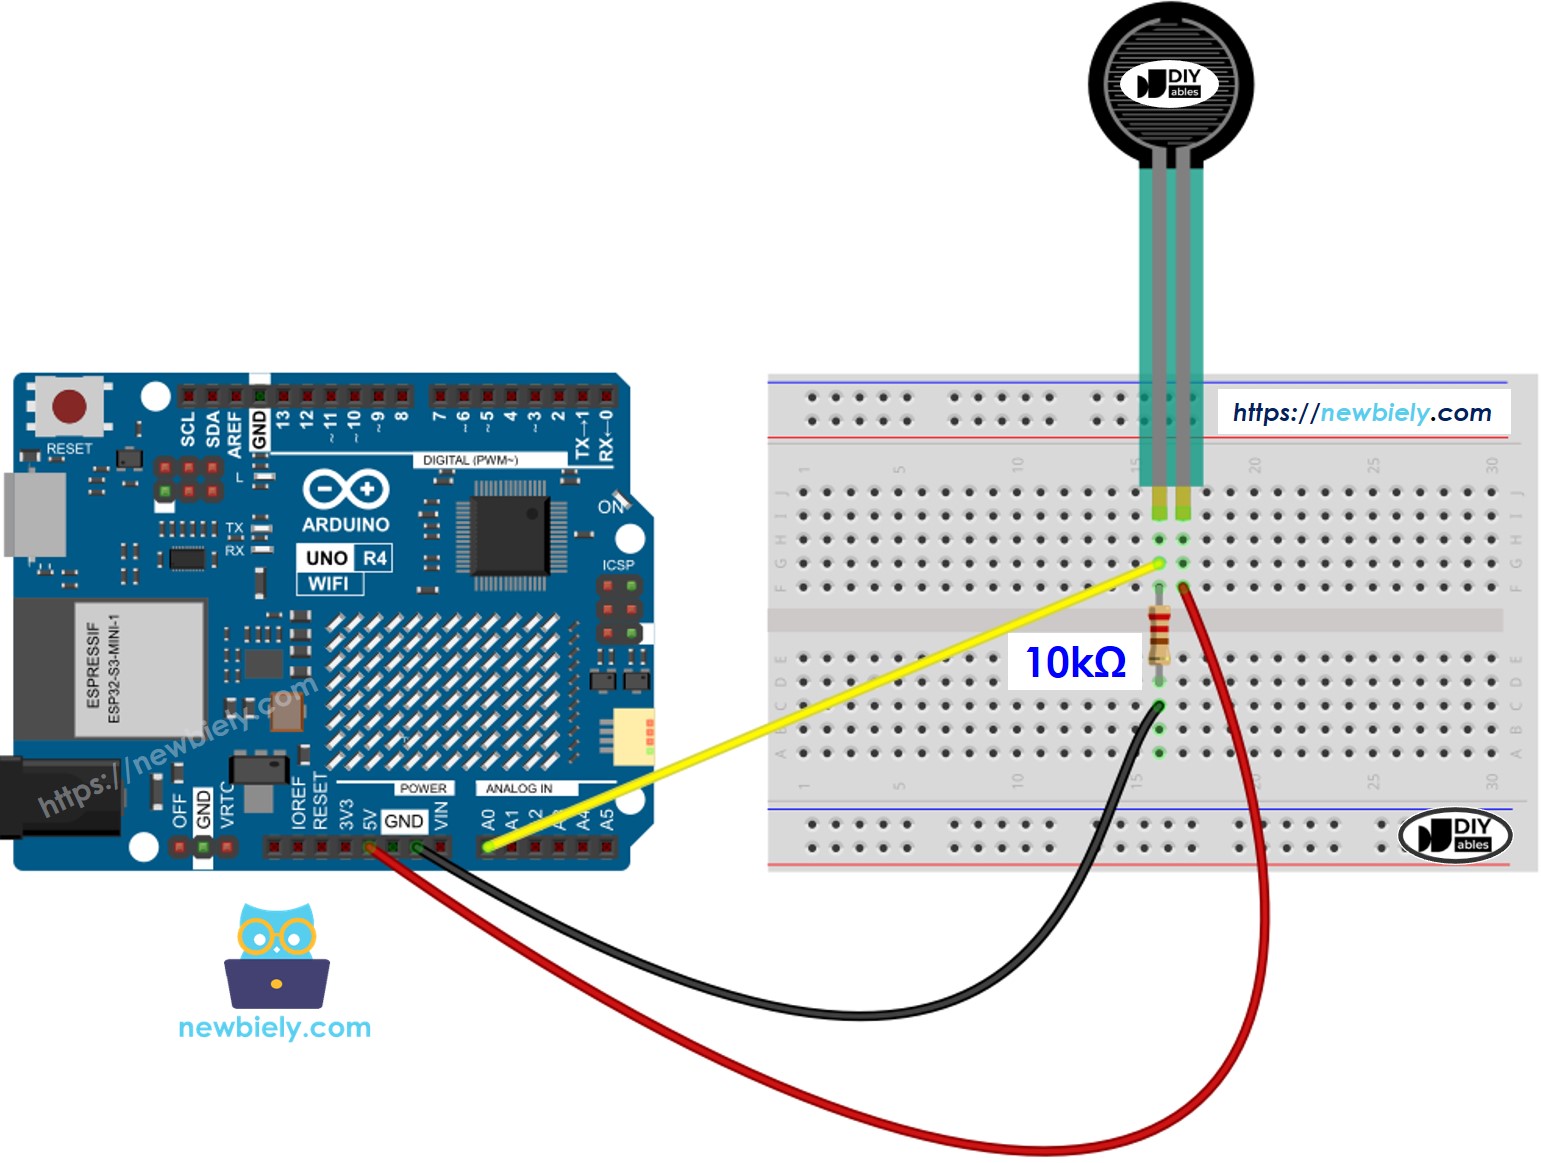
포스 센서의 핀을 아날로그 입력 핀에 연결하여 analogRead() 함수를 사용하면 핀에서 아날로그 값을 읽을 수 있습니다. 이는 얼마나 많은 압력이 가해지고 있는지를 알려줍니다.
아두이노 UNO R4 코드
/* * 이 아두이노 우노 R4 코드는 newbiely.kr 에서 개발되었습니다 * 이 아두이노 우노 R4 코드는 어떠한 제한 없이 공개 사용을 위해 제공됩니다. * 상세한 지침 및 연결도에 대해서는 다음을 방문하세요: * https://newbiely.kr/tutorials/arduino-uno-r4/arduino-uno-r4-force-sensor */#define FORCE_SENSOR_PIN A0 // The Arduino UNO R4 pin connected to the FSR force sensor with 10K pulldownvoidsetup() {Serial.begin(9600);}voidloop() {int analogReading = analogRead(FORCE_SENSOR_PIN);Serial.print("Force sensor reading = ");Serial.print(analogReading); // print the raw analog readingif (analogReading < 10) // from 0 to 9Serial.println(" -> no pressure");elseif (analogReading < 200) // from 10 to 199Serial.println(" -> light touch");elseif (analogReading < 500) // from 200 to 499Serial.println(" -> light squeeze");elseif (analogReading < 800) // from 500 to 799Serial.println(" -> medium squeeze");else// from 800 to 1023Serial.println(" -> big squeeze");delay(1000);}
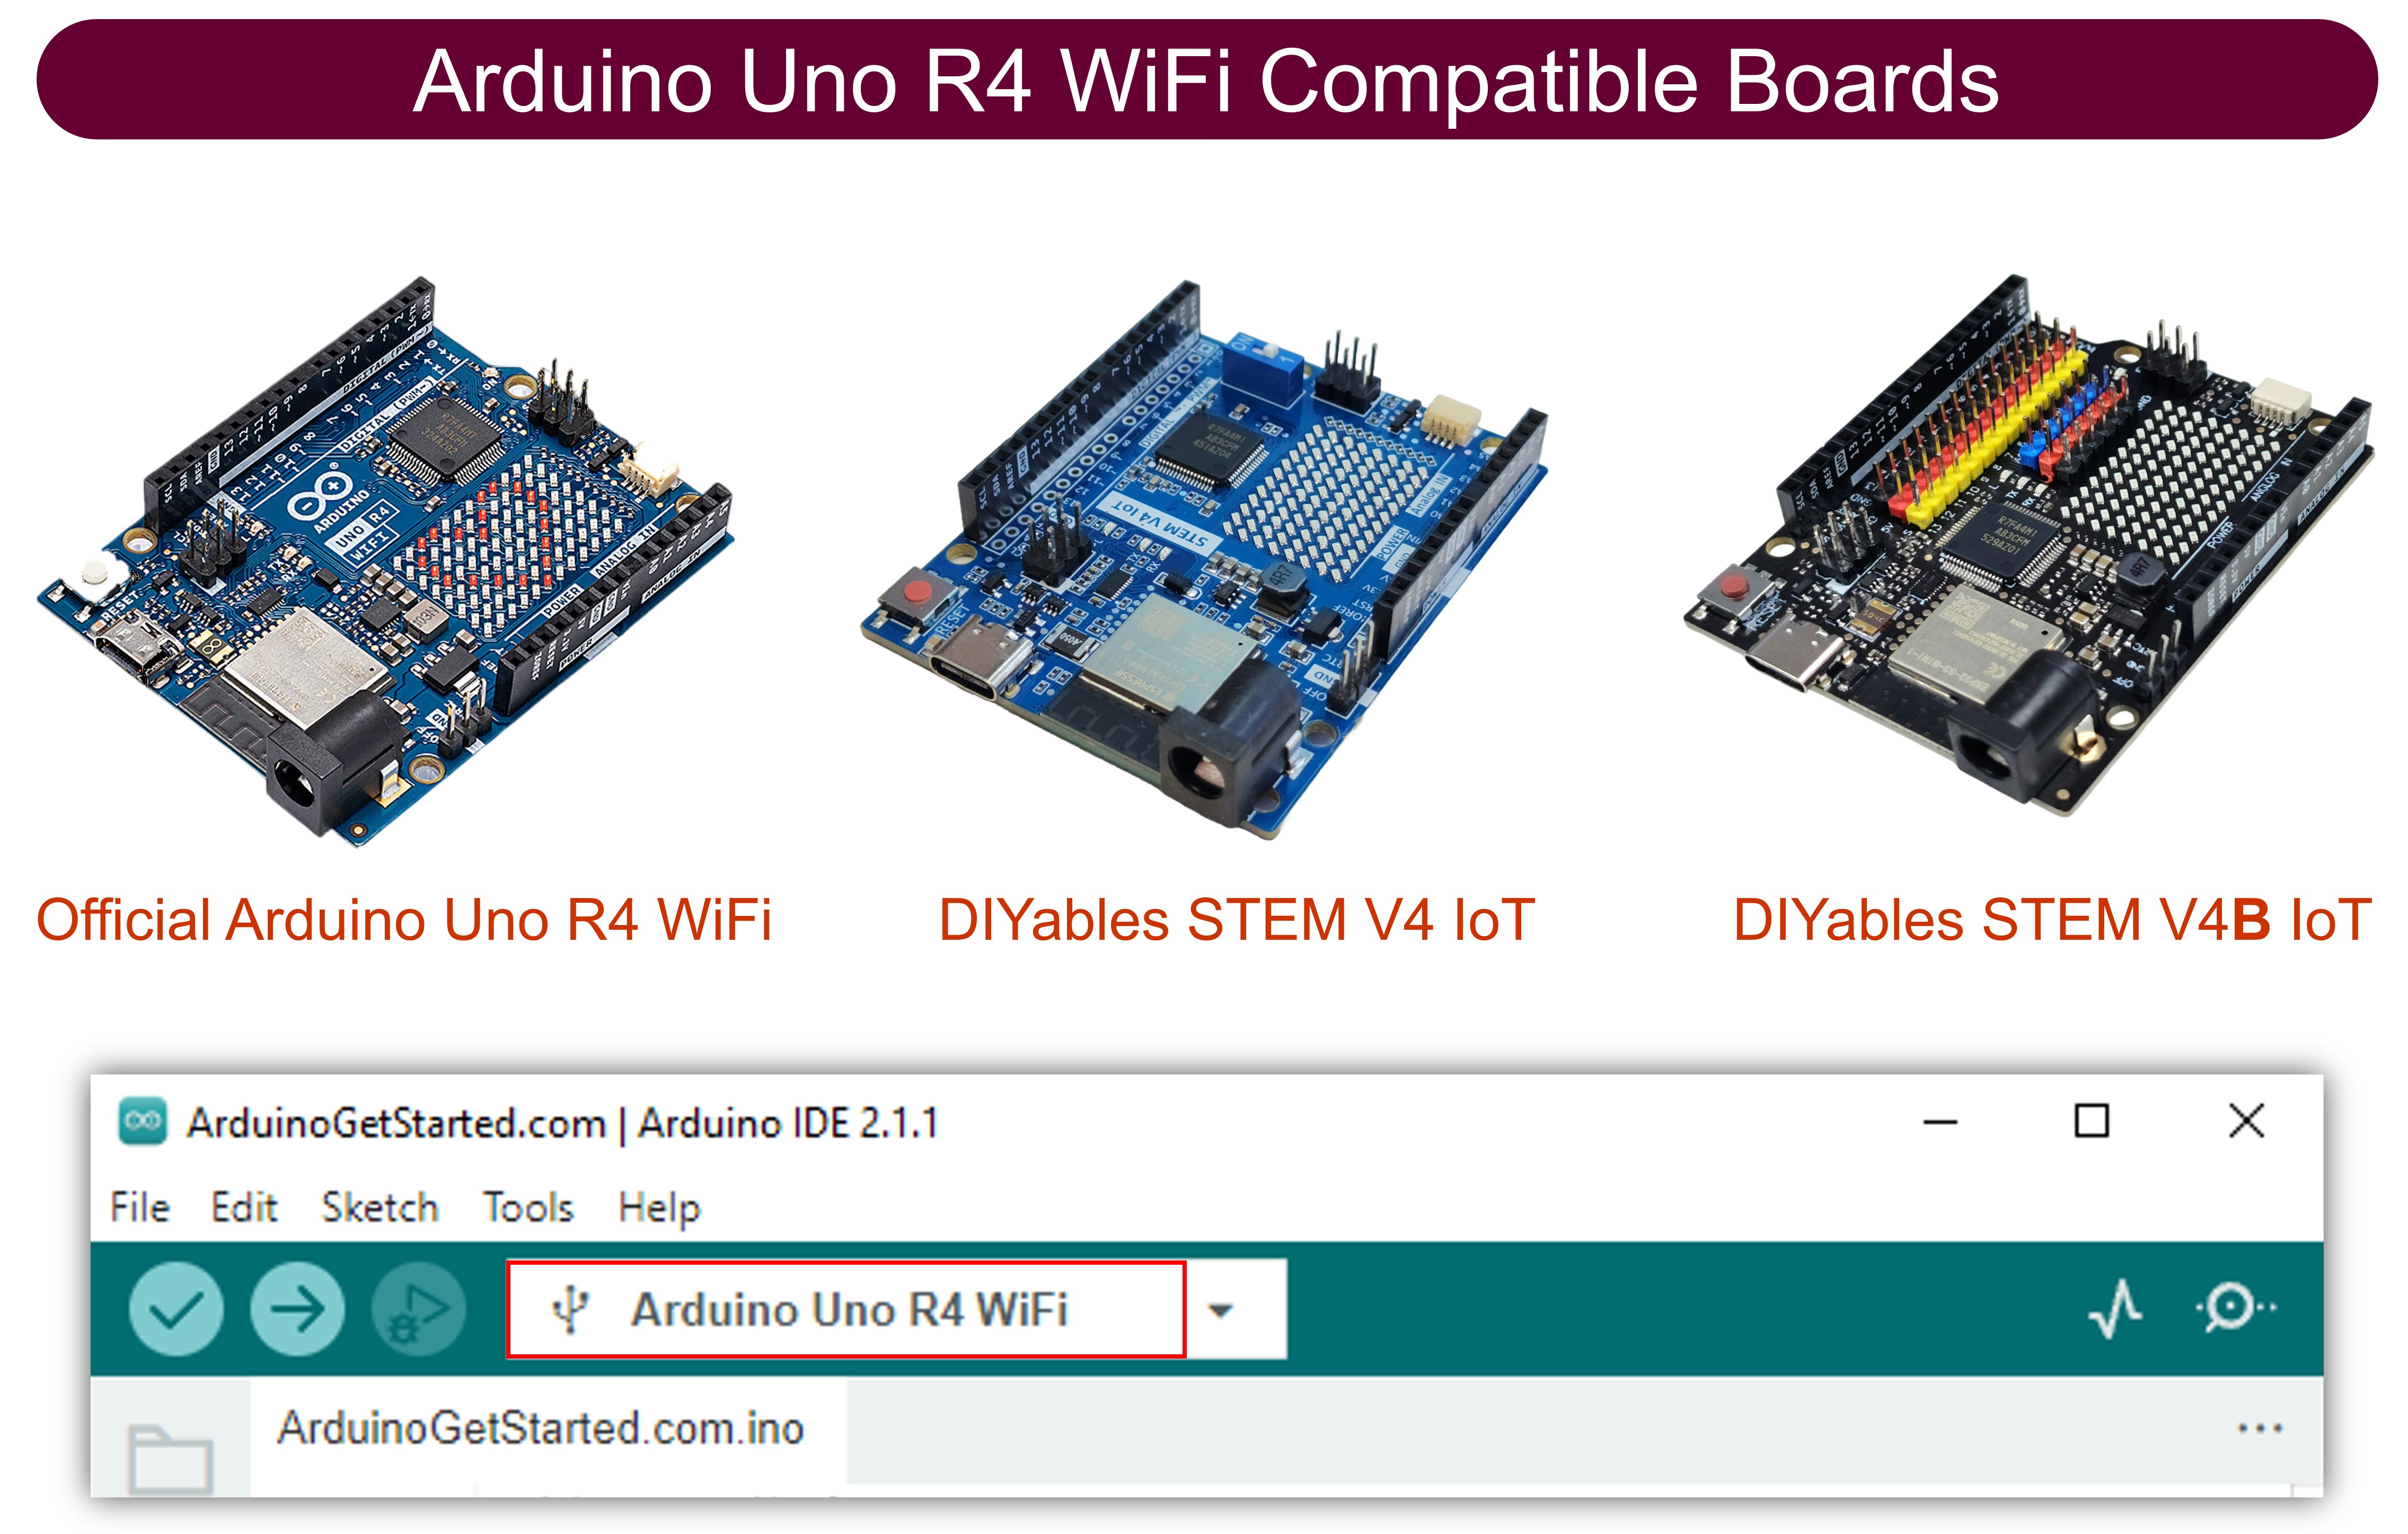
적절한 Arduino Uno R4 보드(예: Arduino Uno R4 WiFi)와 COM 포트를 선택하십시오.
위의 코드를 복사하여 Arduino IDE에서 엽니다.
Arduino IDE에서 Upload 버튼을 클릭하여 코드가 Arduino UNO R4에 업로드되도록 하십시오.
힘 센서를 누르십시오.
시리얼 모니터에서 결과를 확인하십시오.
Newbiely | Arduino IDE 2.3.8
──
☐
✕
File
Edit
Sketch
Tools
Help
Arduino Uno R4 WiFi
Newbiely.ino
···
8Serial.println("Hello World!");
Output
Serial Monitor
Message (Enter to send message to 'Arduino Uno R4 WiFi' on 'COM15')
New Line
9600 baud
Force sensor reading = 0 -> no pressure
Force sensor reading = 0 -> no pressure
Force sensor reading = 132 -> light touch
Force sensor reading = 147 -> light touch
Force sensor reading = 394 -> light squeeze
Force sensor reading = 421 -> light squeeze
Force sensor reading = 607 -> medium squeeze
Force sensor reading = 791 -> medium squeeze
Force sensor reading = 921 -> big squeeze
Force sensor reading = 987 -> big squeeze
Force sensor reading = 0 -> no pressure
Force sensor reading = 0 -> no pressure
Ln 11, Col 1
Arduino Uno R4 WiFi on COM15
2
동영상
비디오 제작은 시간이 많이 걸리는 작업입니다. 비디오 튜토리얼이 학습에 도움이 되었다면, YouTube 채널 을 구독하여 알려 주시기 바랍니다. 비디오에 대한 높은 수요가 있다면, 비디오를 만들기 위해 노력하겠습니다.
아래 동영상 데모는 아래 코드를 사용합니다:
/* * 이 아두이노 우노 R4 코드는 newbiely.kr 에서 개발되었습니다 * 이 아두이노 우노 R4 코드는 어떠한 제한 없이 공개 사용을 위해 제공됩니다. * 상세한 지침 및 연결도에 대해서는 다음을 방문하세요: * https://newbiely.kr/tutorials/arduino-uno-r4/arduino-uno-r4-force-sensor */#include <Wire.h>#include <Adafruit_GFX.h>#include <Adafruit_SSD1306.h>// OLED display configuration#define SCREEN_WIDTH 128#define SCREEN_HEIGHT 64#define OLED_RESET -1Adafruit_SSD1306display( SCREEN_WIDTH, SCREEN_HEIGHT, &Wire, OLED_RESET);// Force-sensitive resistor input#define FORCE_SENSOR_PIN A0// LED pins used to indicate force levelconstint ledPins[8] = { 2, 3, 4, 5, 6, 7, 8, 9};// Calibrated force sensor rangeconstint FORCE_MIN = 0;constint FORCE_MAX = 1000;// Exponential moving average filterfloat smoothValue = 0;constfloat alpha = 0.3;// Initialize hardware and displayvoidsetup() {Serial.begin(115200);// Configure LED outputs and turn all LEDs off.for (int i = 0; i < 8; i++) {pinMode(ledPins[i], OUTPUT);digitalWrite(ledPins[i], LOW); }// Initialize the OLED using I2C communication.if (!display.begin( SSD1306_SWITCHCAPVCC, 0x3C )) {Serial.println("OLED failed!");// Stop execution if the OLED cannot be initialized.while (1); }display.clearDisplay();display.setTextColor(SSD1306_WHITE);// Display startup screen.display.setTextSize(2);display.setCursor(20, 25);display.println("DIYables");display.display();delay(1500);// Initialize the filter with the first sensor reading// to prevent an incorrect initial value. smoothValue = analogRead(FORCE_SENSOR_PIN);}voidloop() {// Read the current FSR value.int rawValue = analogRead(FORCE_SENSOR_PIN);// Apply exponential moving average filtering// to reduce sensor noise and fluctuations. smoothValue = alpha * rawValue + (1.0 - alpha) * smoothValue;int forceValue = (int)smoothValue;// Convert the sensor value into 8 force levels.int level = map( forceValue, FORCE_MIN, FORCE_MAX, 0, 8 ); level = constrain(level, 0, 8);// Turn on LEDs progressively according to the force level.for (int i = 0; i < 8; i++) {if (i < level) {digitalWrite(ledPins[i], HIGH); }else {digitalWrite(ledPins[i], LOW); } }// Output sensor data for monitoring and calibration.Serial.print("FSR = ");Serial.print(forceValue);Serial.print(" | Level = ");Serial.println(level);// Refresh OLED display.display.clearDisplay();// Display title.display.setTextSize(2);display.setCursor(50, 0);display.println("FSR");// Configure the force indicator as a battery-style bar.int barX = 10;int barY = 25;int barWidth = 108;int barHeight = 18;// Draw the outer bar.display.drawRect( barX, barY, barWidth, barHeight, SSD1306_WHITE );// Draw the battery terminal.display.fillRect( barX + barWidth, barY + 5, 4, 8, SSD1306_WHITE );// Calculate the filled portion based on the force level.int fillWidth = map( level, 0, 8, 0, barWidth - 4 );if (fillWidth > 0) {display.fillRect( barX + 2, barY + 2, fillWidth, barHeight - 4, SSD1306_WHITE ); }// Display current force level.display.setTextSize(1);display.setCursor(5, 50);display.print("LEVEL: ");display.print(level);display.print("/8");// Display project branding.display.setCursor(78, 50);display.print("DIYables");display.display();// Short delay for stable display updates.delay(30);}