아두이노 우노 Q 버튼 디바운싱
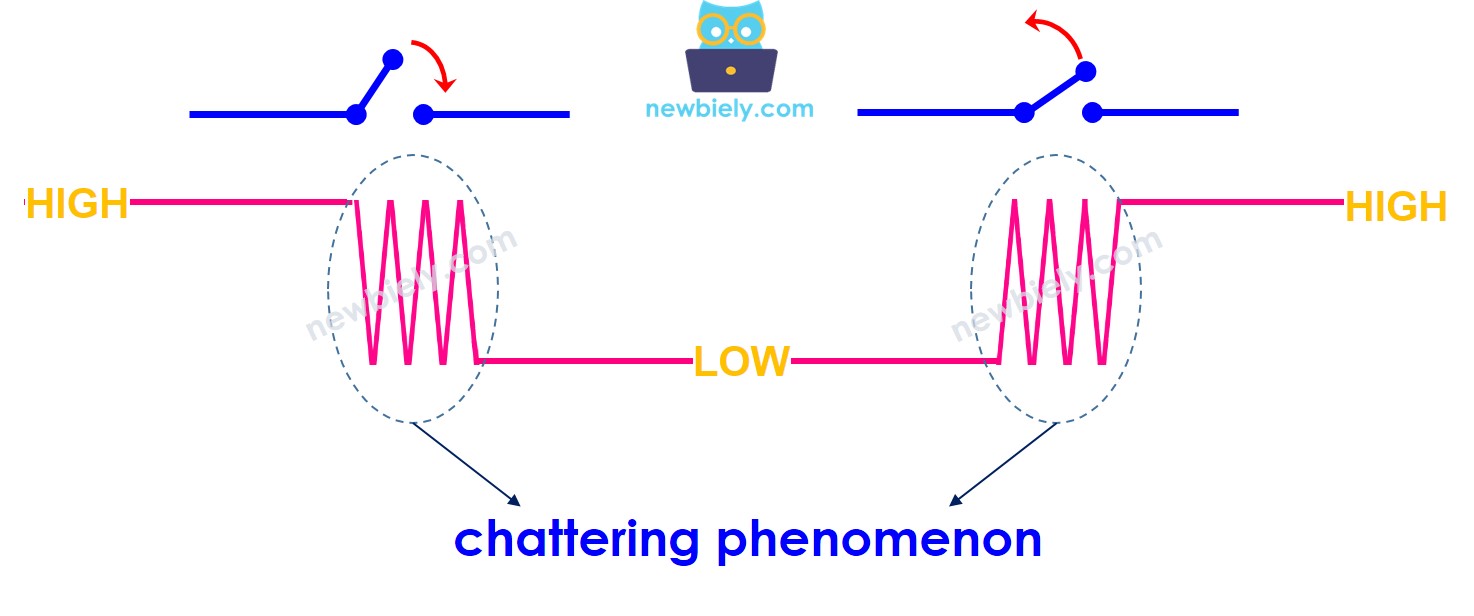
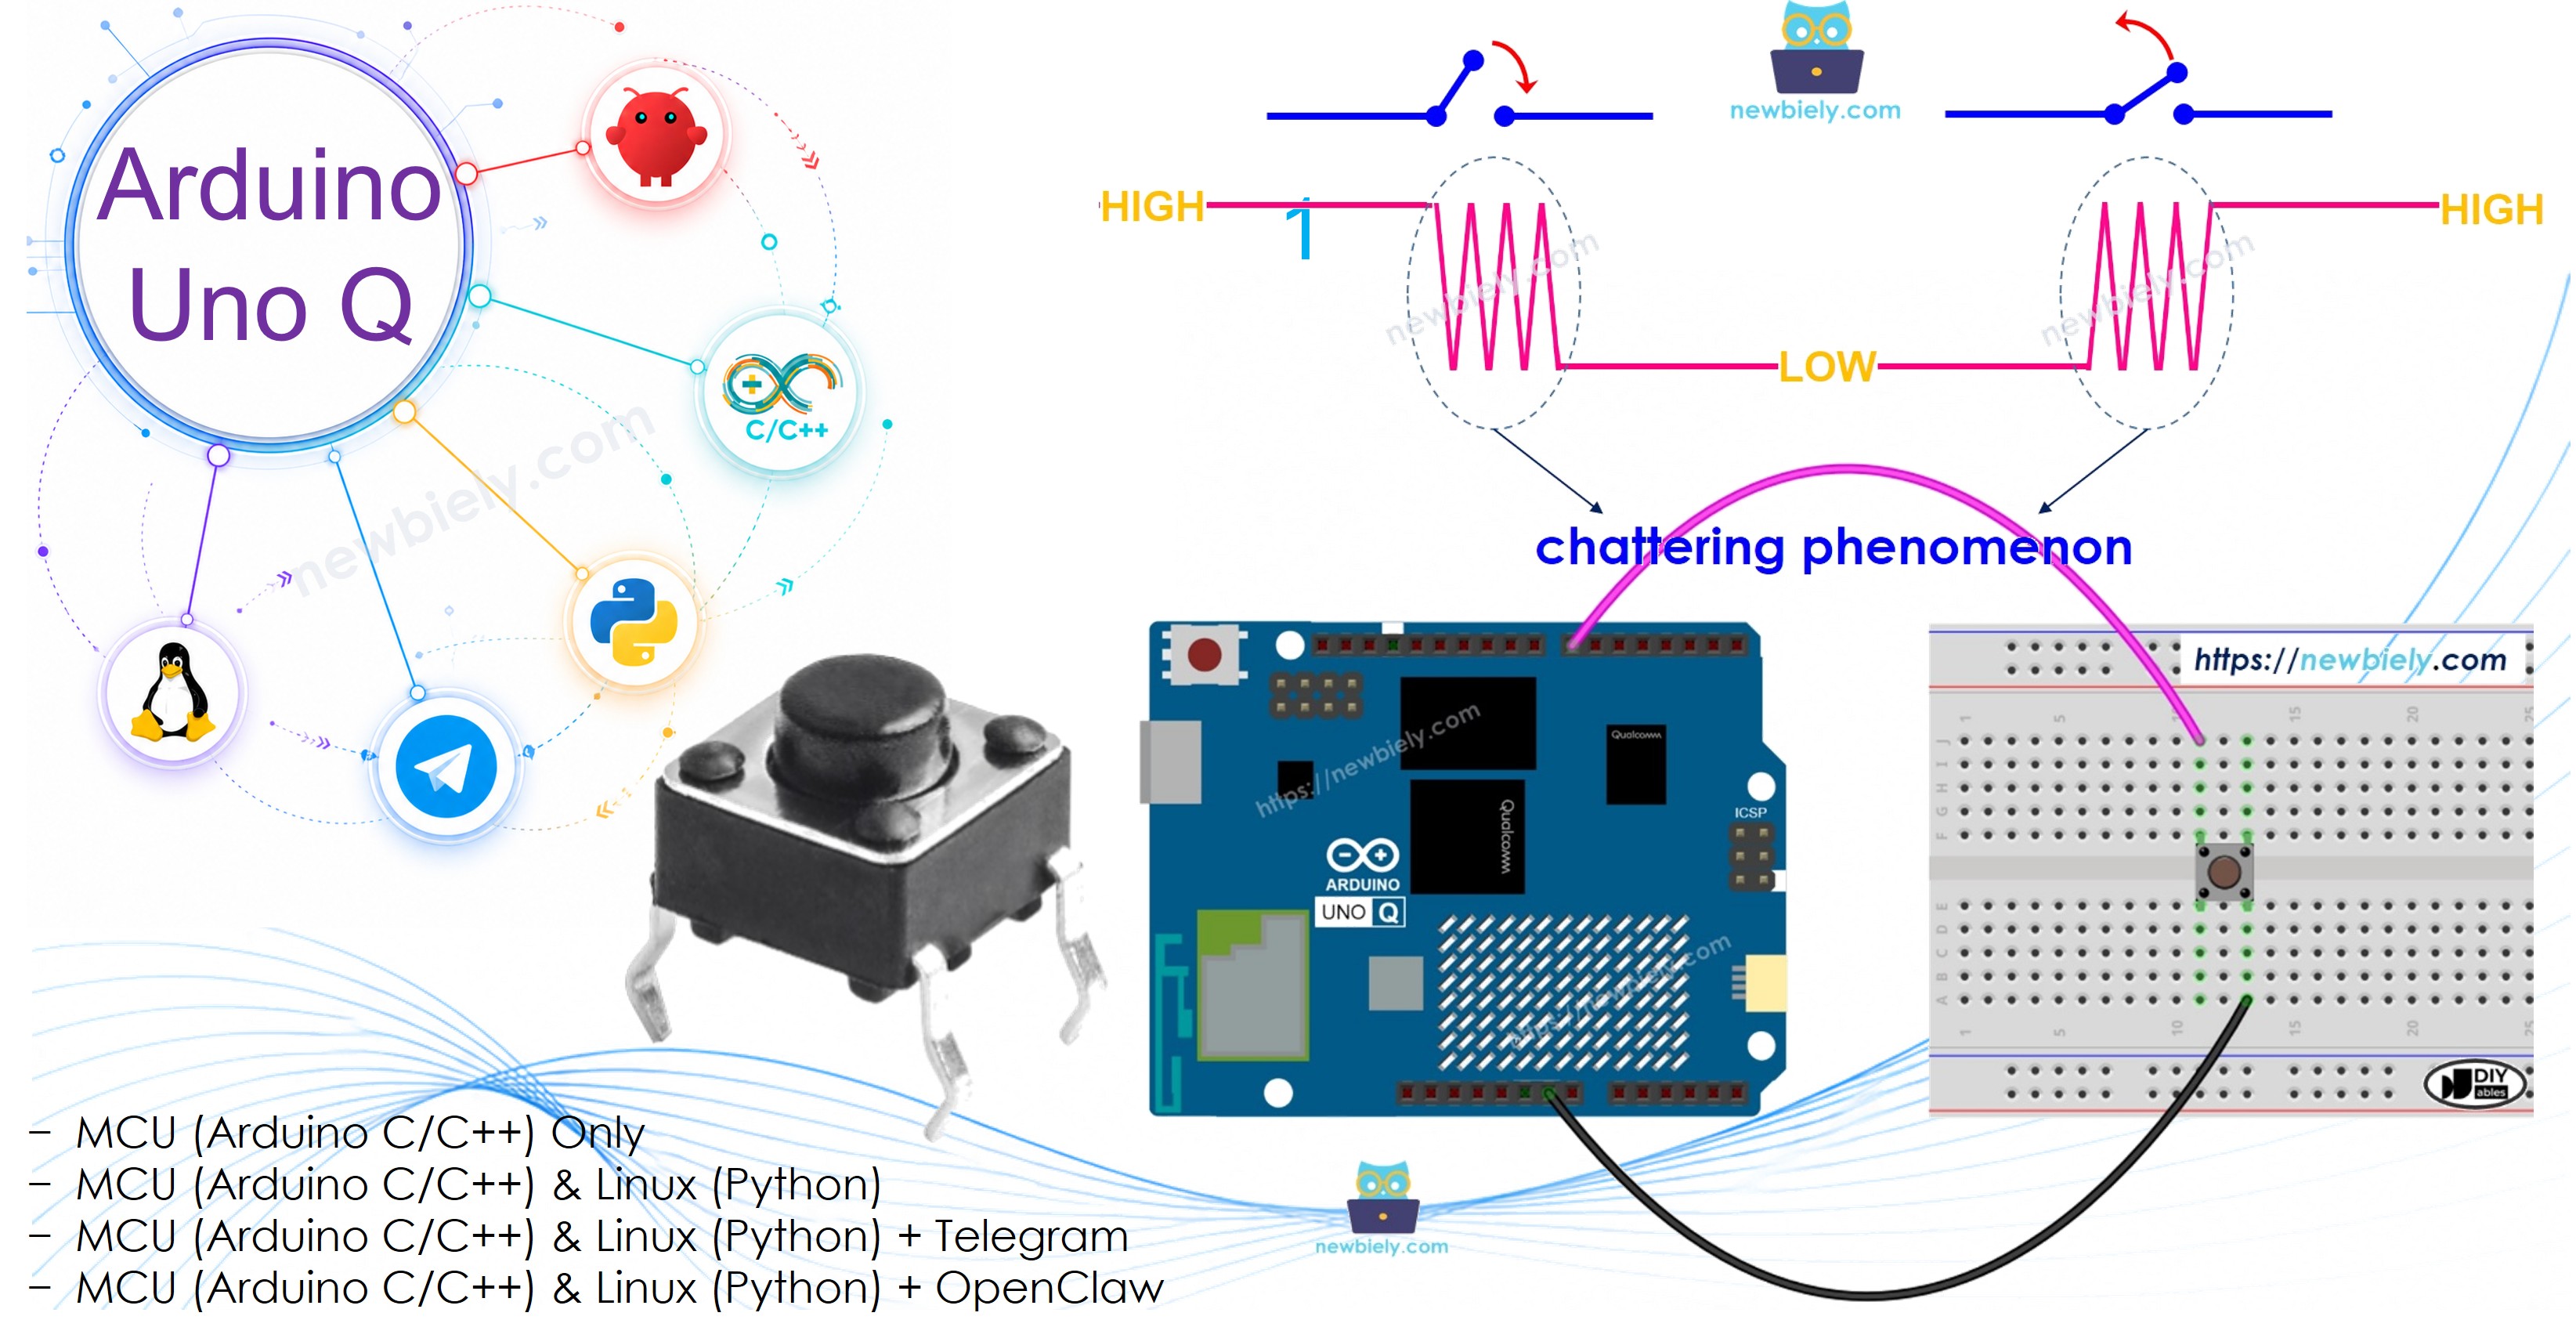
Arduino UNO Q를 프로그래밍하여 버튼 누르기를 감지할 때, 한 번의 누르기가 여러 번 감지될 수 있습니다. 이는 기계식 접점이 LOW와 HIGH 사이에서 빠르게 튕기기 때문이며, 이 현상을 채터링(chattering)이라고 합니다. 이 튜토리얼은 디바운싱(debouncing)을 통해 이 문제를 해결하는 방법을 보여줍니다.
필요한 하드웨어
| 1 | × | Arduino UNO Q | 아마존 | |
| 1 | × | USB Cable for Arduino Uno Q | 아마존 | |
| 1 | × | 캡이 있는 버튼 | 쿠팡 | 아마존 | |
| 1 | × | 버튼 키트 | 쿠팡 | 아마존 | |
| 1 | × | 패널 장착 푸시 버튼 | 아마존 | |
| 1 | × | 푸시 버튼 모듈 | 아마존 | |
| 1 | × | 브레드보드 | 쿠팡 | 아마존 | |
| 1 | × | 점퍼케이블 | 쿠팡 | 아마존 | |
| 1 | × | (추천) 아두이노 우노용 스크루 터미널 블록 쉴드 | 쿠팡 | 아마존 | |
| 1 | × | (추천) Sensors/Servo Expansion Shield for Arduino Uno | 쿠팡 | 아마존 | |
| 1 | × | (추천) 아두이노 우노용 브레드보드 쉴드 | 쿠팡 | 아마존 | |
| 1 | × | (추천) 아두이노 우노용 케이스 | 쿠팡 | 아마존 | |
| 1 | × | (추천) 아두이노 우노용 프로토타이핑 베이스 플레이트 & 브레드보드 키트 | 아마존 |
버튼 정보
아두이노 우노 Q - 버튼에서 버튼(핀배치, 배선, 작동 원리)에 대해 알아보세요.
배선도
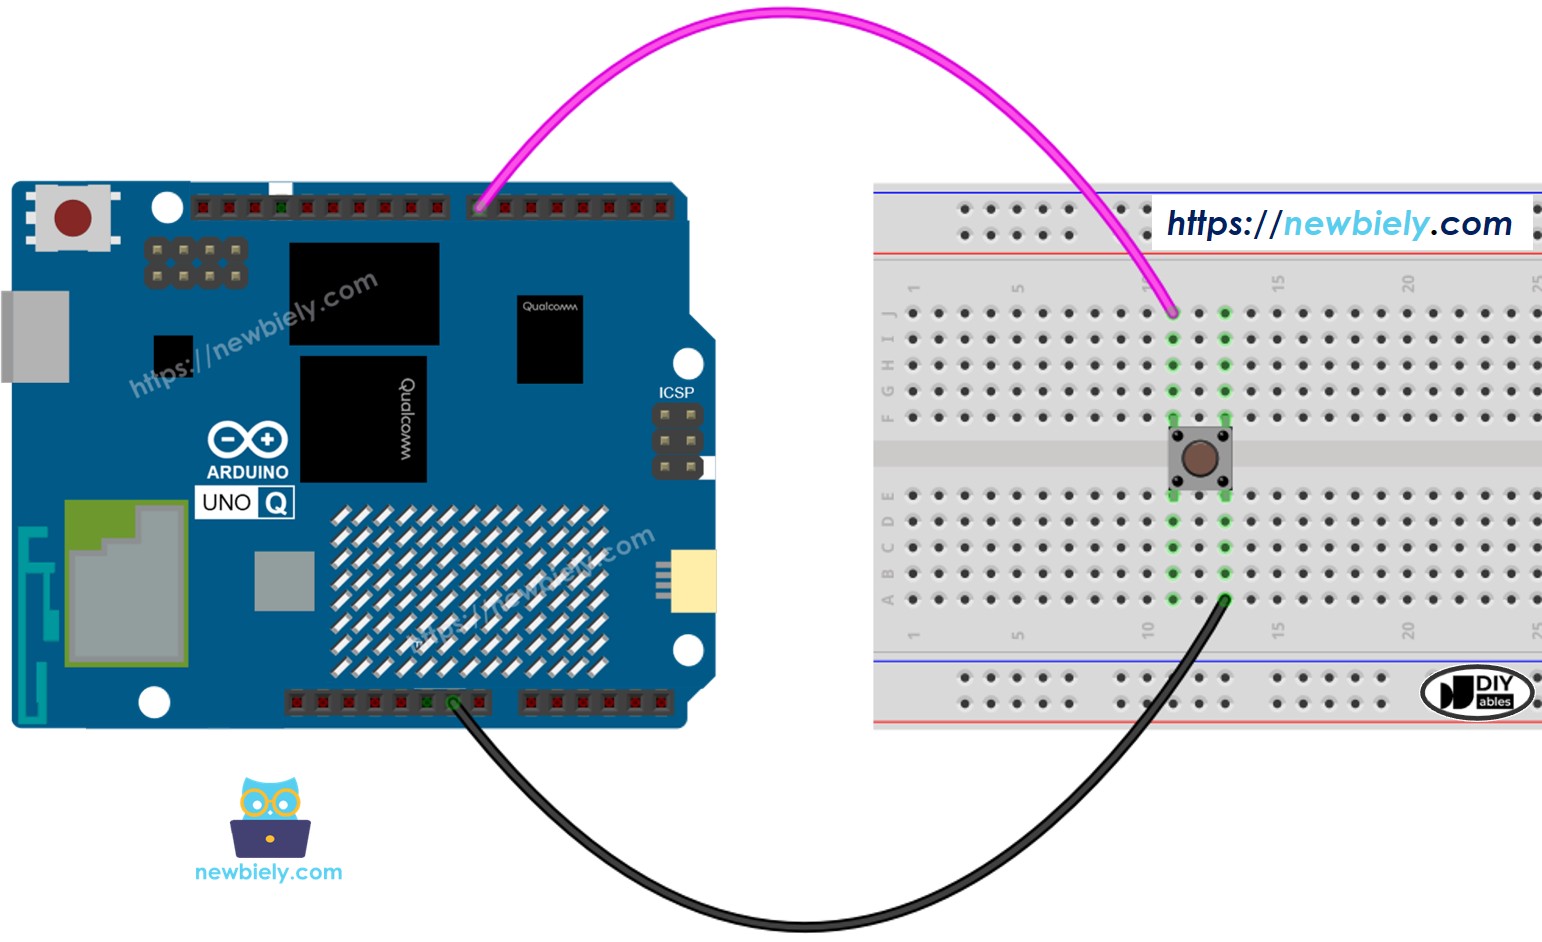
이 이미지는 Fritzing을 사용하여 만들어졌습니다. 이미지를 확대하려면 클릭하세요.
MCU 코드 — 디바운싱 없음 (비교용)
Arduino UNO Q는 두 개의 프로세서를 가지고 있습니다: STM32 MCU(실시간 하드웨어 제어 담당)와 Qualcomm MPU(Debian Linux 실행). 이 섹션에서는 STM32 MCU만 프로그래밍됩니다 — Linux 측은 유휴 상태로 유지됩니다. 나중 섹션에서 두 프로세서가 함께 작동하는 방법을 보여줍니다.
이것은 아두이노 우노 Q - 버튼에서 디바운싱 없는 버전입니다. 한 번의 누르기가 여러 이벤트로 등록될 수 있음을 주목하세요:
빠른 단계
- 처음 Arduino UNO Q를 사용하나요? 진행하기 전에 아두이노 우노 Q 시작하기 튜토리얼을 따라 개발 환경을 준비하세요.
- 버튼 연결: 배선도에 따라 버튼 한쪽 핀을 GND에 다른 쪽을 핀 7에 연결하세요.
- 연결: USB-C 케이블로 Arduino UNO Q를 컴퓨터에 연결하세요.
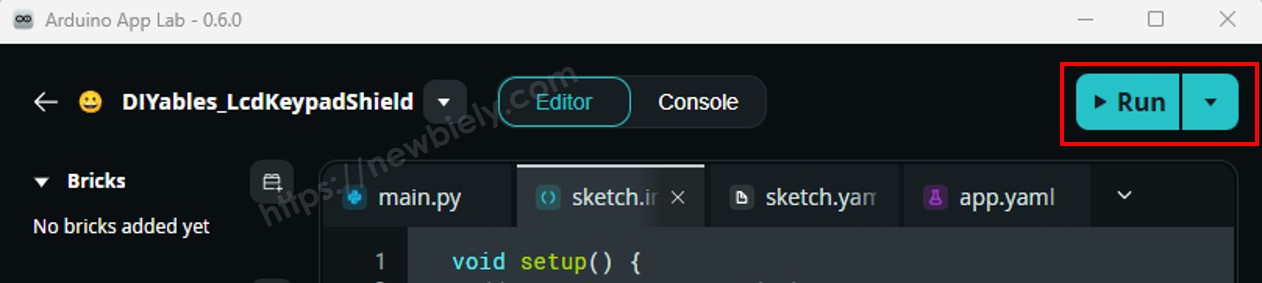
- Arduino App Lab 열기: Arduino App Lab을 실행하고 Arduino UNO Q를 감지할 때까지 기다리세요.
- 새 앱 만들기: Create New App 버튼을 클릭하세요.

- 앱에 이름을 지정하세요. 예: DIYables_ButtonDebounce
- Create를 클릭하여 확인하세요.
- 새 앱 내에 생성된 폴더 및 파일 세트가 표시됩니다.
- sketch/sketch.ino 파일을 찾으세요 — MCU 스케치를 붙여넣을 위치입니다.
- 버튼을 한 번 누른 후 놓으세요 — 여러 이벤트가 기록될 수 있음을 관찰하세요 (다음 섹션의 Bridge Monitor를 통해 볼 수 있습니다).
- 주의: 이것이 채터링 효과입니다 — 다음 섹션에서 이를 해결합니다.
MCU 코드 — 디바운싱 포함 (millis 사용)
이 버전은 millis()를 사용하여 신호가 안정화될 때까지 기다린 후 실제 이벤트로 취급합니다. DEBOUNCE_TIME 밀리초 이상 지속되는 상태 변화만 허용됩니다:
- 작동 원리: 버튼 상태가 빠르게 변하면 (튕김), 매번 타이머가 재설정됩니다. 상태가 50ms 동안 안정적일 때만 실제 누르기 또는 놓기로 취급됩니다.
- 팁: 버튼이 여전히 여러 이벤트를 표시하면 DEBOUNCE_TIME을 75 또는 100으로 증가시켜보세요.
※ 주의:
최적의 DEBOUNCE_TIME은 버튼 품질과 응용 프로그램에 따라 다릅니다. 50ms는 대부분의 푸시 버튼에 대한 안전한 기본값입니다.
ezButton 라이브러리로 더 간단한 디바운싱
초보자 및 다중 버튼 프로젝트의 경우, ezButton 라이브러리를 사용합니다 — INPUT_PULLUP, 디바운싱, 엣지 감지를 자동으로 처리합니다.
ezButton으로 단일 버튼:
- Install the library: Click the Add sketch library button (the open book icon with a + sign) in the left sidebar.
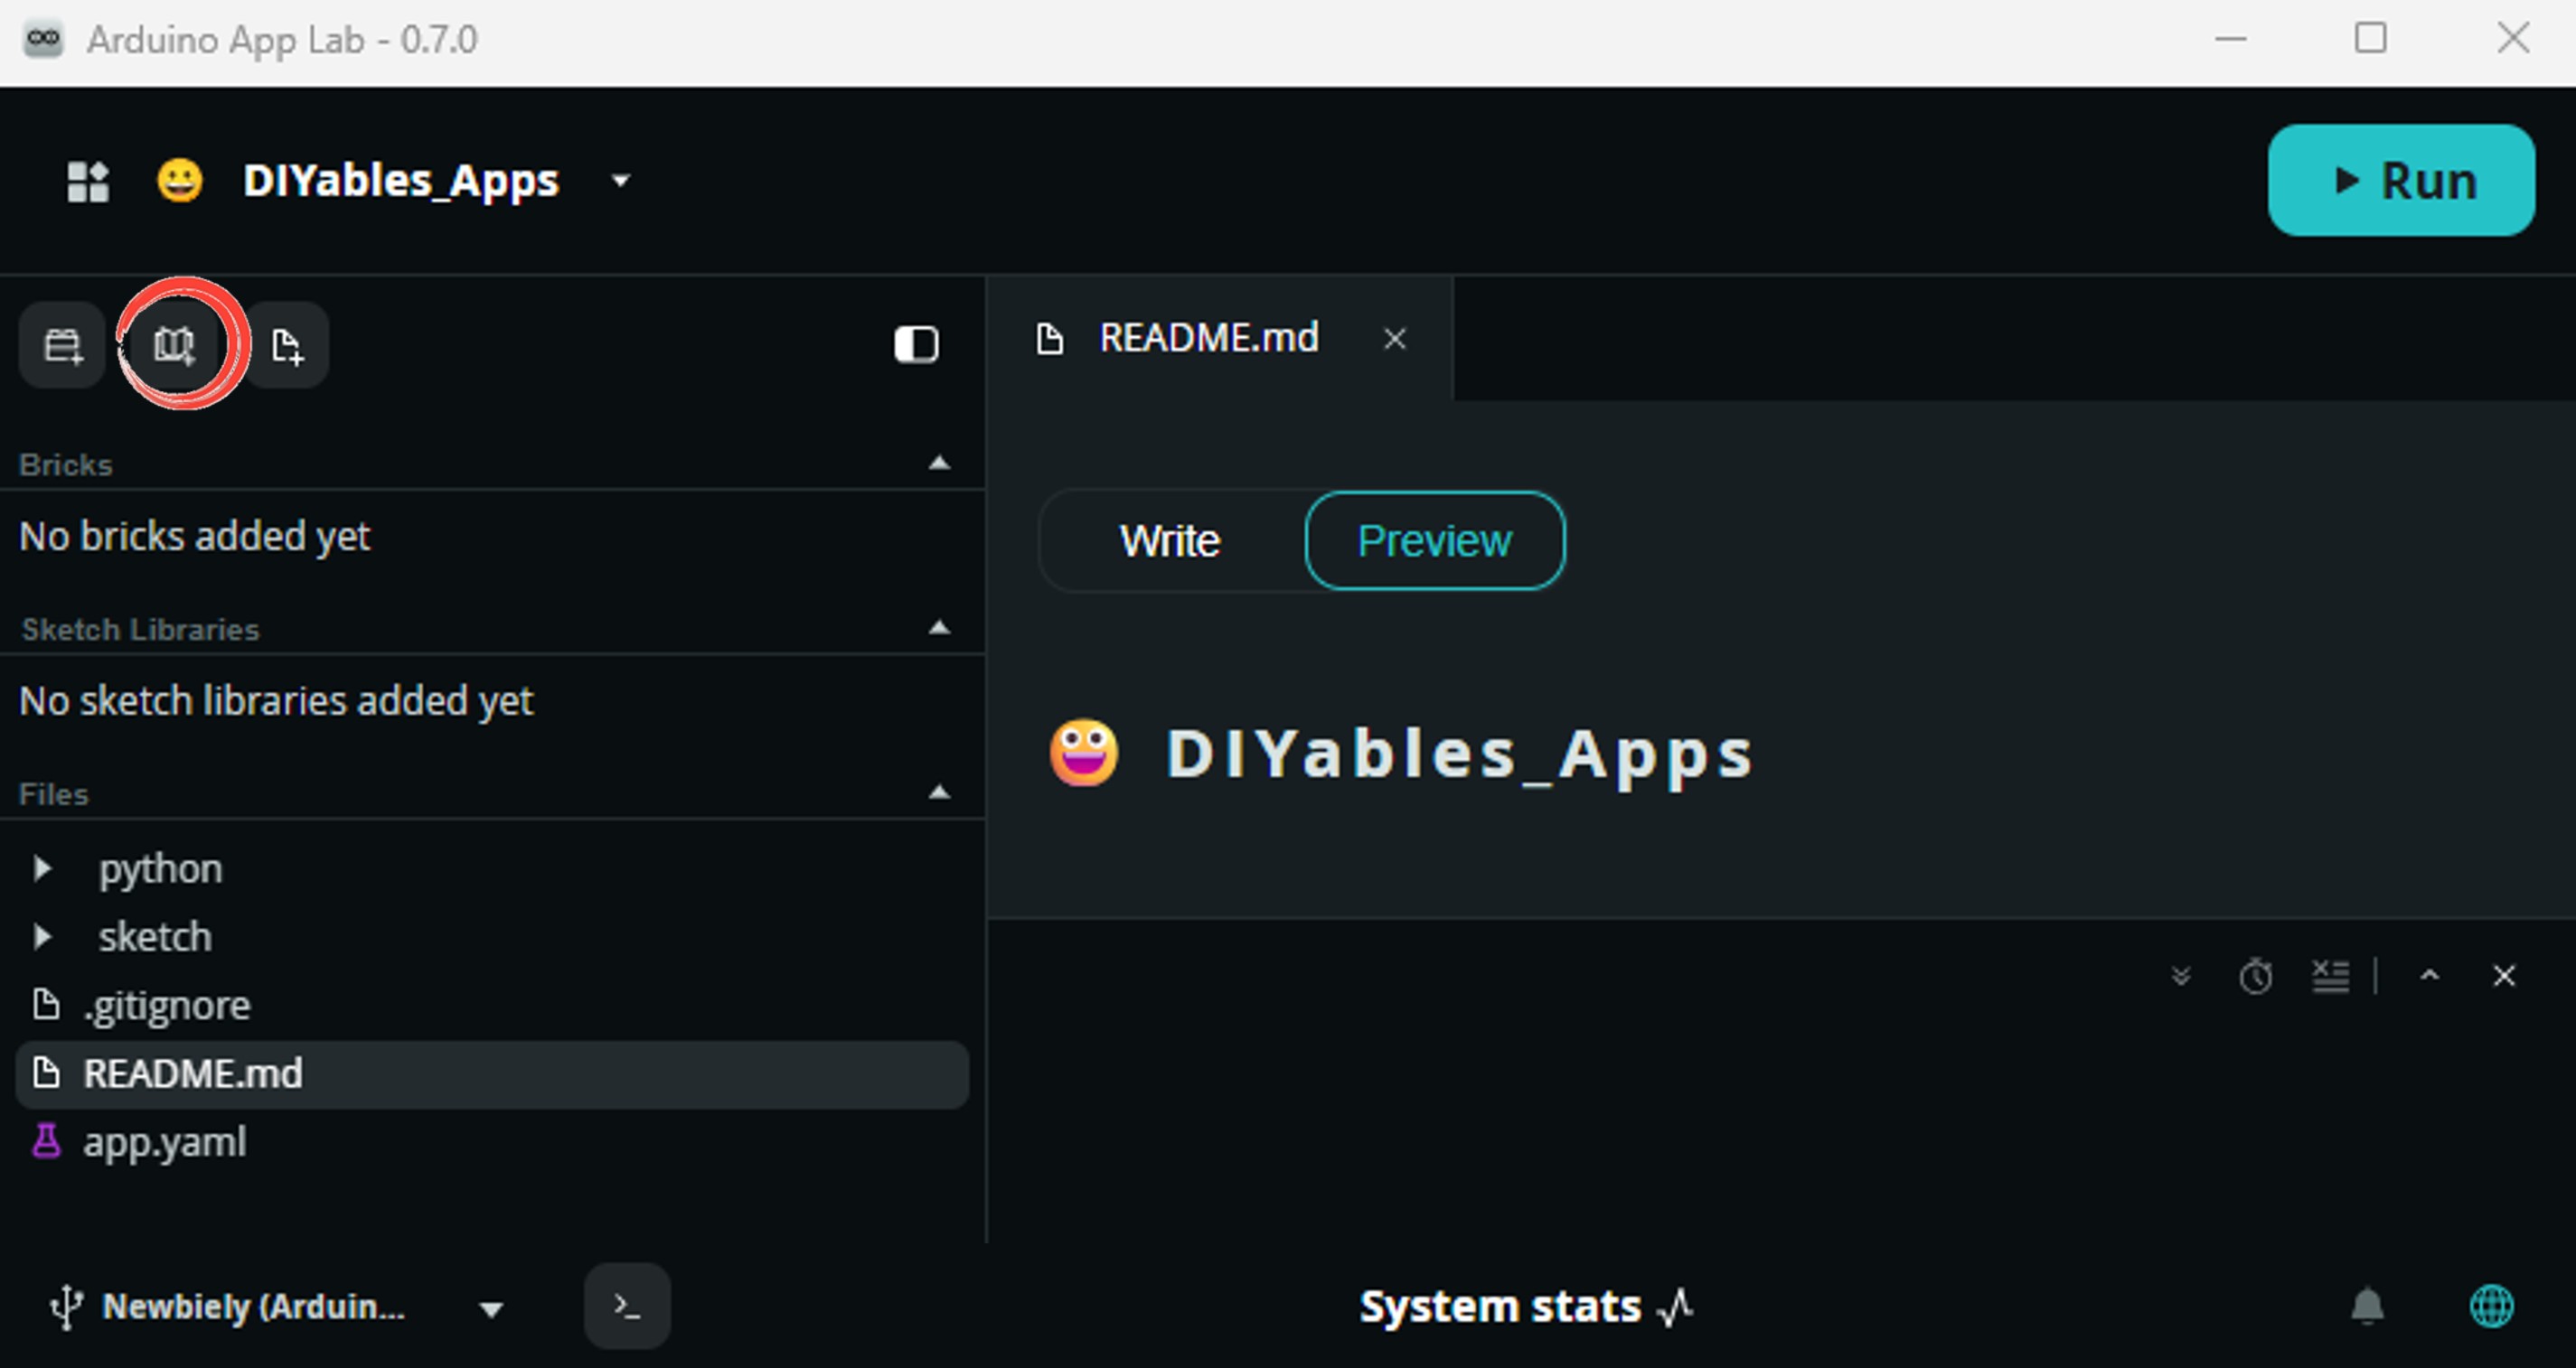
- Search for ezButton created by ArduinoGetStarted.com and click the Install button.
- Search for Arduino_RouterBridge created by Arduino and click the Install button.
- 작동 원리: button.loop()는 매 루프 사이클마다 호출되어야 합니다. 그러면 button.isPressed()는 물리적 누르기당 정확히 한 번 true를 반환하고, button.isReleased()는 놓기당 정확히 한 번 true를 반환합니다 — 채터링이 없습니다.
ezButton으로 다중 버튼 (핀 6, 7, 8에 세 개의 버튼):
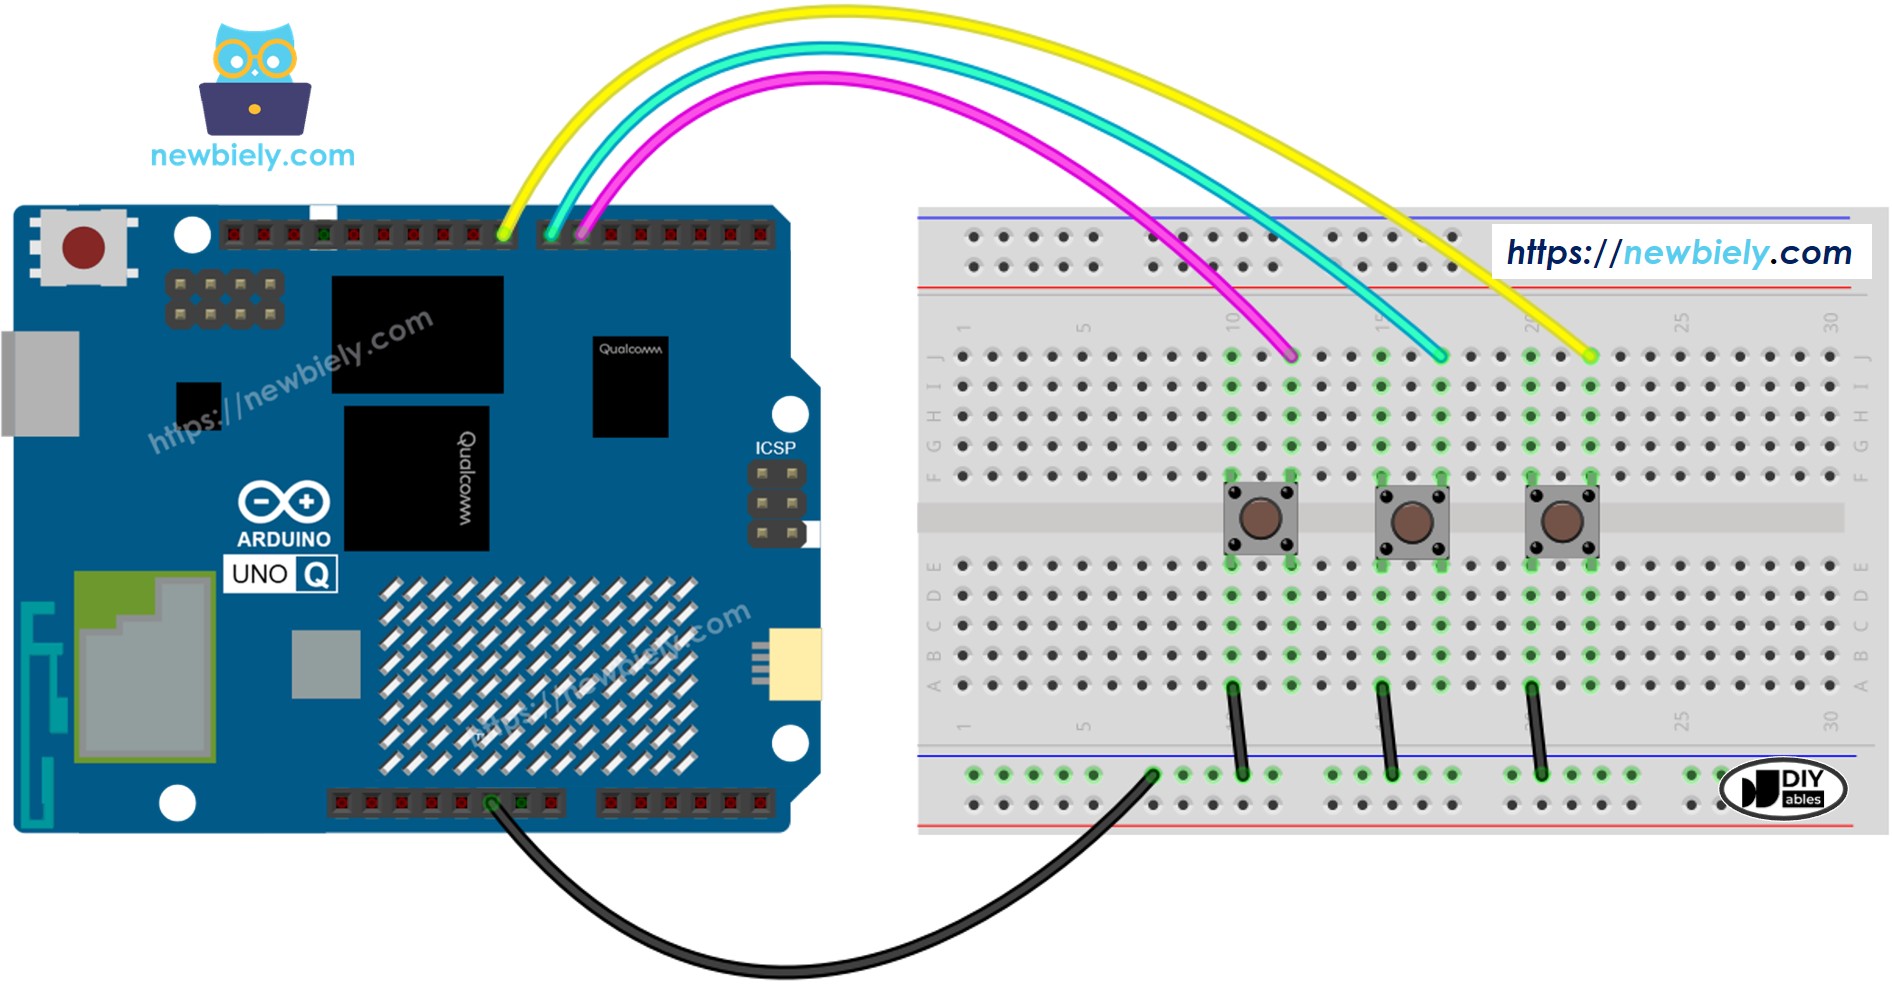
이 이미지는 Fritzing을 사용하여 만들어졌습니다. 이미지를 확대하려면 클릭하세요.
Linux + MCU Bridge 프로그래밍
Arduino UNO Q는 함께 작동하는 두 개의 프로세서를 가지고 있습니다: MPU (Qualcomm, Debian Linux 실행) 및 MCU (STM32, Arduino 스케치를 실행하는 Zephyr OS). 이들은 Arduino_RouterBridge 라이브러리를 통해 RPC를 사용하여 통신합니다 — 절대 원본 시리얼 포트를 통해서는 안됩니다.
- 버튼이 MCU (STM32)에 연결됩니다 — STM32의 디지털 입력 핀에 배선됩니다. MCU는 ezButton 라이브러리를 사용하여 버튼 누르기를 읽고 디바운싱합니다.
- MPU는 버튼을 직접 읽을 수 없습니다 — Bridge.call()을 통해 MCU에 데이터를 요청해야 합니다. MCU는 누르기 횟수로 응답하거나 재설정합니다.
- MPU는 Wi-Fi를 가지고 있습니다 — MPU가 Wi-Fi와 함께 전체 Debian Linux를 실행하므로, Telegram을 통해 누르기 횟수를 보고할 수 있습니다.
- 통신: Linux 측의 Bridge.call()은 MCU 측의 Bridge.provide() 함수를 호출합니다
- ⚠️ 예약됨: /dev/ttyHS1 (Linux) 및 Serial1 (MCU)은 Arduino Router에서 사용됩니다 — 절대 직접 열면 안됩니다
요약하면: MCU가 버튼 누르기를 디바운싱하고 횟수를 계산합니다 → MPU가 횟수를 요청합니다 → MPU가 Telegram을 통해 전달합니다.
MCU 스케치 — 버튼 디바운싱, 누르기 카운터, Bridge 포함:
Python 스크립트 (Arduino App Lab) — Linux에서 누르기 횟수 폴링:
- 참고: MCU 스케치에서 Bridge.begin()을 호출했는지 확인하고, Python 스크립트를 Linux 측에서 실행하기 전에 스케치를 업로드했는지 확인하세요.
- ⚠️ 경고: 절대 Linux에서 /dev/ttyHS1을 직접 열거나 MCU에서 Serial1을 코드에서 사용하지 마세요 — 이들은 Arduino Router에서 사용되며 접근하면 Bridge가 손상됩니다.
빠른 단계
- MCU 스케치 업로드: Arduino App Lab을 열고, 새 앱을 만들고, 위의 Bridge MCU 스케치를 sketch/sketch.ino에 붙여넣고, ezButton 및 Arduino_RouterBridge 라이브러리를 설치하고, Run을 클릭하세요.
- Python 스크립트 추가: 위의 Python 코드를 같은 앱의 Python 탭에 붙여넣으세요.
- 앱 실행: Run을 클릭하세요 — Python 측이 3초마다 누르기 횟수를 폴링합니다.
- 버튼을 여러 번 누르세요.
- 콘솔 확인: Console 탭 → MCU Monitor 서브탭을 열어 누르기/놓기 이벤트를 확인하세요. Python Console 서브탭을 열어 폴링된 횟수를 확인하세요.
App Lab 콘솔 출력
Telegram 통합
Telegram을 통해 어디서나 버튼 누르기 횟수를 조회하거나 재설정할 수 있습니다.
아직 Telegram 봇이 없으면, 계속 진행하기 전에 아두이노 우노 Q - 텔레그램 봇을 참조하여 봇 토큰을 얻으세요.
MCU 스케치: 이전 Bridge 섹션과 동일한 MCU 스케치를 유지하세요 — 변경 사항이 없습니다. STM32에 이미 업로드되고 실행 중인지 확인한 후 진행하세요.
Python 스크립트 (Arduino App Lab) — 버튼 누르기 추적을 위한 Telegram 봇:
- 참고: YOUR_BOT_TOKEN을 Telegram에서 @BotFather로부터 얻은 토큰으로 바꾸세요.
- /count를 보내 전원 켜기 이후 또는 마지막 재설정 이후 버튼을 몇 번 눌렀는지 확인하세요.
- /reset을 보내 카운터를 0으로 재설정하세요.
빠른 단계
- MCU 스케치 업로드: 이전 섹션의 Bridge MCU 스케치를 사용하세요 (아직 하지 않았다면 먼저 업로드하세요).
- Telegram 스크립트 붙여넣기: 위의 Python 코드를 Arduino App Lab의 앱 Python 탭에 복사하세요.
- 토큰 설정: 스크립트의 YOUR_BOT_TOKEN을 실제 봇 토큰으로 바꾸세요.
- 앱 실행: Run을 클릭하세요 — 봇은 즉시 Telegram 메시지 수신을 시작합니다.
- 테스트하기: 버튼을 5번 누른 후 Telegram에서 /count를 보내세요 — 5를 받아야 합니다. 그 다음 /reset을 보내고 /count를 다시 보내 재설정되는지 확인하세요.
- 팁: 이를 방문자 계수, 기계 사이클, 또는 트리거된 경고 계수에 사용하세요.
App Lab 콘솔 출력

ArduinoBot
OpenClaw 통합
아두이노 우노 Q - OpenClaw 튜토리얼의 지침을 참조하여 OpenClaw를 이 튜토리얼에 맞게 조정할 수 있습니다.
응용 프로그램/프로젝트 아이디어
- 방문자 카운터: 문에 버튼을 배치 — 누르기 횟수는 들어온 사람 수를 추적합니다.
- 기계 사이클 카운터: 생산 라인에서 액추에이터 사이클을 계산하고, Telegram을 통해 횟수를 확인합니다.
- 수동 이벤트 로그: 버튼을 눌러 Linux 측 (MPU는 실시간 시계를 가짐)에 타임스탬프 이벤트를 기록합니다.
- 다중 모드 컨트롤러: 각 버튼 누르기는 다음 모드로 전환합니다. Telegram을 통해 모드를 확인합니다.
- 주문 누르기: 버튼을 눌러 Telegram "재주문" 메시지를 공급품 추가 요청을 보냅니다.
도전 과제
- 쉬움: Bridge 스케치를 수정하여 버튼이 놓인 횟수도 추적하도록 하세요.
- 중간: MCU 스케치에 마지막 누르기 이후 경과한 초 수를 반환하는 get_last_press_time() Bridge 함수를 추가하세요.
- 어려움: 누르기 횟수가 목표 번호 (예: "10번 눌렀습니다!")에 도달하면 자동으로 메시지를 보내는 Telegram 봇을 구축하세요.


