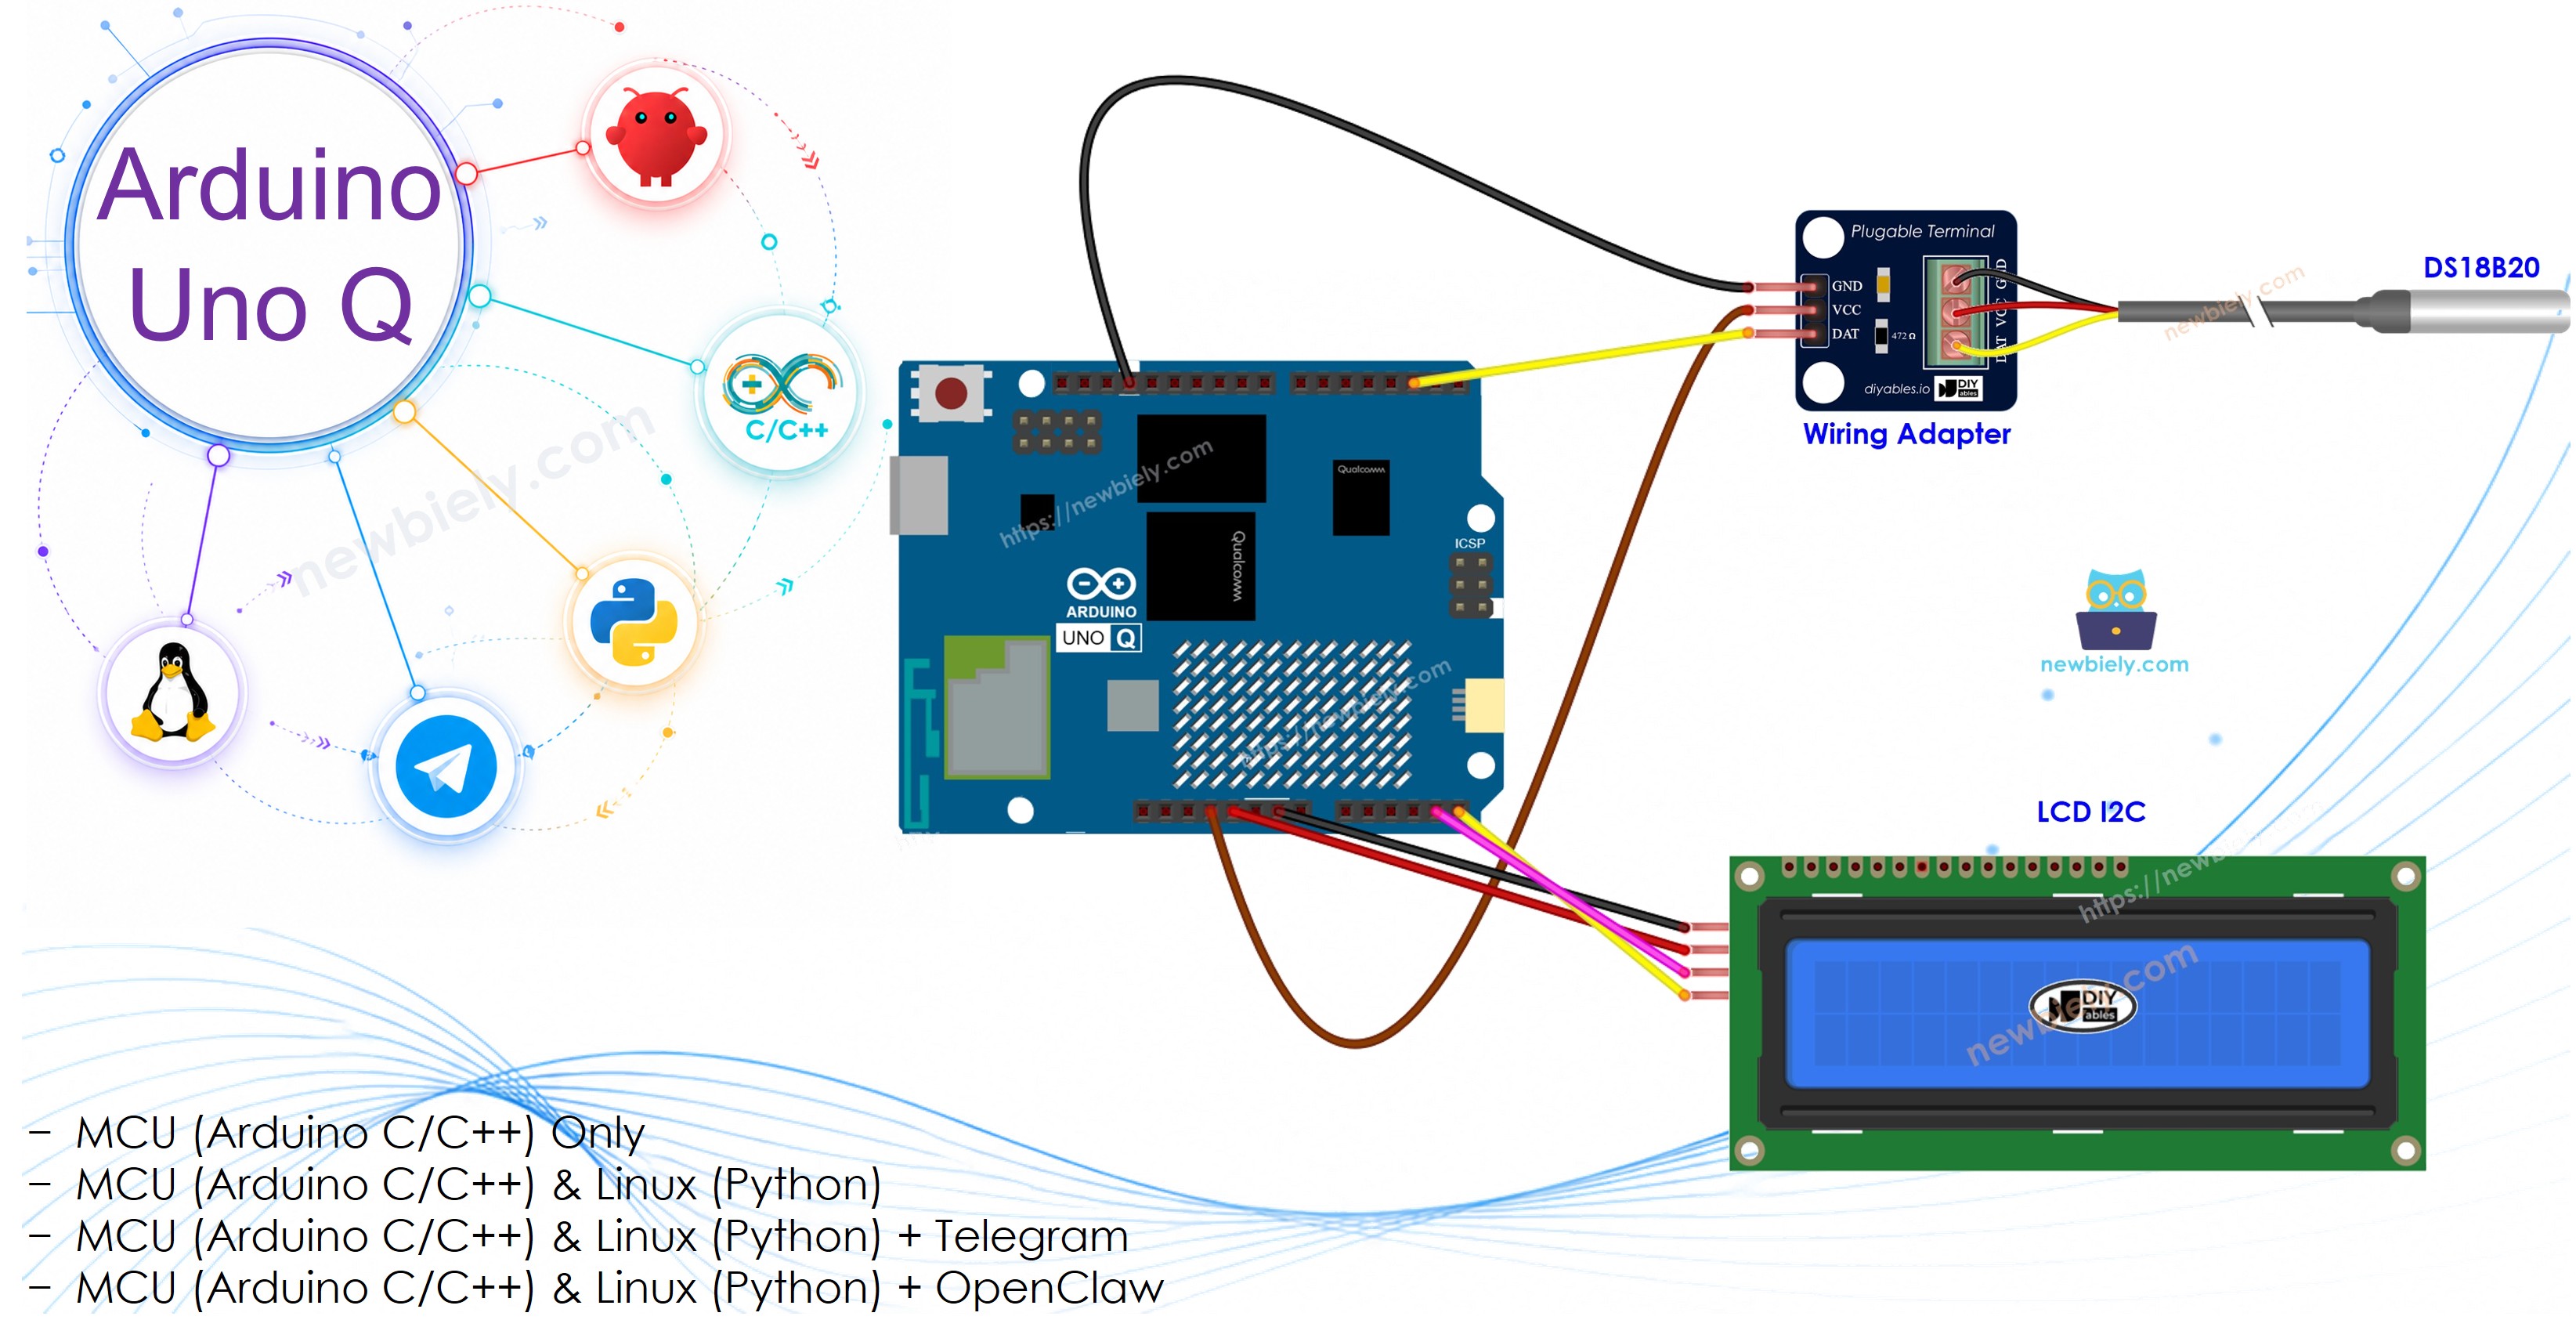
Qualcomm MPU - Debian Linux를 실행하고 Wi-Fi, Python 및 클라우드 연결을 처리합니다
이 섹션에서는 MCU만 프로그래밍됩니다 - Linux 측은 유휴 상태로 남아 있습니다. 이후 섹션에서는 두 프로세서가 Bridge를 통해 함께 작동하는 방식을 보여줍니다.
MCU는 매 초마다 온도를 읽고 LCD 디스플레이와 Serial Monitor를 모두 업데이트합니다.
/* * 이 Arduino UNO Q 코드는 newbiely.kr 에서 개발되었습니다 * 이 Arduino UNO Q 코드는 어떠한 제한 없이 공개 사용을 위해 제공됩니다. * 상세한 지침 및 연결도에 대해서는 다음을 방문하세요: * https://newbiely.kr/tutorials/arduino-uno-q/arduino-uno-q-temperature-sensor-lcd */#include <OneWire.h>#include <DallasTemperature.h>#include <DIYables_LCD_I2C.h>#define SENSOR_PIN 4 // Arduino UNO Q MCU pin connected to DS18B20 DATA pinOneWire oneWire(SENSOR_PIN);DallasTemperature DS18B20(&oneWire);DIYables_LCD_I2C lcd(0x27, 16, 2);float temperature_C;float temperature_F;voidsetup() {Serial.begin(115200);delay(1500); DS18B20.begin(); lcd.init(); lcd.backlight(); lcd.print("Temp Sensor Ready");Serial.println("Arduino UNO Q Temperature Sensor + LCD ready");}voidloop() { DS18B20.requestTemperatures(); temperature_C = DS18B20.getTempCByIndex(0); temperature_F = temperature_C * 9.0 / 5.0 + 32.0; lcd.clear(); lcd.setCursor(0, 0); lcd.print(temperature_C); lcd.print((char)223); // degree symbol lcd.print("C"); lcd.setCursor(0, 1); lcd.print(temperature_F); lcd.print((char)223); lcd.print("F");Serial.print("Temperature: ");Serial.print(temperature_C);Serial.print("°C ~ ");Serial.print(temperature_F);Serial.println("°F");delay(1000);}
※ 주의:
LCD의 I2C 주소는 제조업체에 따라 변경될 수 있습니다. 이 코드에서는 제조업체 DIYables에서 제공한 주소인 0x27을 사용했습니다.
빠른 시작
Arduino UNO Q를 처음 사용하시나요? 진행하기 전에 아두이노 우노 Q 시작하기 튜토리얼을 따르세요.
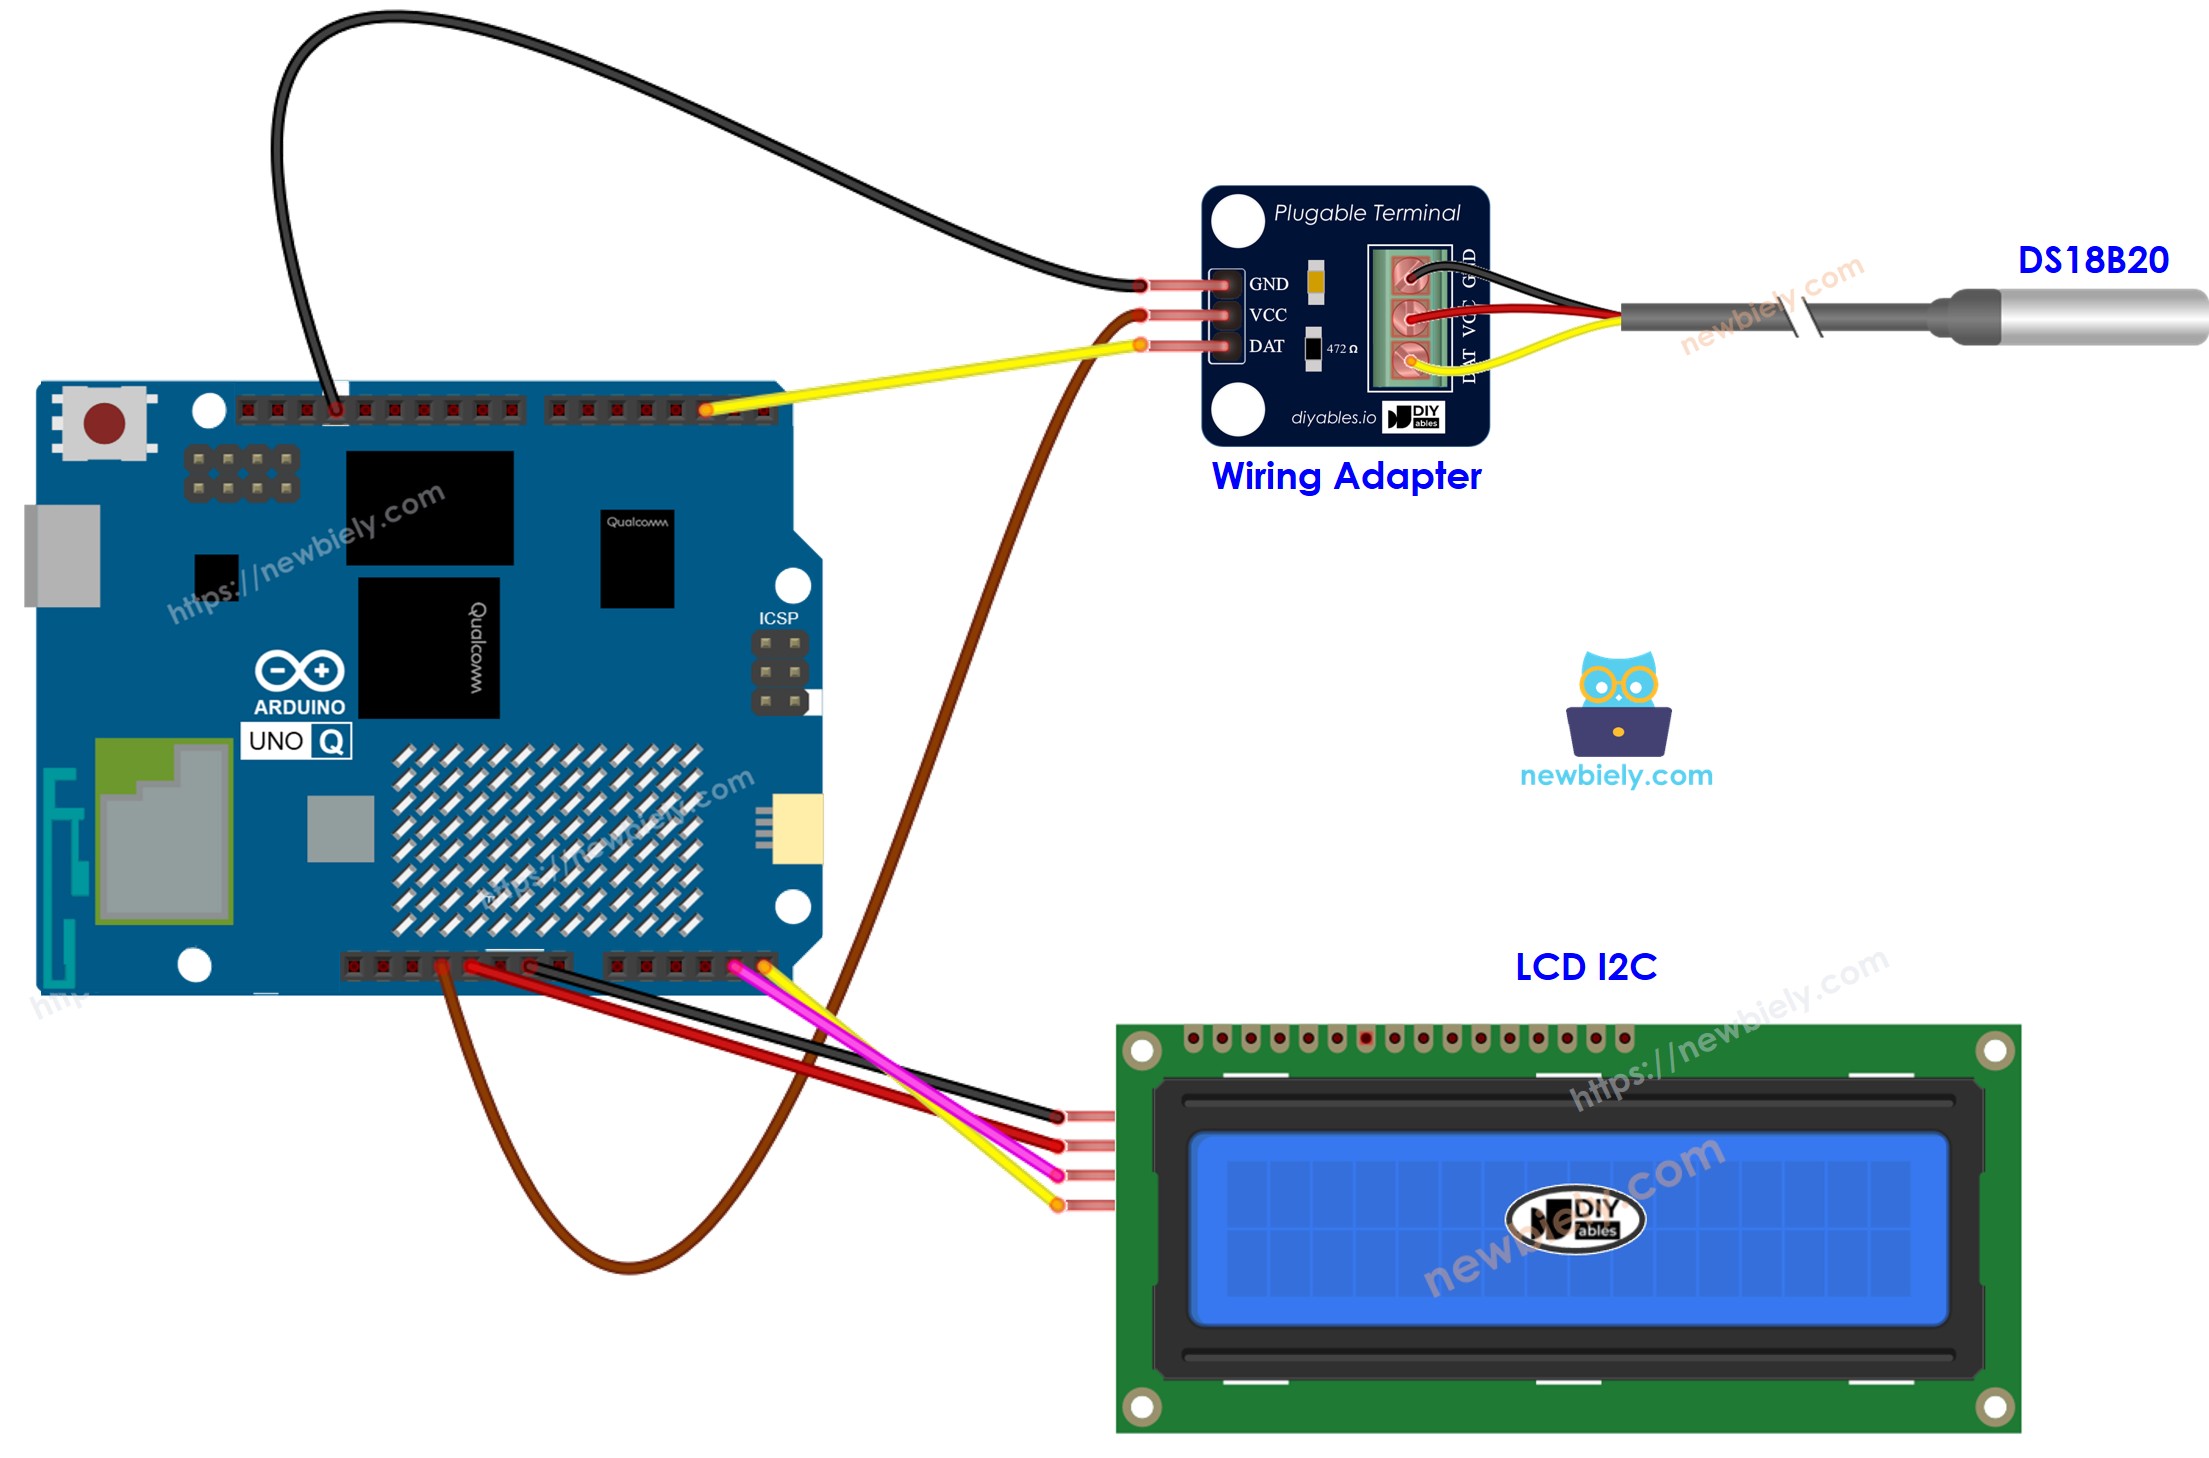
연결: 위의 배선 다이어그램에 표시된 대로 DS18B20 센서와 LCD I2C를 Arduino UNO Q MCU에 배선합니다.
Arduino App Lab 열기: Arduino App Lab을 시작하고 Arduino UNO Q를 감지할 때까지 기다립니다.
새 앱 만들기:Create New App 버튼을 클릭합니다.
앱에 이름을 지정합니다(예: TemperatureSensorLcd).
Create를 클릭하여 확인합니다.
스케치 붙여넣기: 위의 MCU 코드를 복사하여 sketch/sketch.ino에 붙여넣습니다. 다른 파일은 기본값으로 유지합니다.
Install the library: Click the Add sketch library button (the open book icon with a + sign) in the left sidebar.
Search for DallasTemperature created by Miles Burton , Tim Newsome , Guil Barros , Rob Tillaart and click the Install button.
My Apps/DIYables Apps
Run
Bricks
No bricks added...
Sketch Libraries
No sketch libra...
Files
python
sketch
.gitignore
README.md
app.yaml
sketch.ino
Add sketch library
DallasTemperature
DallasTemperatureMiles Burton , Tim Newsome , Guil Barros , Rob Tillaart
Supports DS18B20, DS18S20, DS1822, DS1820
3.9.0
Install
More Info
Search for OneWire created by Jim Studt, Tom Pollard, Robin James, Glenn Trewitt, Jason Dangel, Guillermo Lovato, Paul Stoffregen, Scott Roberts, Bertrik Sikken, Mark Tillotson, Ken Butcher, Roger Clark, Love Nystrom and click the Install button.
My Apps/DIYables Apps
Run
Bricks
No bricks added...
Sketch Libraries
No sketch libra...
Files
python
sketch
.gitignore
README.md
app.yaml
sketch.ino
Add sketch library
OneWire
OneWireJim Studt, Tom Pollard, Robin James, Glenn Trewitt, Jason Dangel, Guillermo Lovato, Paul Stoffregen, Scott Roberts, Bertrik Sikken, Mark Tillotson, Ken Butcher, Roger Clark, Love Nystrom
2.3.8
Install
More Info
Search for DIYables LCD I2C created by DIYables.io and click the Install button.
My Apps/DIYables Apps
Run
Bricks
No bricks added...
Sketch Libraries
No sketch libra...
Files
python
sketch
.gitignore
README.md
app.yaml
sketch.ino
Add sketch library
DIYables LCD I2C
DIYables LCD I2CDIYables.io
This library is designed for HD44780-based I2C LCD displays. It provides LiquidCrystal-compatible API plus helper functions (text alignment, progress bars, predefined custom characters). Supports multiple I2C buses (Wire, Wire1, Wire2) for advanced boards like Arduino Giga, Due, and ESP32. Compatible with all Arduino-based platforms including Arduino Uno, Mega, Nano, ESP32, ESP8266, STM32, and Raspberry Pi Pico.
이 섹션에서는 Arduino UNO Q의 두 프로세서를 모두 프로그래밍하여 Linux 측이 Bridge를 통해 온도를 원격으로 모니터링하는 방법을 보여줍니다:
DS18B20 센서와 LCD는 모두 MCU(STM32)에 연결됩니다 - MCU는 매 초마다 온도를 읽고 LCD 디스플레이를 자동으로 업데이트합니다
MPU는 센서나 LCD에 직접 액세스할 수 없습니다 - Bridge 함수를 호출하여 온도 읽기를 검색하거나 LCD를 지워야 합니다
MPU에는 Wi-Fi가 있습니다 - 완전한 Debian Linux를 실행하는 동안 읽기를 기록하고, 대시보드에 게시하거나, 인터넷을 통해 알림을 보낼 수 있습니다
Arduino_RouterBridge는 두 프로세서 간에 RPC 통신을 가능하게 합니다
⚠️ /dev/ttyHS1(Linux) 및 Serial1(MCU)은 라우터에서 예약됨 - 사용자 코드에서 이를 열지 마세요
요약하면: MCU가 매 초마다 센서를 읽고 LCD를 업데이트 → MPU가 Bridge를 통해 온도를 읽음 → MPU가 Wi-Fi를 통해 게시, 기록 또는 알림을 보냅니다.
MCU 코드 (Bridge)
/* * 이 Arduino UNO Q 코드는 newbiely.kr 에서 개발되었습니다 * 이 Arduino UNO Q 코드는 어떠한 제한 없이 공개 사용을 위해 제공됩니다. * 상세한 지침 및 연결도에 대해서는 다음을 방문하세요: * https://newbiely.kr/tutorials/arduino-uno-q/arduino-uno-q-temperature-sensor-lcd */#include <OneWire.h>#include <DallasTemperature.h>#include <DIYables_LCD_I2C.h>#include"Arduino_RouterBridge.h"#define SENSOR_PIN 4OneWire oneWire(SENSOR_PIN);DallasTemperature DS18B20(&oneWire);DIYables_LCD_I2C lcd(0x27, 16, 2);float last_temp_c = 0.0;float last_temp_f = 0.0;unsignedlong last_read_ms = 0;void update_lcd() { lcd.clear(); lcd.setCursor(0, 0); lcd.print(last_temp_c); lcd.print((char)223); lcd.print("C"); lcd.setCursor(0, 1); lcd.print(last_temp_f); lcd.print((char)223); lcd.print("F");}String get_temp_c(String arg) {returnString(last_temp_c, 2);}String get_temp_f(String arg) {returnString(last_temp_f, 2);}String clear_lcd(String arg) { lcd.clear(); Monitor.println("LCD cleared");return"OK";}String get_status(String arg) {return"Temp: " + String(last_temp_c, 2) + "°C / " + String(last_temp_f, 2) + "°F";}voidsetup() {Bridge.begin(); Monitor.begin(); DS18B20.begin(); lcd.init(); lcd.backlight(); lcd.print("Bridge Ready"); DS18B20.requestTemperatures(); last_temp_c = DS18B20.getTempCByIndex(0); last_temp_f = last_temp_c * 9.0 / 5.0 + 32.0; update_lcd();Bridge.provide("get_temp_c", get_temp_c);Bridge.provide("get_temp_f", get_temp_f);Bridge.provide_safe("clear_lcd", clear_lcd);Bridge.provide("get_status", get_status); Monitor.println("Arduino UNO Q Temperature Sensor + LCD Bridge ready");}voidloop() {unsignedlongnow = millis();if (now - last_read_ms >= 1000) { last_read_ms = now; DS18B20.requestTemperatures(); last_temp_c = DS18B20.getTempCByIndex(0); last_temp_f = last_temp_c * 9.0 / 5.0 + 32.0; update_lcd(); Monitor.println("Temp: " + String(last_temp_c, 2) + "°C / " + String(last_temp_f, 2) + "°F"); }}
Python 코드 (Bridge)
/* * 이 Arduino UNO Q 코드는 newbiely.kr 에서 개발되었습니다 * 이 Arduino UNO Q 코드는 어떠한 제한 없이 공개 사용을 위해 제공됩니다. * 상세한 지침 및 연결도에 대해서는 다음을 방문하세요: * https://newbiely.kr/tutorials/arduino-uno-q/arduino-uno-q-temperature-sensor-lcd */from arduino.app_utils import *import timedef loop(): status = Bridge.call("get_status")print(status) time.sleep(1)App.run(user_loop=loop)
빠른 시작
연결: 배선 다이어그램에 표시된 대로 DS18B20 센서와 LCD I2C를 Arduino UNO Q에 배선합니다.
Arduino App Lab 열기: Arduino App Lab을 시작하고 보드가 감지될 때까지 기다립니다.
새 앱 만들기:Create New App을 클릭하고 TemperatureSensorLcdBridge 이름을 지정한 다음 Create를 클릭합니다.
MCU 스케치 붙여넣기: 위의 MCU Bridge 코드를 복사하여 sketch/sketch.ino에 붙여넣습니다.
Python 코드 붙여넣기: 위의 Python Bridge 코드를 복사하여 앱의 Python 파일에 붙여넣습니다.
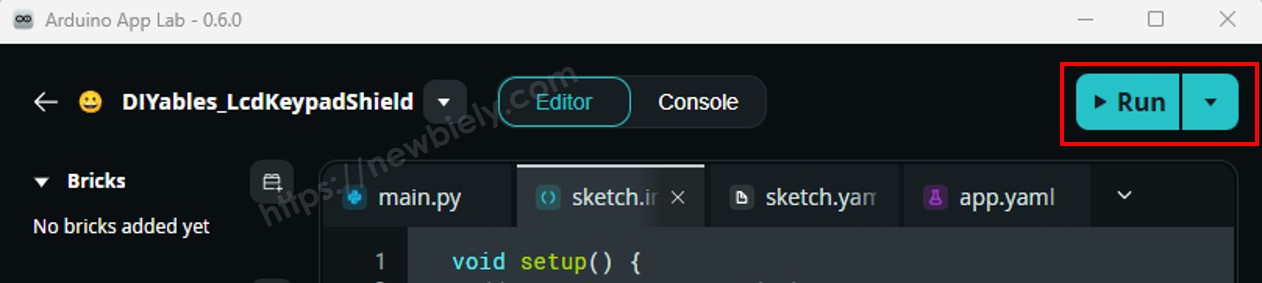
업로드: Arduino App Lab의 Run 버튼을 클릭합니다.
LCD가 자동으로 업데이트되는 동안 Python 콘솔에 온도 읽기가 나타나는 것을 봅니다.
App Lab 콘솔 출력
DIYables_Apps
Stop
sketch.ino
1#include"Arduino_RouterBridge.h"
Serial Monitor
Python
Message (Enter to send a message to "Newbiely" on usb(2820070321))