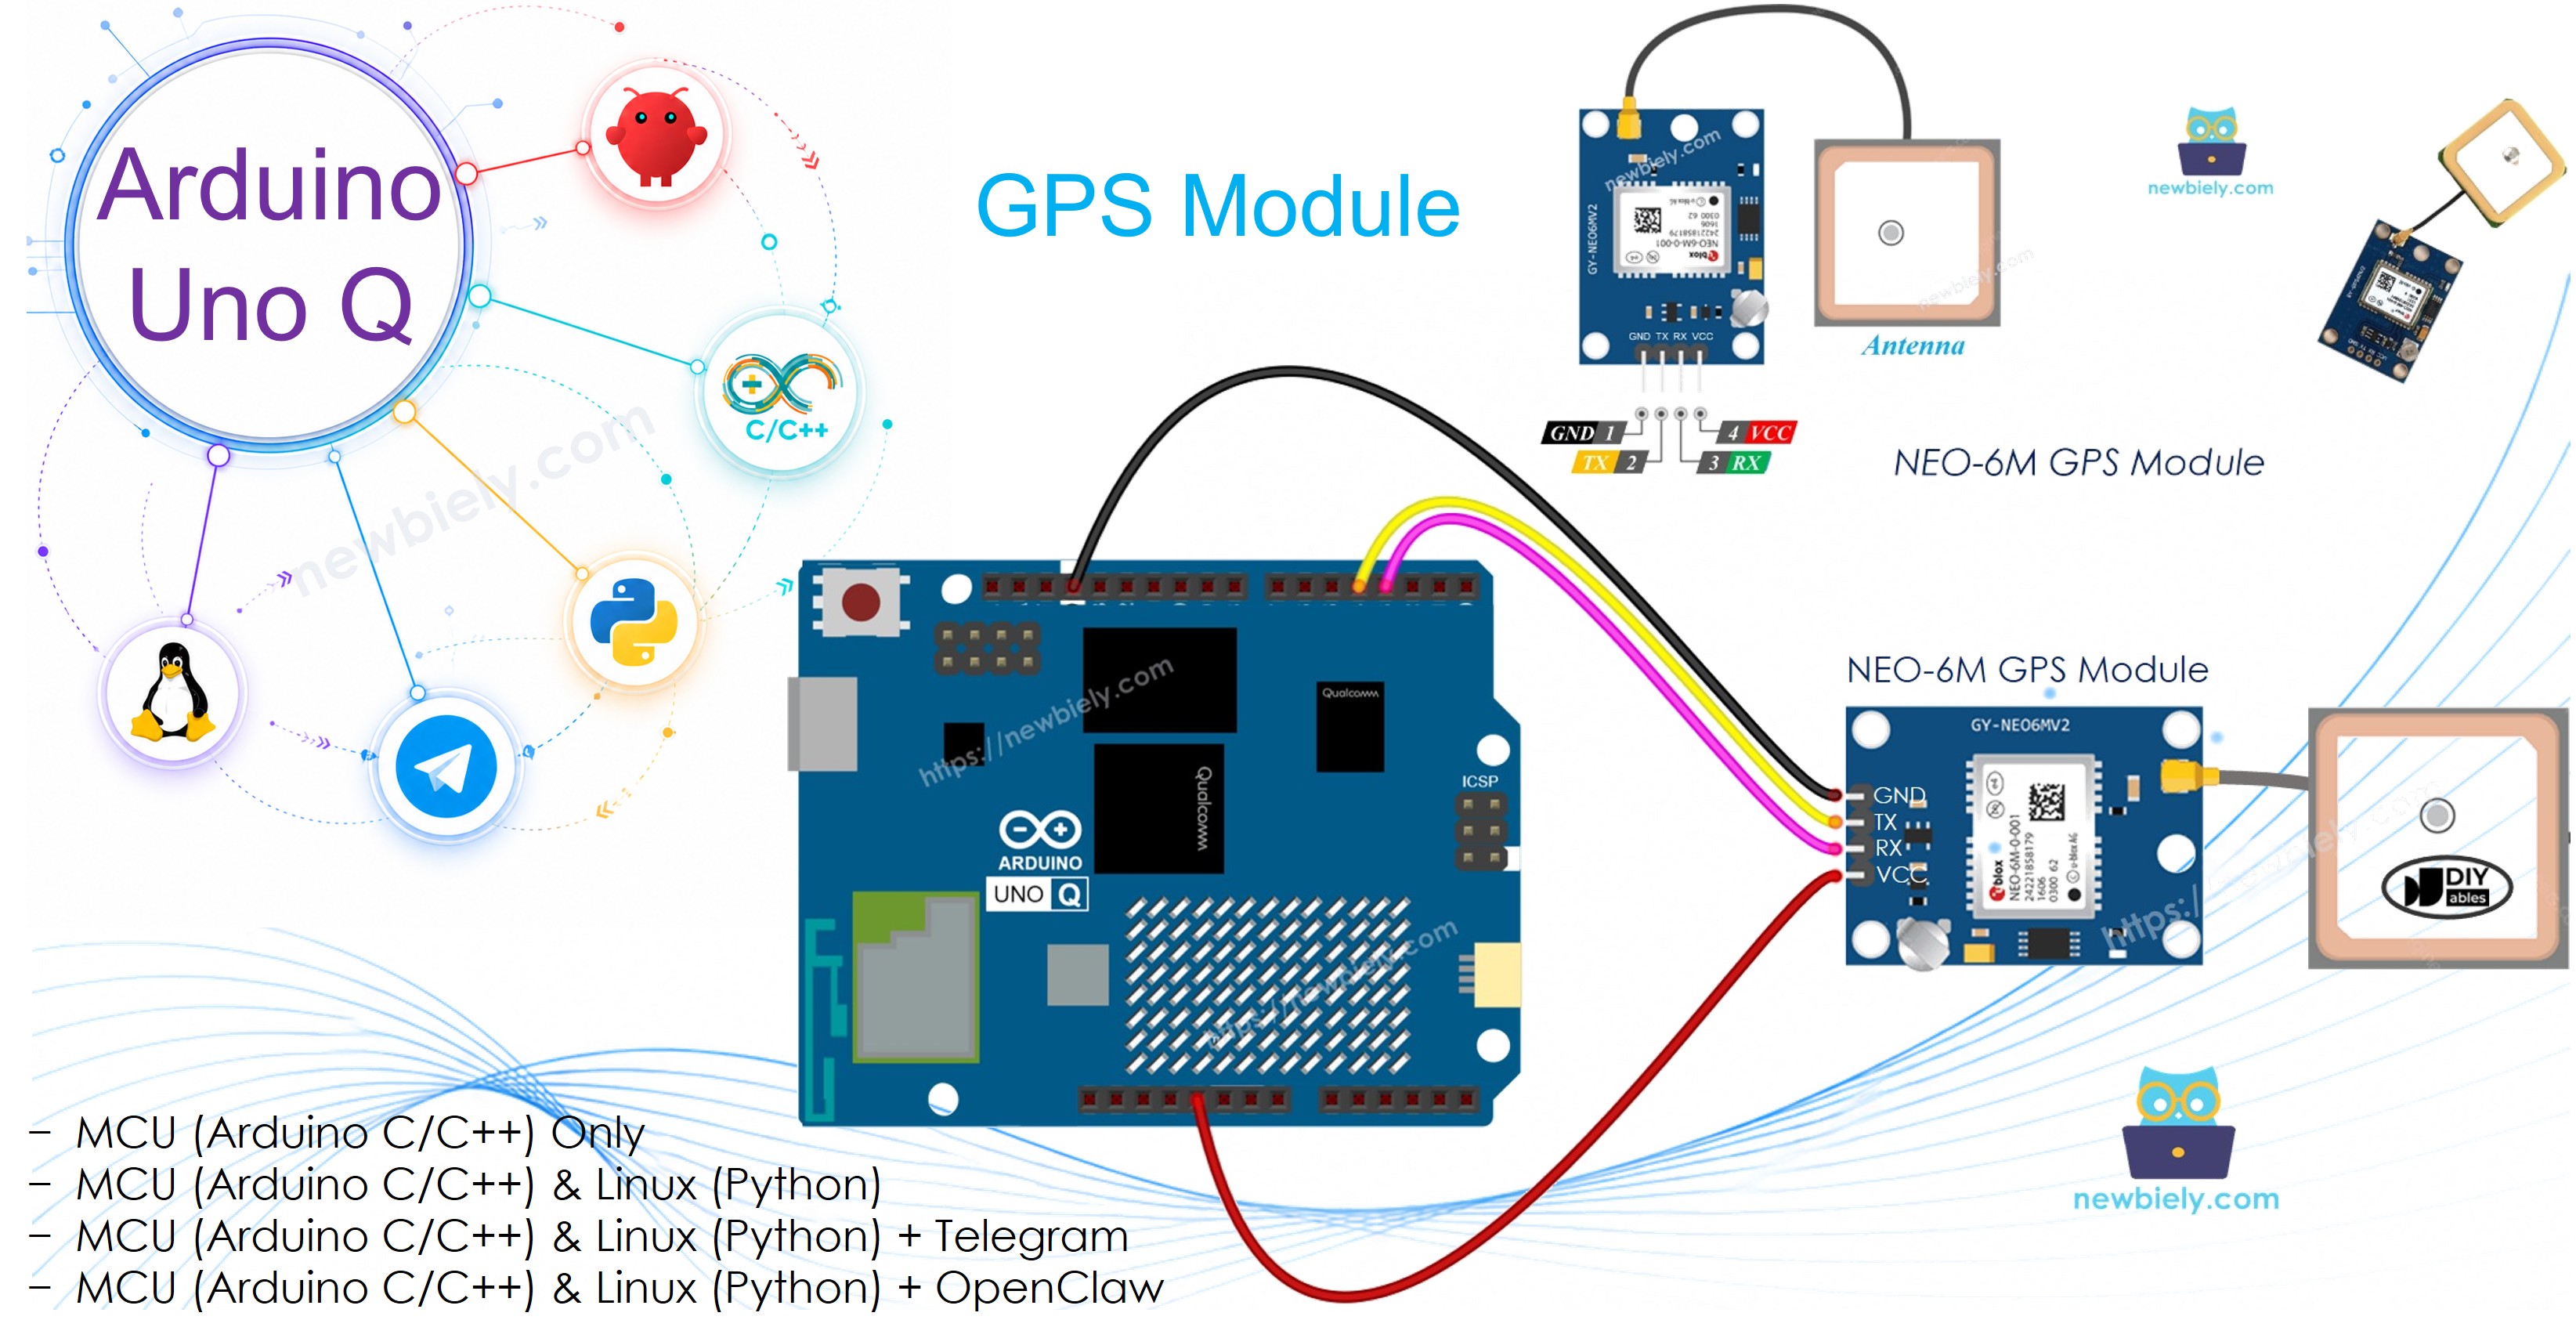
NEO-6M GPS 모듈은 NMEA 직렬 출력을 통해 정확한 위치, 속도, 고도, 시간 데이터를 제공합니다. Arduino UNO Q MCU는 TinyGPS++를 사용하여 GPS 데이터를 구문 분석하고 결과를 캐시한 후 Bridge를 통해 Linux 측에 노출하여 Telegram을 통한 Google Maps 위치 공유를 가능하게 합니다.
이 튜토리얼에서 배울 내용:
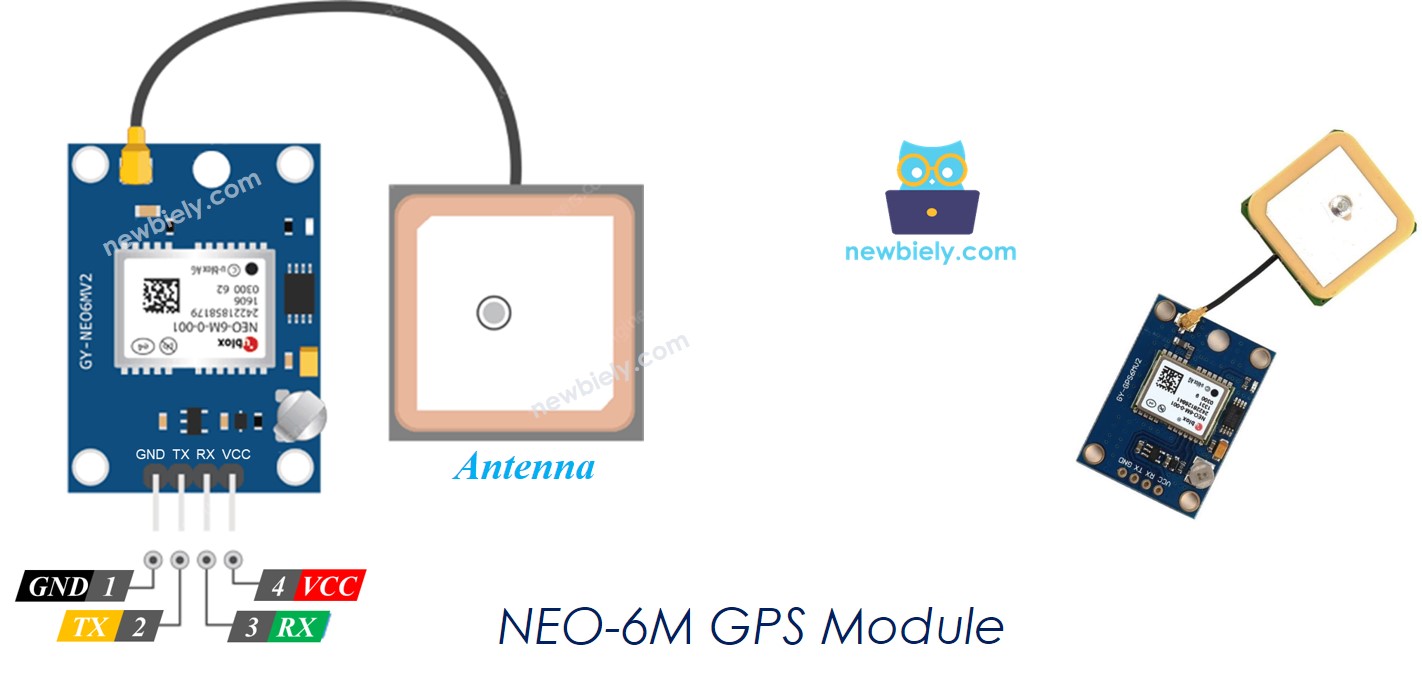
NEO-6M GPS 모듈의 작동 원리
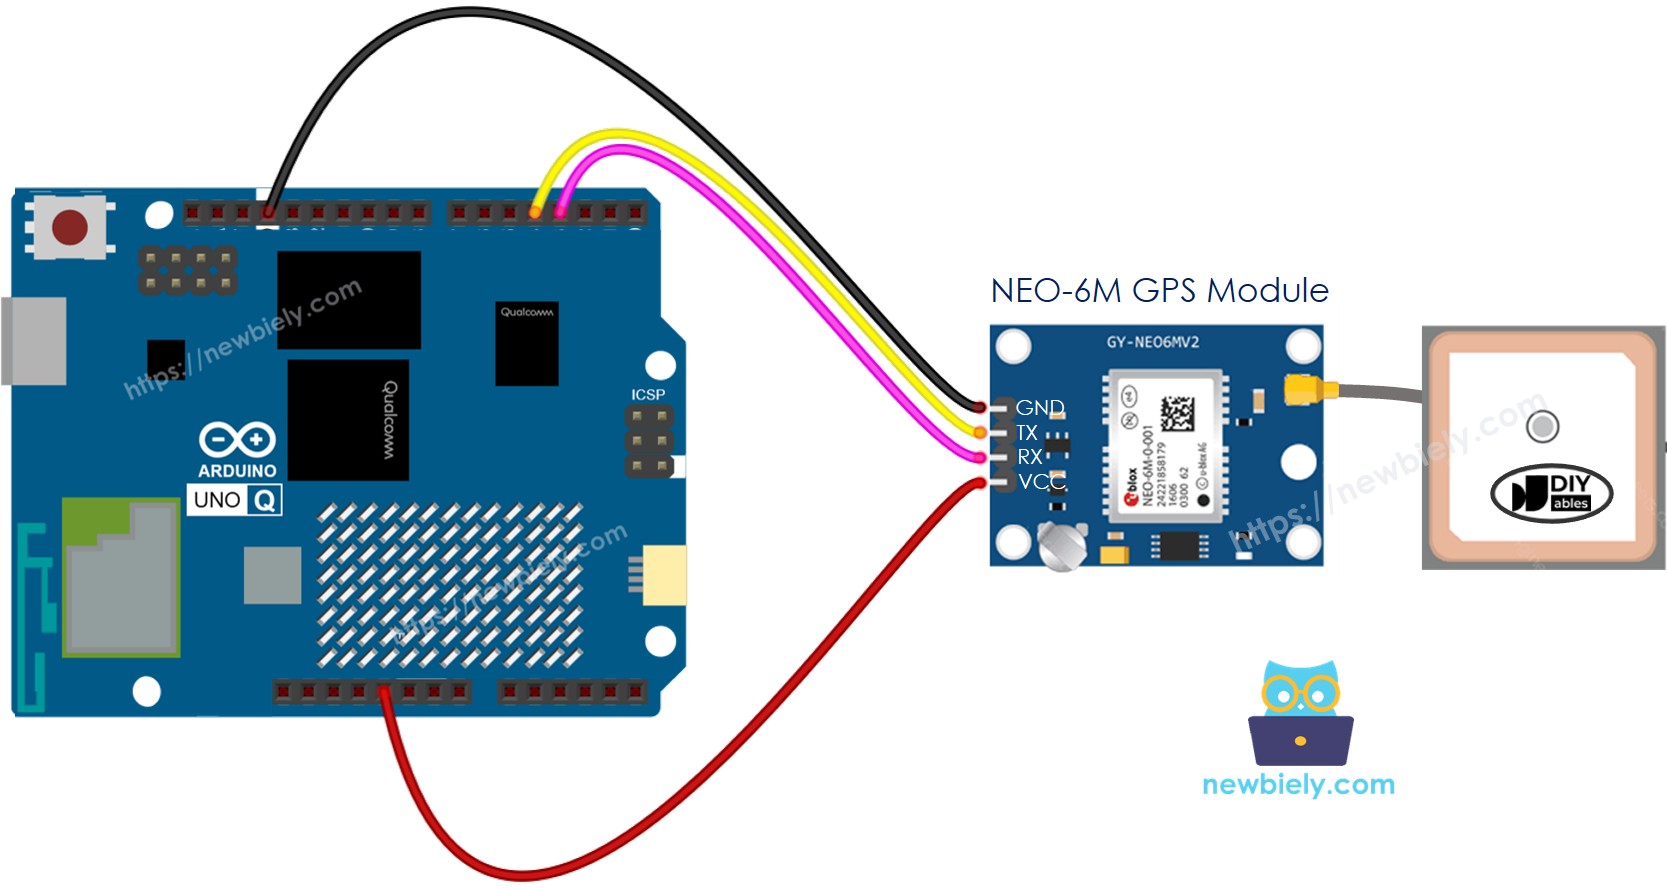
GPS 모듈을 Arduino UNO Q MCU에 연결하는 방법
Arduino UNO Q에서 TinyGPS++를 사용하여 GPS NMEA 데이터 구문 분석하는 방법
위도, 경도, 고도, 속도, 날짜/시간 읽기
Bridge를 사용하여 GPS 데이터를 Linux 측(Python)에 노출하는 방법
Arduino UNO Q에서 Telegram을 통해 위치를 공유하는 GPS 추적기 구축하기
Arduino UNO Q에서 GPS와 함께 OpenClaw 사용하기
※ 주의:
GPS 모듈은 위성 신호를 수신하기 위해 하늘이 막히지 않아야 합니다. 실외가 가장 좋으며, 창가 근처에서도 작동할 수 있습니다. 첫 번째 신호 수신에는 몇 분이 걸릴 수 있습니다.
while (gpsSerial.available() > 0) { gps.encode(gpsSerial.read());}
신호가 유효할 때 좌표를 읽습니다:
if (gps.location.isValid()) {double lat = gps.location.lat();double lng = gps.location.lng();}
Arduino UNO Q 코드
Arduino UNO Q에는 함께 작동하는 두 개의 프로세서가 있습니다:
STM32 MCU는 GPS NMEA 문장을 계속 읽고 TinyGPS++로 구문 분석한 후 좌표, 속도, 고도, 날짜/시간을 Serial Monitor에 출력합니다.
Qualcomm MPU는 Wi-Fi가 있는 Debian Linux를 실행합니다 — 이 섹션에서는 MCU만 프로그래밍됩니다. 나중 섹션은 Bridge를 통해 두 프로세서가 함께 작동하는 방법을 보여줍니다.
/* * 이 Arduino UNO Q 코드는 newbiely.kr 에서 개발되었습니다 * 이 Arduino UNO Q 코드는 어떠한 제한 없이 공개 사용을 위해 제공됩니다. * 상세한 지침 및 연결도에 대해서는 다음을 방문하세요: * https://newbiely.kr/tutorials/arduino-uno-q/arduino-uno-q-gps */#include <TinyGPS++.h>#include <SoftwareSerial.h>#define RX_PIN 4 // The Arduino UNO Q MCU pin connected to TX of the GPS module#define TX_PIN 3 // The Arduino UNO Q MCU pin connected to RX of the GPS moduleTinyGPSPlus gps;SoftwareSerial gpsSerial(RX_PIN, TX_PIN);voidsetup() {Serial.begin(9600); gpsSerial.begin(9600); // NEO-6M default baud rateSerial.println("Arduino UNO Q - NEO-6M GPS Module");}voidloop() {while (gpsSerial.available() > 0) {if (gps.encode(gpsSerial.read())) {if (gps.location.isValid()) {Serial.print("- Latitude : ");Serial.println(gps.location.lat(), 6);Serial.print("- Longitude: ");Serial.println(gps.location.lng(), 6);Serial.print("- Altitude : ");if (gps.altitude.isValid())Serial.println(gps.altitude.meters());elseSerial.println("INVALID"); } else {Serial.println("- Location: INVALID (waiting for fix...)"); }Serial.print("- Speed : ");if (gps.speed.isValid()) {Serial.print(gps.speed.kmph());Serial.println(" km/h"); } else {Serial.println("INVALID"); }Serial.print("- Date/Time: ");if (gps.date.isValid() && gps.time.isValid()) {Serial.print(gps.date.year());Serial.print("-");Serial.print(gps.date.month());Serial.print("-");Serial.print(gps.date.day());Serial.print(" ");Serial.print(gps.time.hour());Serial.print(":");Serial.print(gps.time.minute());Serial.print(":");Serial.println(gps.time.second()); } else {Serial.println("INVALID"); }Serial.println(); } }if (millis() > 5000 && gps.charsProcessed() < 10)Serial.println("No GPS data received: check wiring");}
빠른 단계
Arduino UNO Q를 처음 사용하시나요? 진행하기 전에 아두이노 우노 Q 시작하기 튜토리얼을 따르세요.
연결: NEO-6M GPS 모듈을 배선도에 표시된 대로 Arduino UNO Q MCU에 연결합니다.
센서를 외부로 가져가기 또는 맑은 하늘이 보이는 창가 근처에 놓습니다.
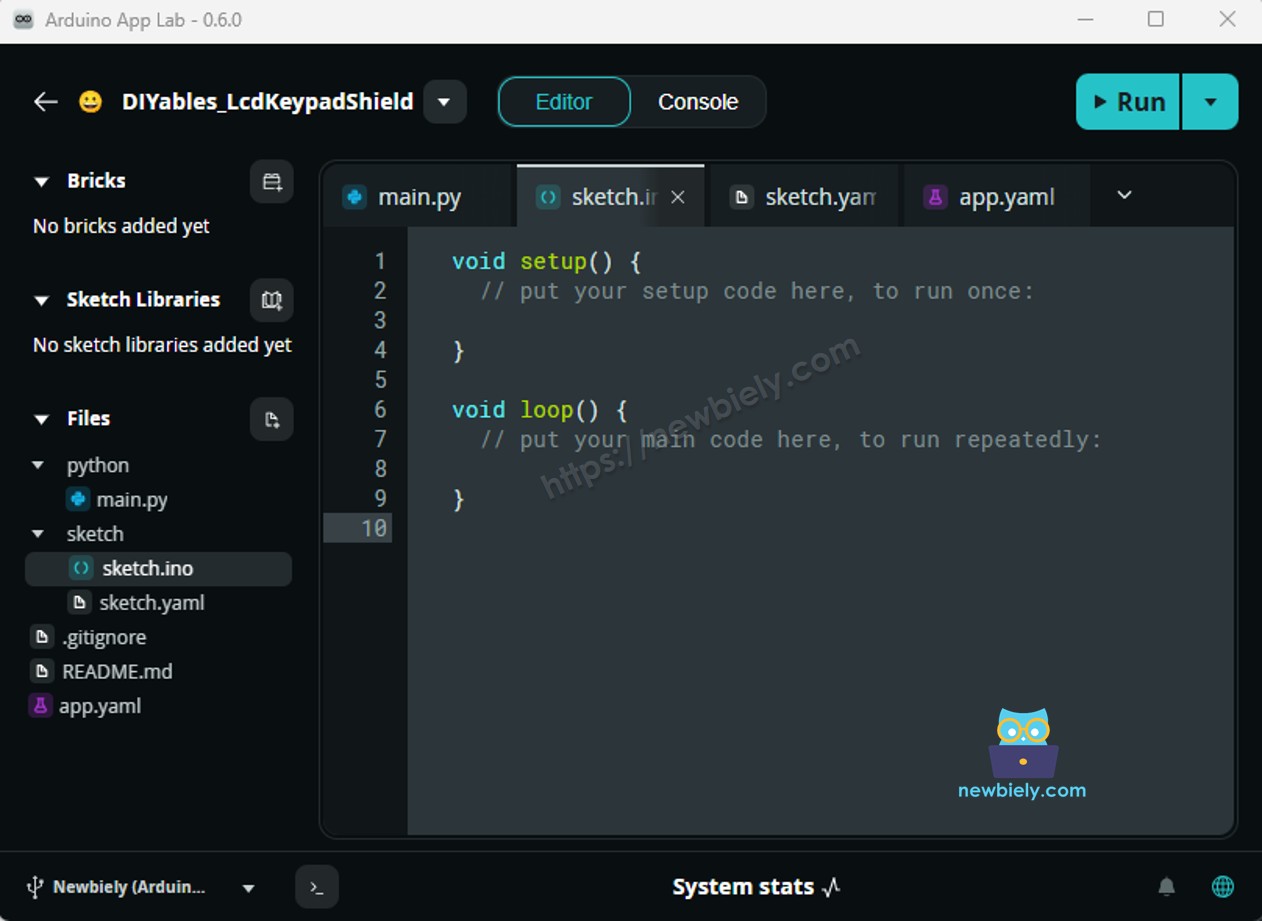
Arduino App Lab 열기: Arduino App Lab을 실행하고 Arduino UNO Q를 감지할 때까지 기다립니다.
새 앱 만들기:새 앱 만들기 버튼을 클릭합니다.
앱에 이름을 지정합니다. 예: GPSModule
만들기를 클릭하여 확인합니다.
스케치 붙여넣기: 위의 MCU 코드를 복사하여 sketch/sketch.ino에 붙여넣습니다.
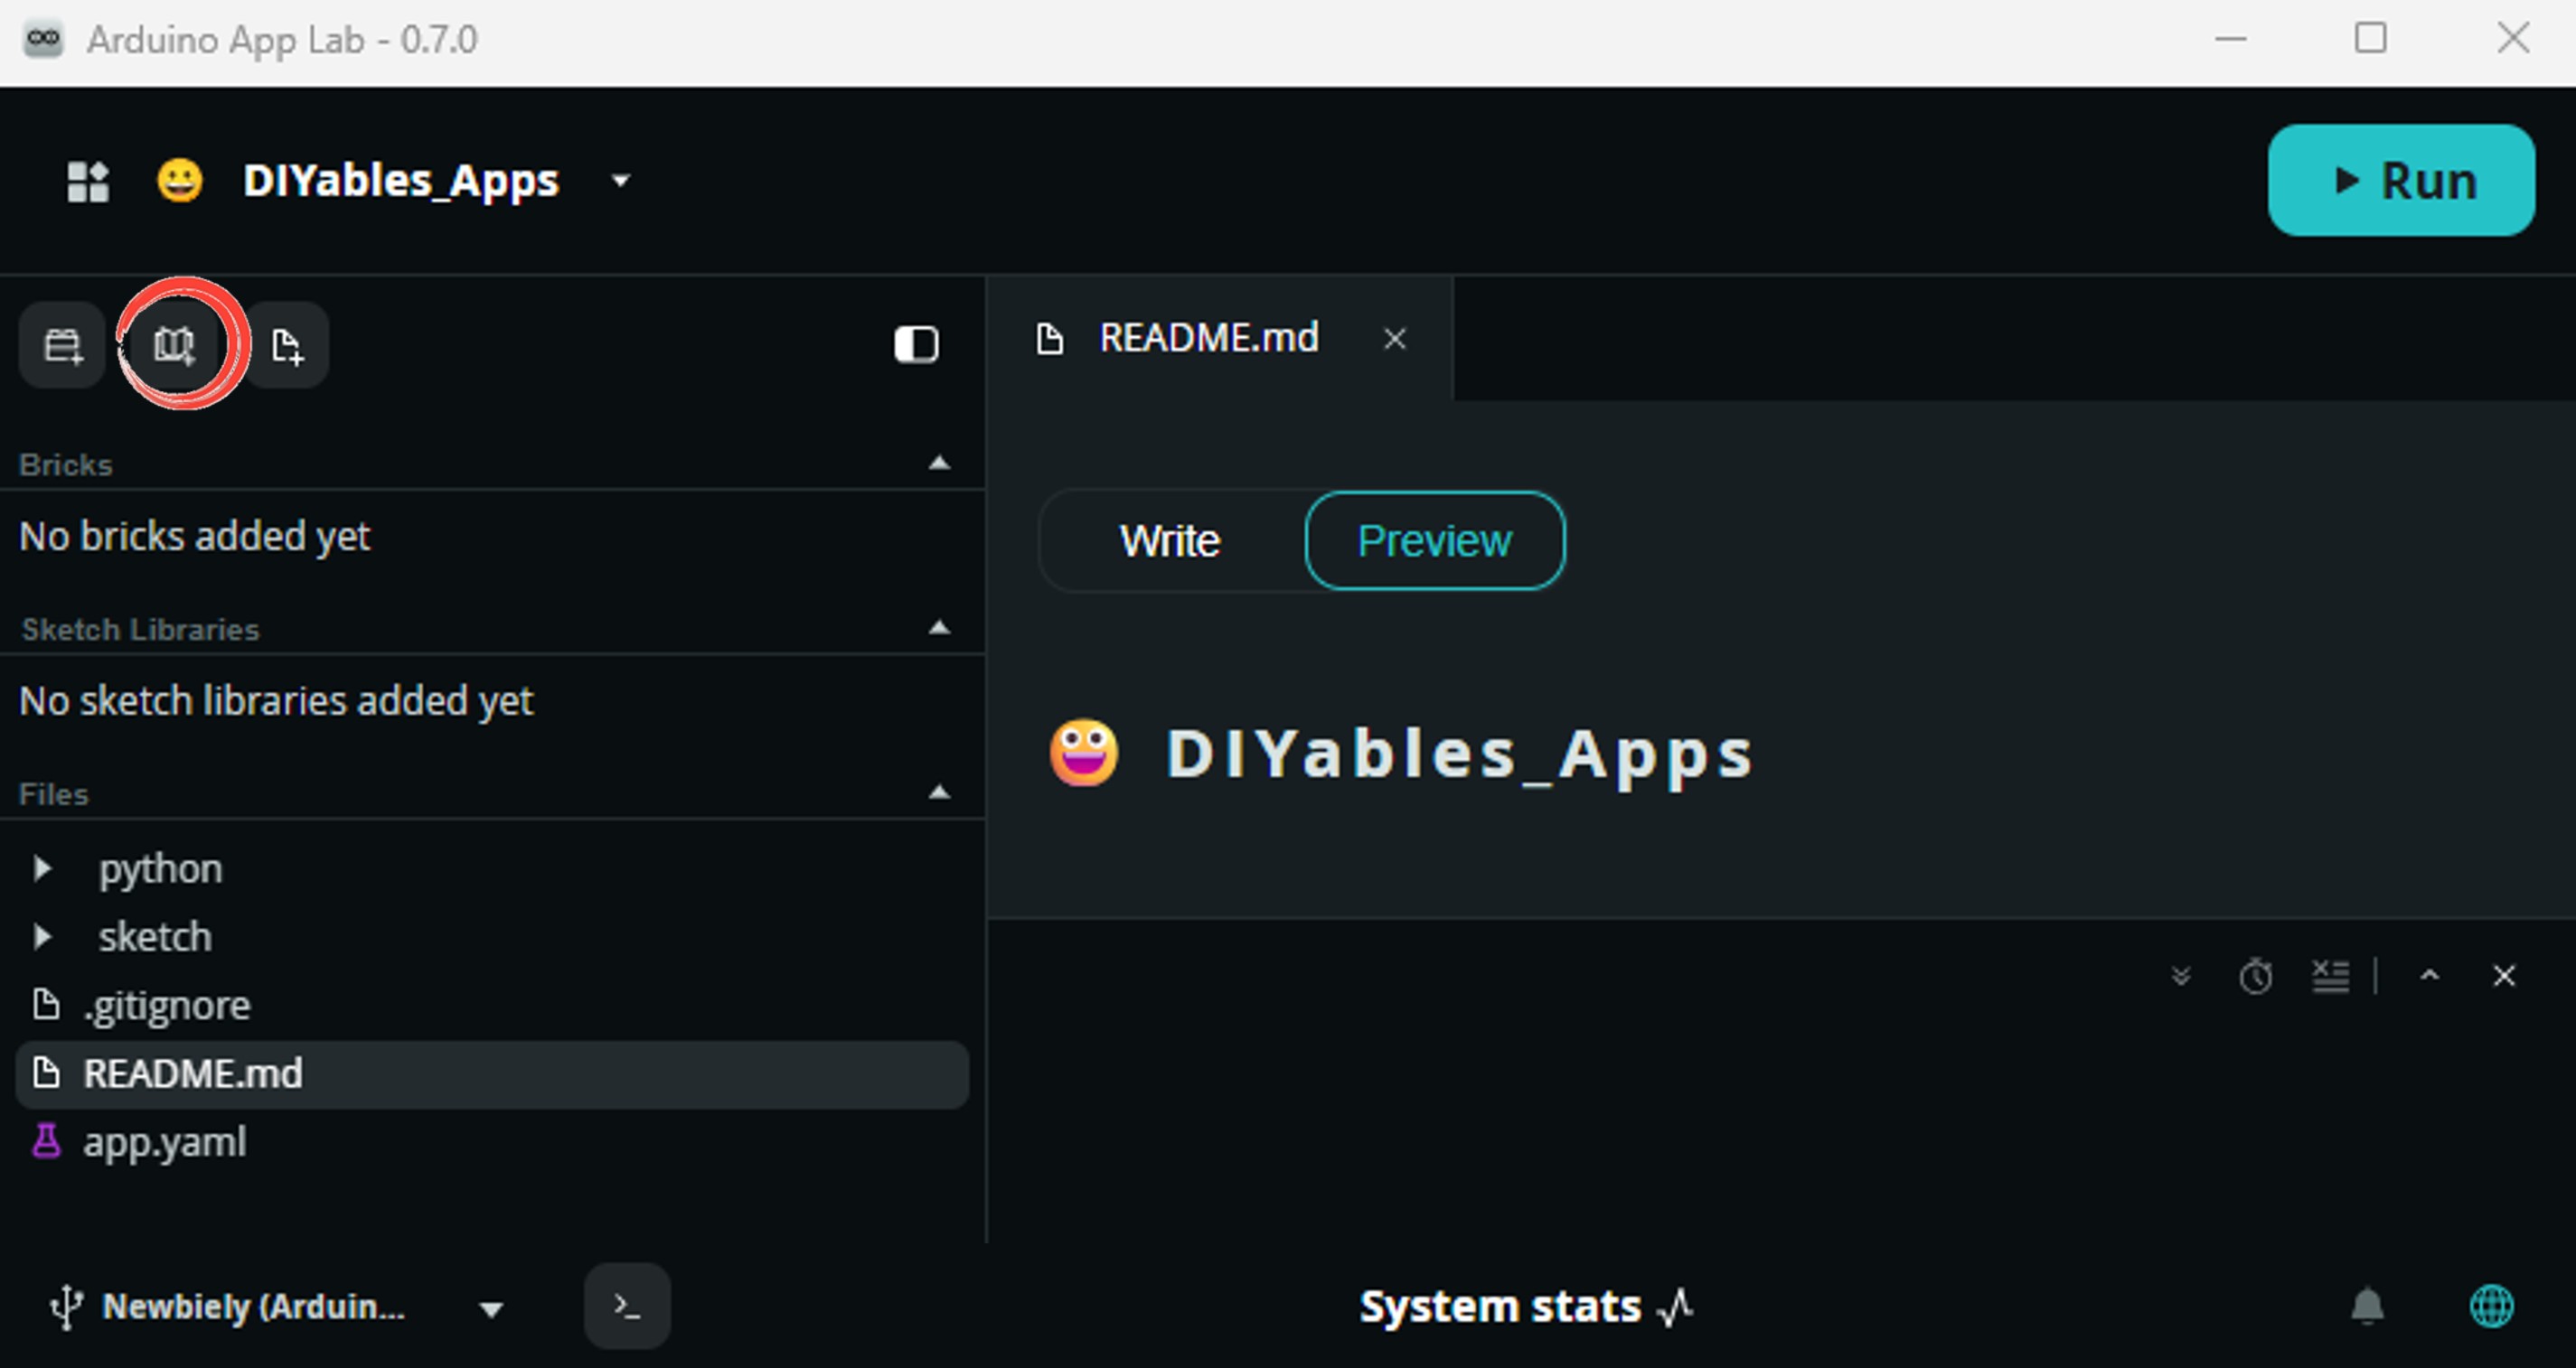
Install the library: Click the Add sketch library button (the open book icon with a + sign) in the left sidebar.
Search for TinyGPSPlus created by Mikal Hart and click the Install button.
My Apps/DIYables Apps
Run
Bricks
No bricks added...
Sketch Libraries
No sketch libra...
Files
python
sketch
.gitignore
README.md
app.yaml
sketch.ino
Add sketch library
TinyGPSPlus
TinyGPSPlusMikal Hart
NMEA is the standard format GPS devices use to report location, time, altitude, etc. TinyGPSPlus is a compact, resilient library that parses the most common NMEA 'sentences' used: GGA and RMC. It can also be customized to extract data from *any* compliant sentence.
1.0.3
Install
More Info
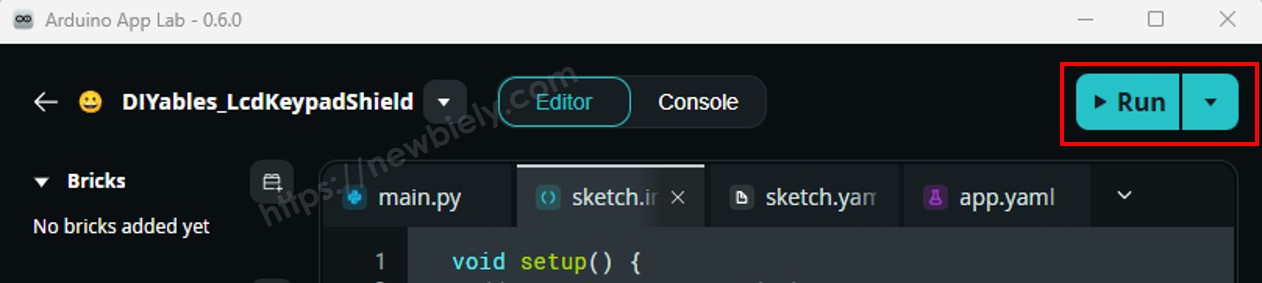
업로드: Arduino App Lab에서 실행 버튼을 클릭합니다.
GPS 모듈의 파란색 LED가 깜빡이기 시작할 때까지 기다립니다 — 이는 위성 신호가 수신되었음을 나타냅니다.
Serial Monitor에서 GPS 데이터를 확인합니다.
App Lab 콘솔 출력
DIYables_Apps
Stop
sketch.ino
1#include"Arduino_RouterBridge.h"
Serial Monitor
Python
Message (Enter to send a message to "Newbiely" on usb(2820070321))
이 섹션은 Bridge를 통해 GPS 데이터를 Linux 측에 노출하도록 Arduino UNO Q의 두 프로세서를 모두 프로그래밍하는 방법을 보여줍니다:
GPS 모듈은 MCU에 연결되어 있습니다 — MCU는 계속해서 NMEA 문장을 구문 분석하고 위도, 경도, 고도, 속도, 날짜/시간을 캐시합니다.
MPU는 GPS UART를 직접 읽을 수 없습니다 — Bridge 함수를 호출하여 캐시된 GPS 값을 가져옵니다.
MPU는 Wi-Fi를 가지고 있습니다 — Debian Linux를 실행하면서 Telegram을 통해 Google Maps 링크로 GPS 위치를 공유할 수 있습니다.
Arduino_RouterBridge는 RPC 통신을 두 프로세서 간에 가능하게 합니다.
⚠️ /dev/ttyHS1(Linux) 및 Serial1(MCU)은 라우터로 예약됨 — 사용자 코드에서 절대 열지 마세요.
MCU 코드 (Bridge)
/* * 이 Arduino UNO Q 코드는 newbiely.kr 에서 개발되었습니다 * 이 Arduino UNO Q 코드는 어떠한 제한 없이 공개 사용을 위해 제공됩니다. * 상세한 지침 및 연결도에 대해서는 다음을 방문하세요: * https://newbiely.kr/tutorials/arduino-uno-q/arduino-uno-q-gps */#include"Arduino_RouterBridge.h"#include <TinyGPS++.h>#include <SoftwareSerial.h>#define RX_PIN 4 // The Arduino UNO Q MCU pin connected to TX of the GPS module#define TX_PIN 3 // The Arduino UNO Q MCU pin connected to RX of the GPS moduleTinyGPSPlus gps;SoftwareSerial gpsSerial(RX_PIN, TX_PIN);// Cached GPS databool cached_valid = false;double cached_lat = 0.0;double cached_lng = 0.0;double cached_alt = 0.0;double cached_speed = 0.0;char cached_datetime[32] = "INVALID";String get_location(String arg) {if (!cached_valid) return"INVALID";char buf[48]; dtostrf(cached_lat, 10, 6, buf);String result = "lat:"; result += buf; dtostrf(cached_lng, 11, 6, buf); result += " lng:"; result += buf;return result;}String get_latitude(String arg) {if (!cached_valid) return"INVALID";char buf[16]; dtostrf(cached_lat, 10, 6, buf);returnString(buf);}String get_longitude(String arg) {if (!cached_valid) return"INVALID";char buf[16]; dtostrf(cached_lng, 11, 6, buf);returnString(buf);}String get_altitude(String arg) {if (!cached_valid || cached_alt == 0.0) return"INVALID";char buf[10]; dtostrf(cached_alt, 6, 1, buf);returnString(buf);}String get_speed(String arg) {if (!cached_valid) return"INVALID";char buf[10]; dtostrf(cached_speed, 6, 2, buf);returnString(buf);}String get_datetime(String arg) {returnString(cached_datetime);}voidsetup() {Bridge.begin(); Monitor.begin(); gpsSerial.begin(9600);Bridge.provide("get_location", get_location);Bridge.provide("get_latitude", get_latitude);Bridge.provide("get_longitude", get_longitude);Bridge.provide("get_altitude", get_altitude);Bridge.provide("get_speed", get_speed);Bridge.provide("get_datetime", get_datetime); Monitor.println("Arduino UNO Q GPS Bridge ready. Waiting for fix...");}voidloop() {while (gpsSerial.available() > 0) {if (gps.encode(gpsSerial.read())) {if (gps.location.isValid()) { cached_valid = true; cached_lat = gps.location.lat(); cached_lng = gps.location.lng();if (gps.altitude.isValid()) cached_alt = gps.altitude.meters();if (gps.speed.isValid()) cached_speed = gps.speed.kmph();if (gps.date.isValid() && gps.time.isValid()) { snprintf(cached_datetime, sizeof(cached_datetime),"%04d-%02d-%02d %02d:%02d:%02d", gps.date.year(), gps.date.month(), gps.date.day(), gps.time.hour(), gps.time.minute(), gps.time.second()); } } } }if (millis() > 5000 && gps.charsProcessed() < 10) Monitor.println("No GPS data received: check wiring");}
Python 코드 (Bridge)
/* * 이 Arduino UNO Q 코드는 newbiely.kr 에서 개발되었습니다 * 이 Arduino UNO Q 코드는 어떠한 제한 없이 공개 사용을 위해 제공됩니다. * 상세한 지침 및 연결도에 대해서는 다음을 방문하세요: * https://newbiely.kr/tutorials/arduino-uno-q/arduino-uno-q-gps */from arduino.app_utils import *import timedef loop(): location = Bridge.call("get_location") speed = Bridge.call("get_speed") datetime = Bridge.call("get_datetime") altitude = Bridge.call("get_altitude")print(f"Location : {location}")print(f"Speed : {speed} km/h")print(f"Altitude : {altitude} m")print(f"Date/Time: {datetime}")print() time.sleep(2)App.run(user_loop=loop)
빠른 단계
연결: NEO-6M GPS 모듈을 배선도에 표시된 대로 Arduino UNO Q에 연결합니다. 장치를 맑은 하늘이 보이는 창가 근처에 놓습니다.
Arduino App Lab 열기하고 GPSBridge라는 이름의 새 앱을 만듭니다.
MCU 스케치를sketch/sketch.ino에 붙여넣습니다.
Python 코드를 Python 파일에 붙여넣습니다.
업로드: 실행 버튼을 클릭합니다. GPS 모듈의 파란색 LED가 깜빡일 때까지 기다립니다.
신호가 수신되면 Python 콘솔에 GPS 데이터가 나타나기 시작합니다.
App Lab 콘솔 출력
DIYables_Apps
Stop
sketch.ino
1#include"Arduino_RouterBridge.h"
Serial Monitor
Python
Message (Enter to send a message to "Newbiely" on usb(2820070321))
New Line
9600 baud
[2026-04-29 09:00:01] Arduino UNO Q GPS Bridge ready. Waiting for fix...
📍 Location:
Latitude : 37.774900
Longitude: -122.419400
https://maps.google.com/?q=37.774900,-122.419400
10:16 AM
/speed
10:17 AM✓✓
🚀 Speed: 0.12 km/h
10:18 AM
/altitude
10:19 AM✓✓
⛰️ Altitude: 16.2 m
10:20 AM
/time
10:21 AM✓✓
🕐 GPS Date/Time: 2026-04-29 09:10:15
10:22 AM
OpenClaw
You can adapt the OpenClaw to this tutorial by refering the instruction on 아두이노 우노 Q - OpenClaw Tutorial
프로젝트 아이디어
Arduino UNO Q의 GPS 모듈로 많은 유용한 프로젝트를 구축할 수 있습니다:
개인 GPS 추적기: 언제든지 Telegram을 통해 /location을 전송하여 현재 GPS 좌표와 클릭 가능한 Google Maps 링크를 즉시 받습니다 — 차량이나 애완동물 추적에 완벽합니다.
지오펜스 경고 시스템: Python에서 홈 위치(위도/경도)를 정의합니다. GPS가 설정된 거리 이상 멀어지면 현재 위치와 Google Maps 링크와 함께 자동으로 Telegram 경고를 보냅니다.
속도 모니터: Python에서 계속해서 GPS 속도 값을 확인합니다 — 설정된 임계값(예: 시속 120km)을 초과하면 현재 속도와 위치와 함께 Telegram 경고를 보냅니다.
여행 기록: 10초마다 Linux 측의 CSV 파일에 GPS 좌표, 속도, 고도를 기록합니다. Telegram 명령 /summary를 보내 총 여행 거리, 최대 속도, 소요 시간을 얻습니다.
자동 위치 브로드캐스트: Python 타이머를 사용하여 Telegram에 5분마다 자동으로 GPS 위치를 전송합니다 — 움직이는 자산이나 차량을 실시간으로 모니터링하는 데 유용합니다.
도전해보세요
Arduino UNO Q에서 GPS를 더 활용할 준비가 되었나요? 다음 도전을 시도해보세요:
쉬움: MCU에서 gps.satellites.value()를 사용하여 현재 GPS 모듈에 보이는 위성 수를 반환하는 /satellites Telegram 명령을 추가하고 get_satellites Bridge 함수를 통해 노출합니다.
중급: Python에서 지오펜스를 구현합니다: GPS가 저장된 홈 위치에서 500미터 이상 떨어지면 자동으로 Telegram 경고를 보냅니다. MCU에서 TinyGPSPlus::distanceBetween()을 사용하거나 Python에서 Haversine 거리를 계산합니다.
고급: 라이브 여행 추적기 구축: Linux에서 30초마다 이동 중(속도 > 시속 2km)일 때 타임스탬프와 함께 GPS 좌표를 JSON 파일에 기록합니다. /track Telegram 명령을 구현하여 마지막 5개 기록된 포인트를 형식화된 경로 요약과 총 예상 거리로 반환합니다.