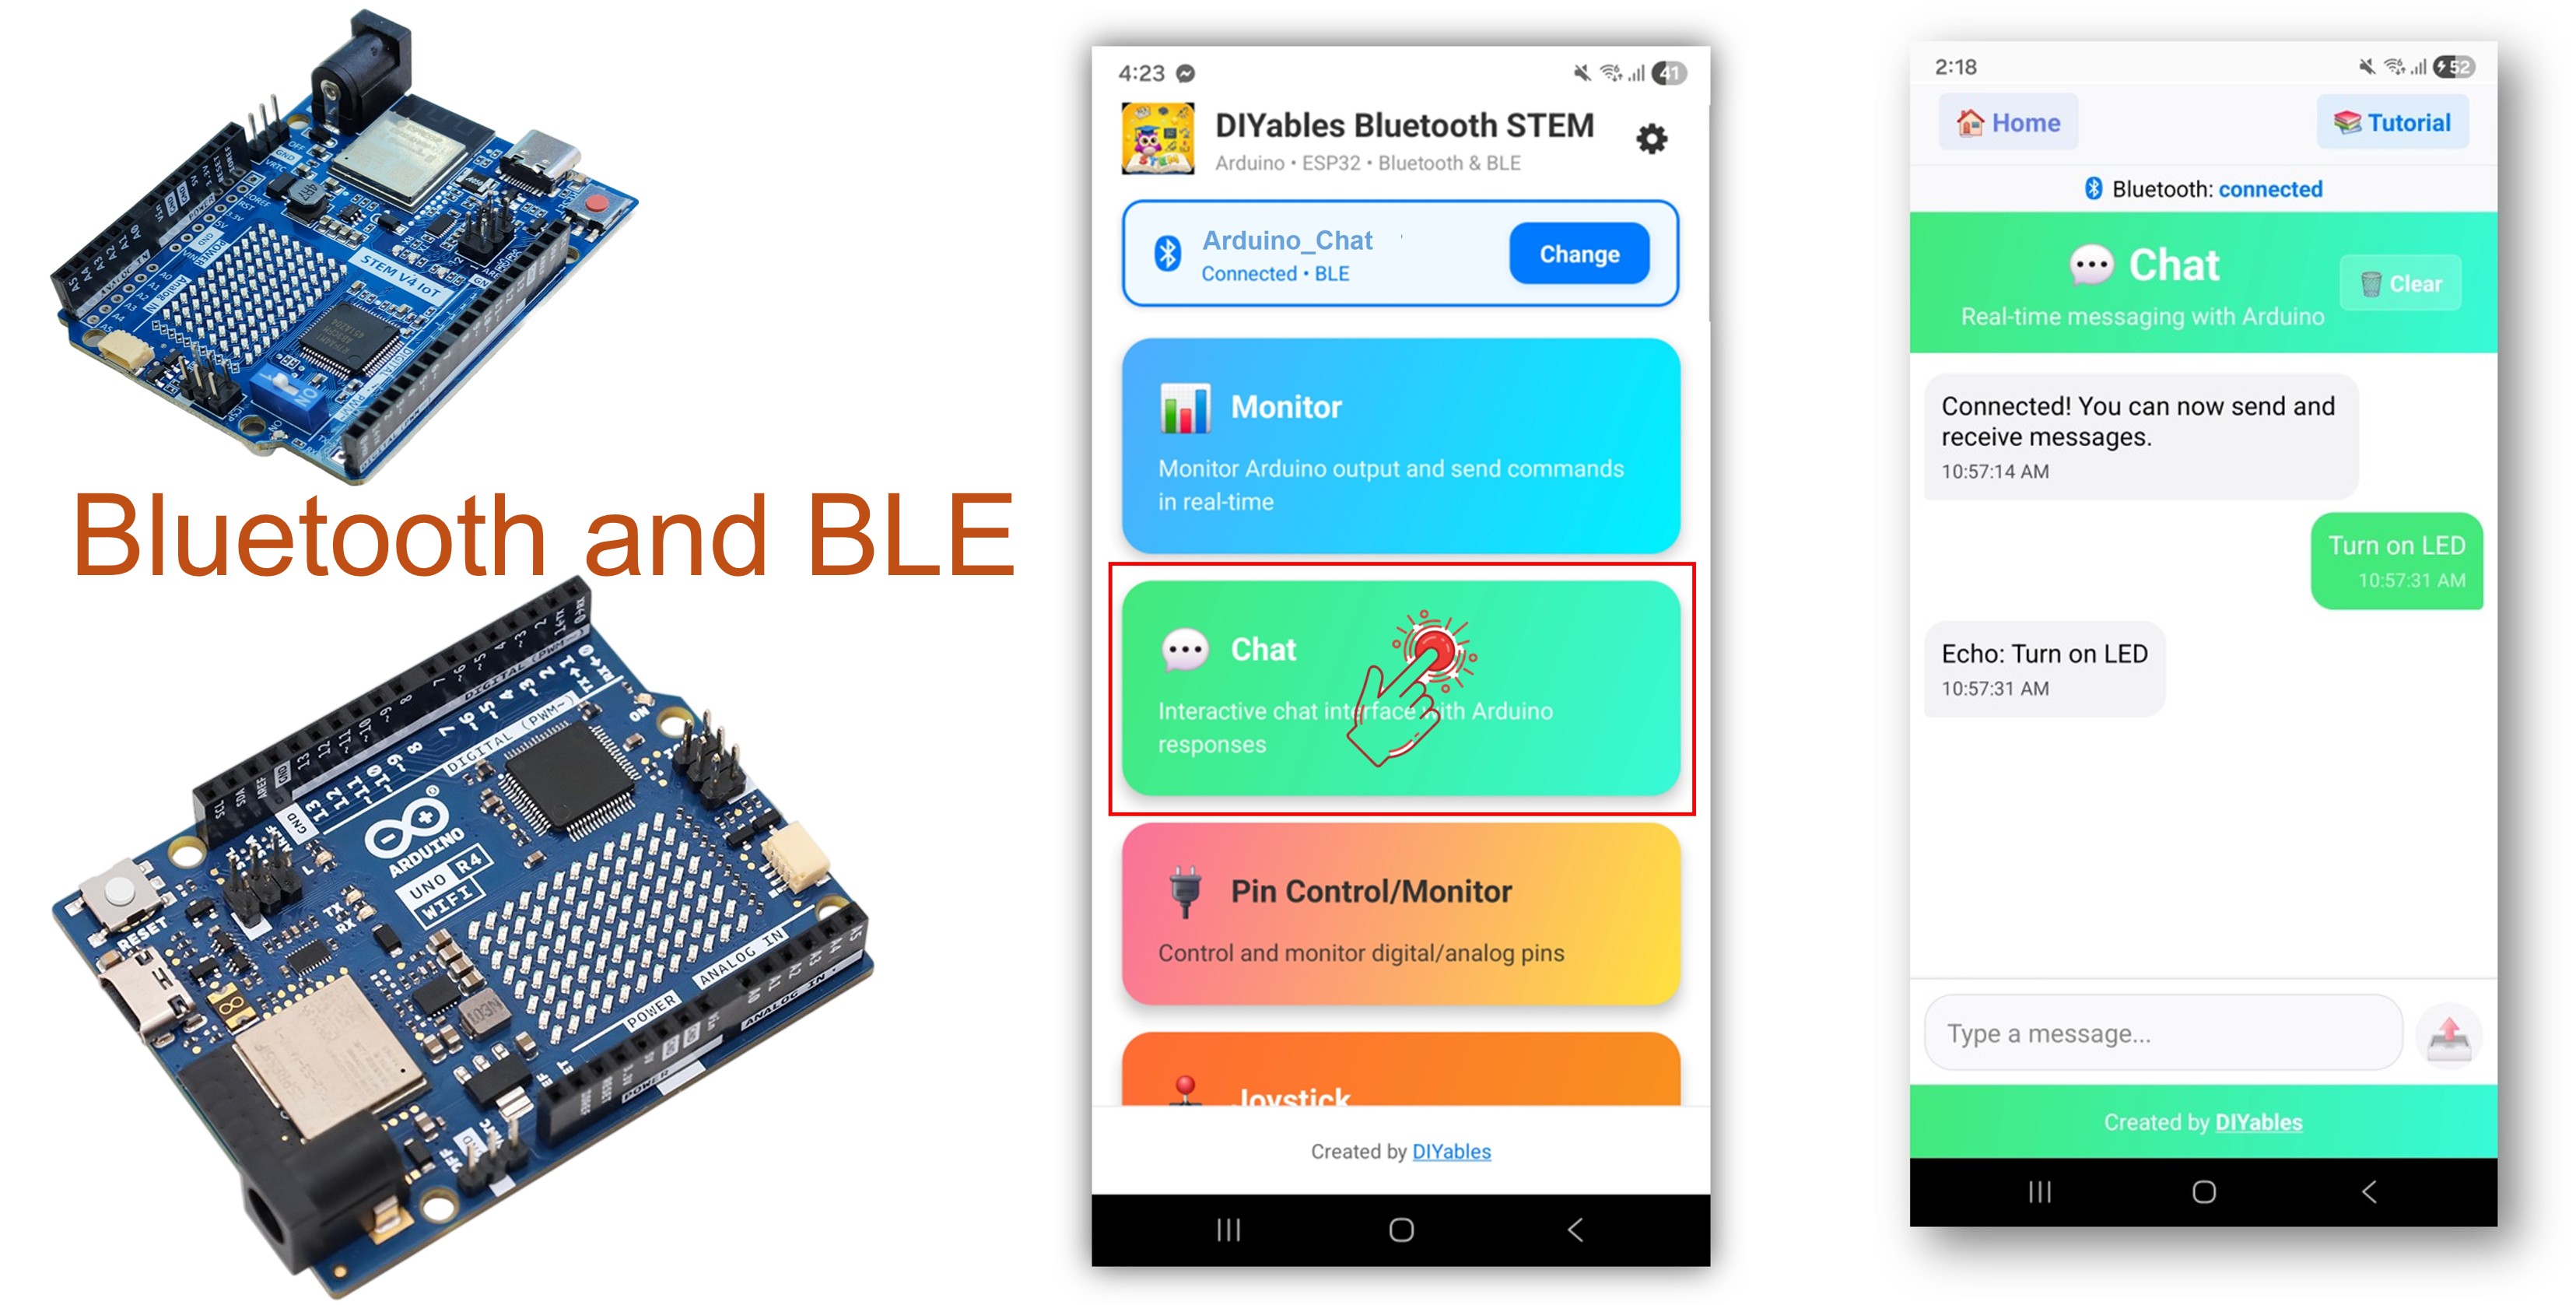
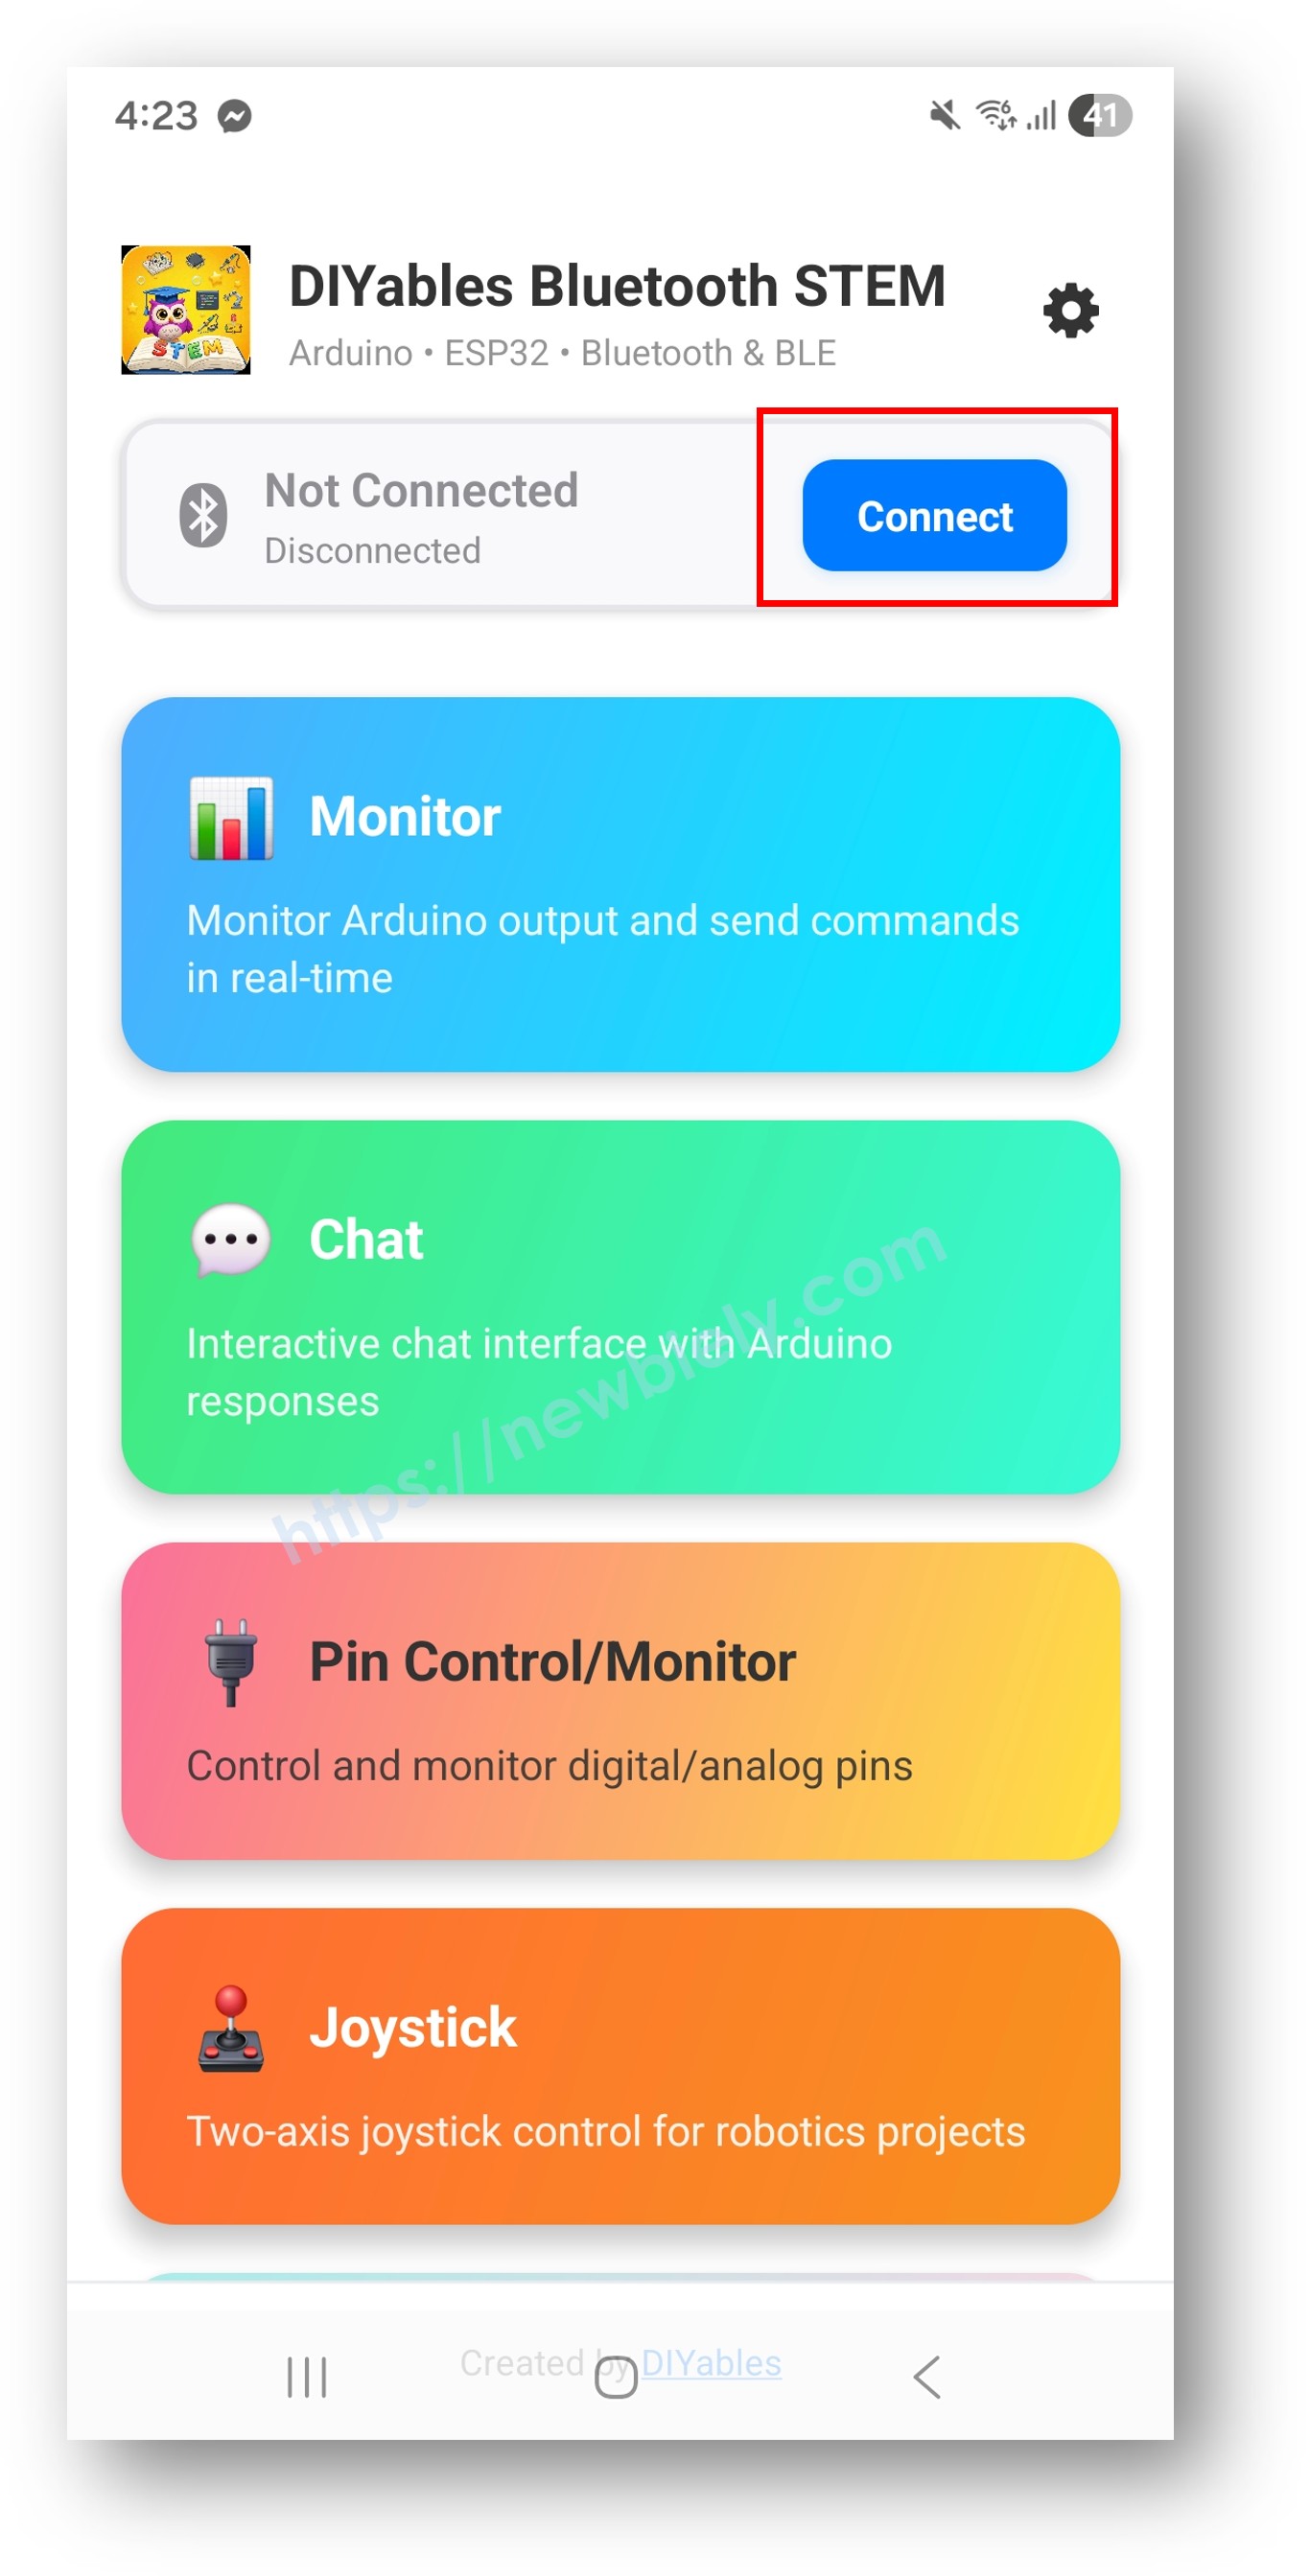
블루투스 채팅 예제는 DIYables 블루투스 STEM 앱을 통해 접근할 수 있는 양방향 텍스트 메시지 인터페이스를 제공합니다. BLE(Bluetooth Low Energy) 를 사용하는 Arduino UNO R4 WiFi 전용으로 설계되어 Arduino와 스마트폰 사이에서 실시간으로 텍스트 메시지를 주고받을 수 있습니다. 명령줄 인터페이스, 텍스트 명령을 통한 원격 제어, 시리얼 브리지, 대화형 디버깅에 적합합니다.
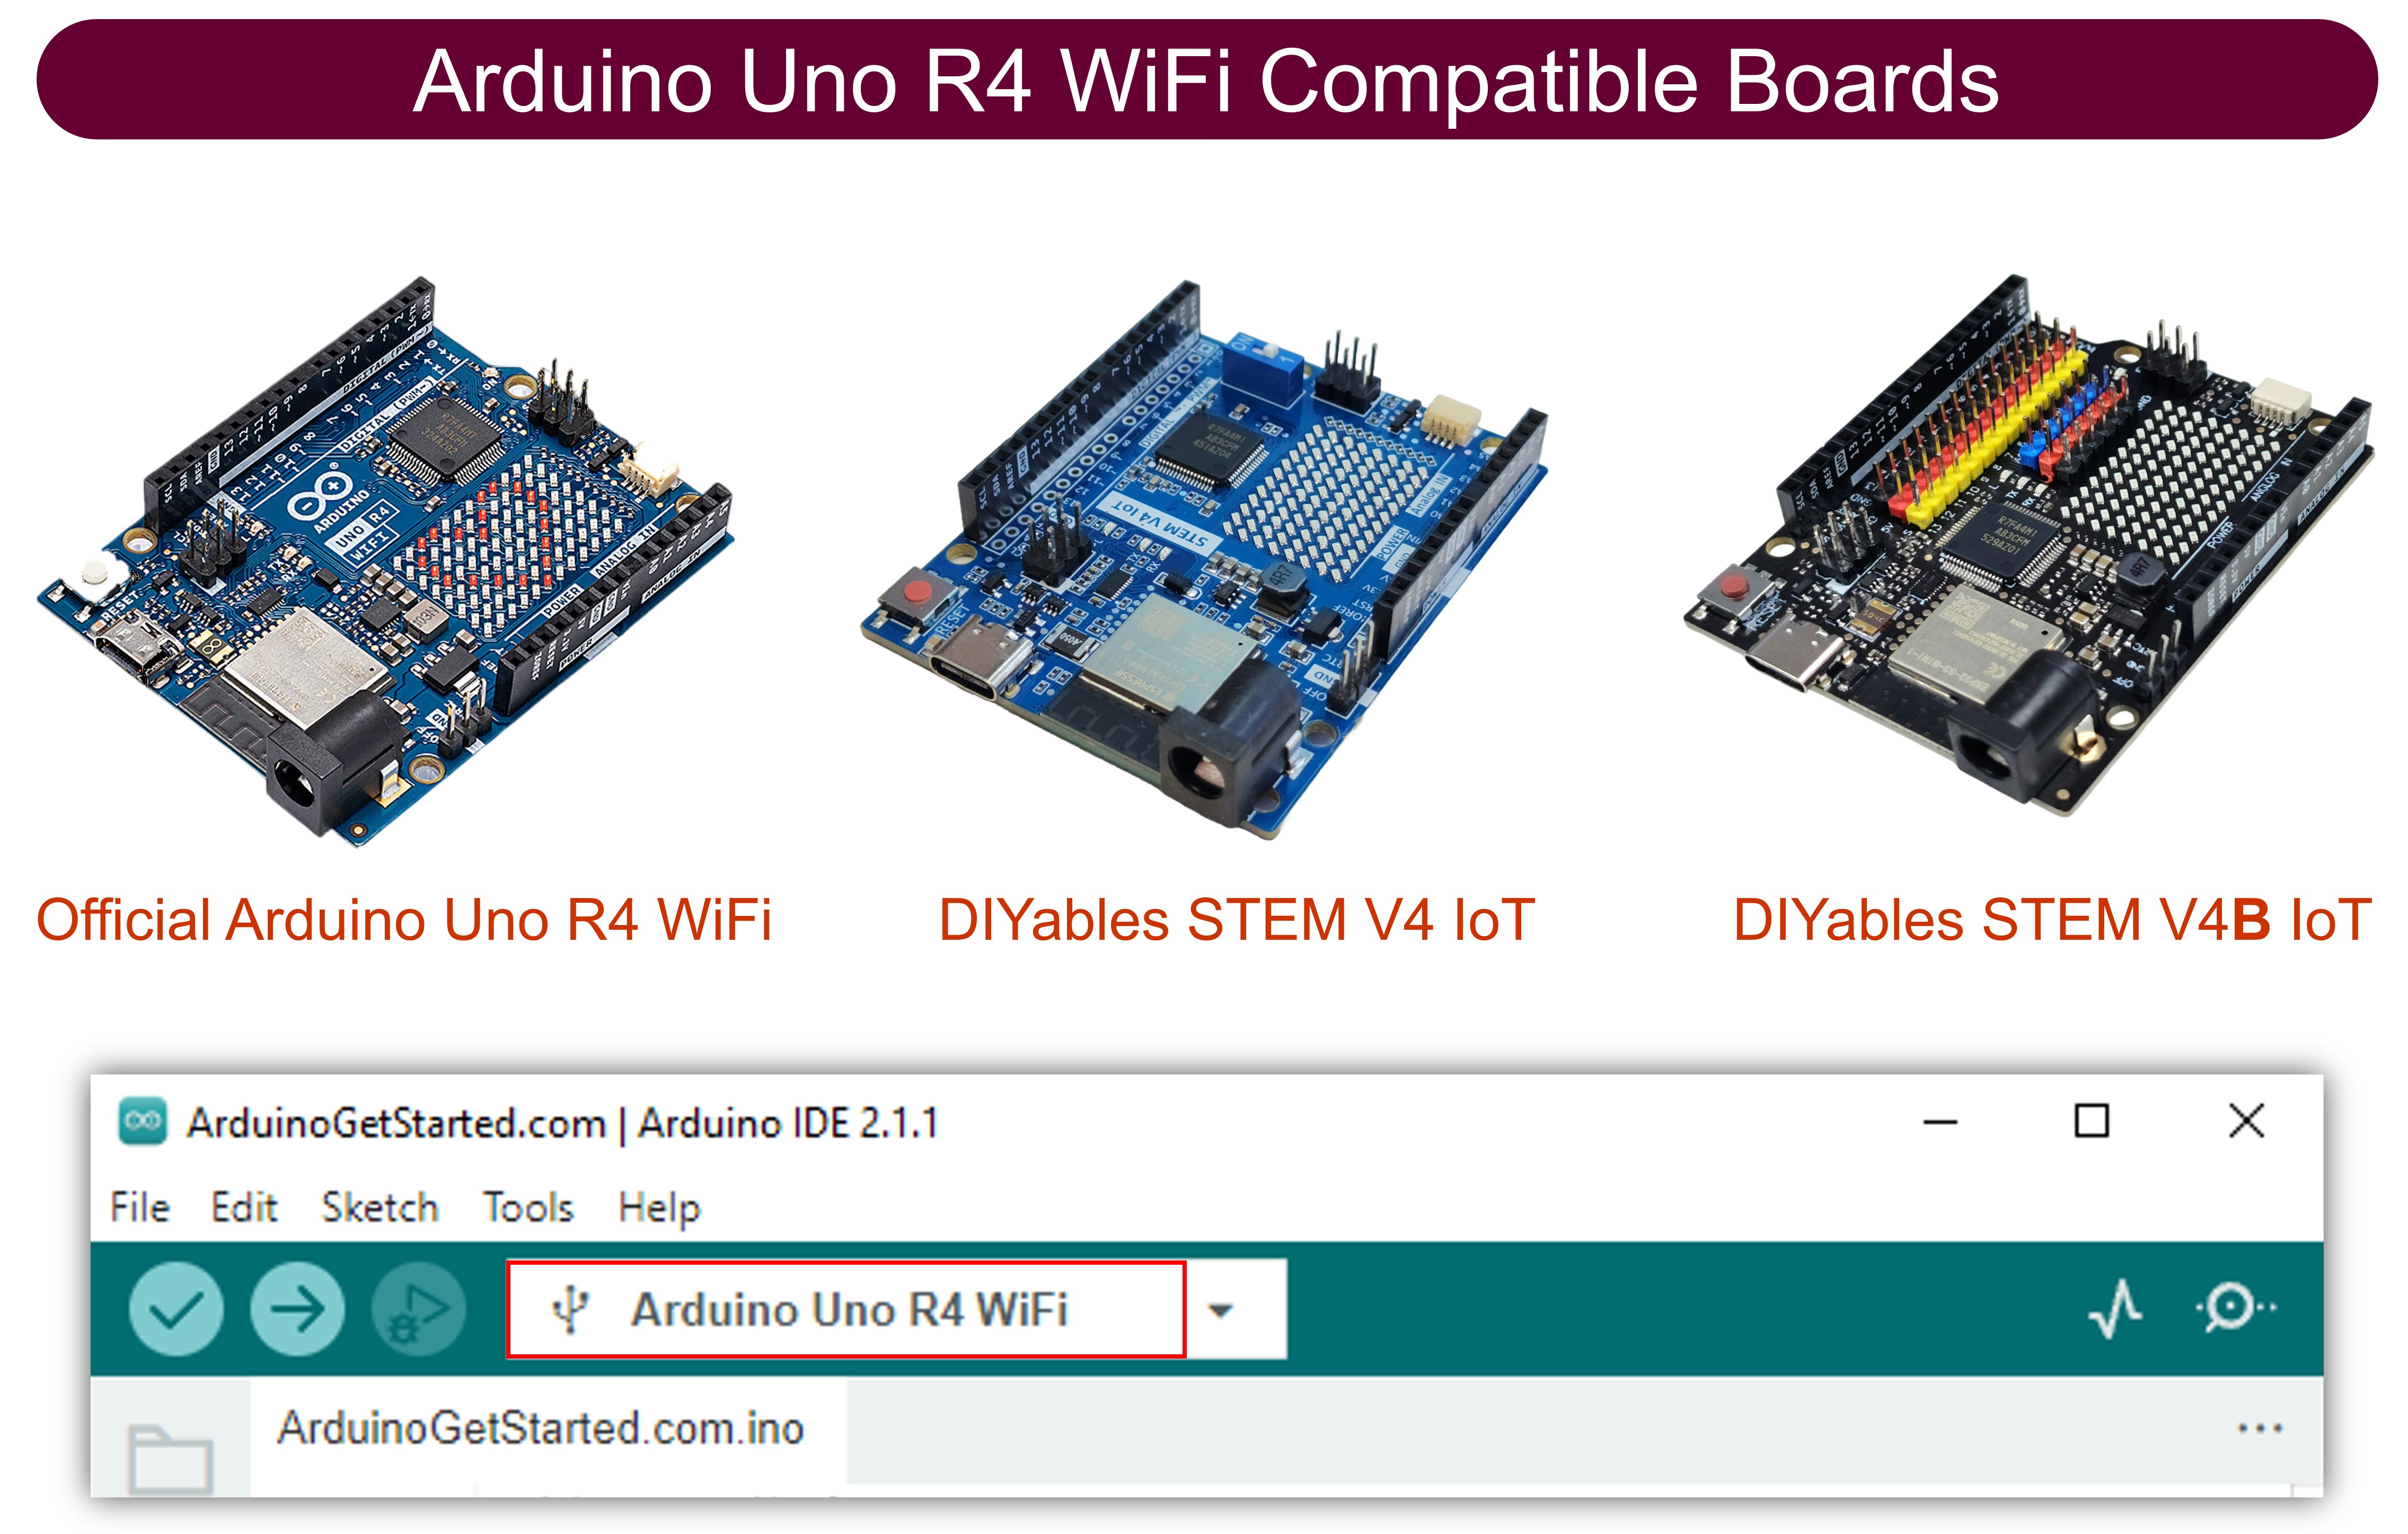
참고: Arduino UNO R4 WiFi는 BLE(Bluetooth Low Energy)만 지원합니다. 클래식 블루투스는 지원하지 않습니다. DIYables 블루투스 앱은 Android에서 BLE와 클래식 블루투스를 모두 지원하고, iOS에서는 BLE를 지원합니다. 이 보드는 BLE를 사용하므로 앱은 Android와 iOS 모두에서 작동합니다.
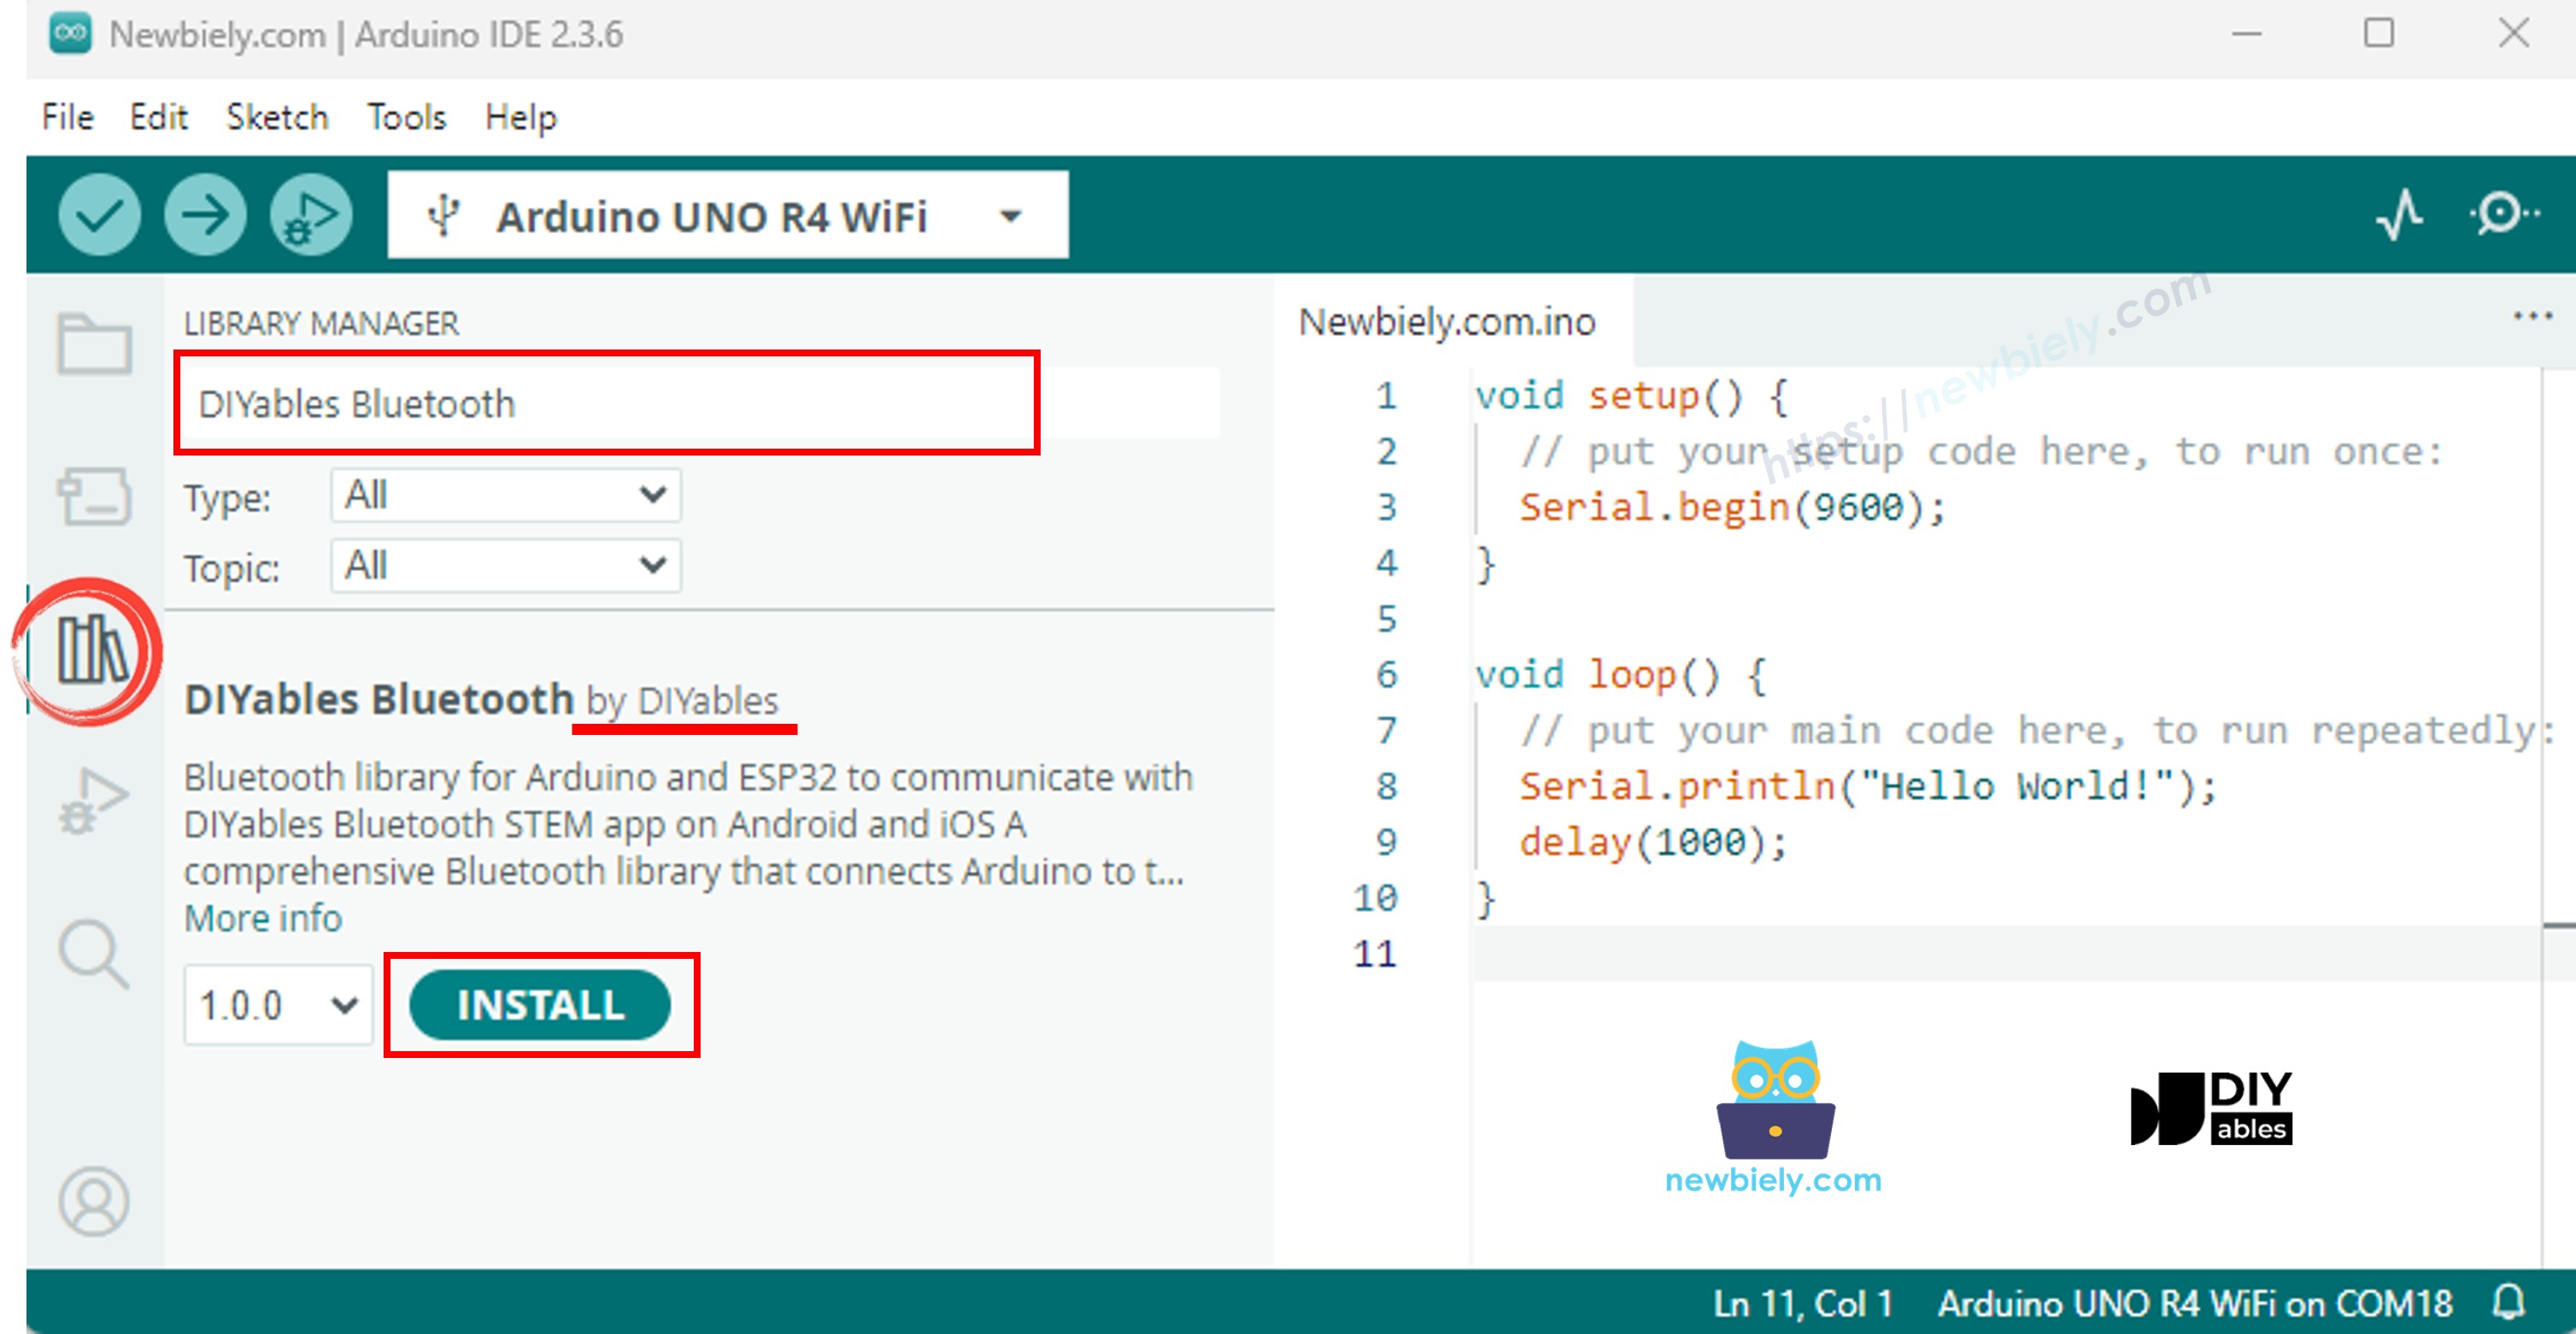
"DIYables Bluetooth"를 검색한 다음 DIYables의 DIYables Bluetooth 라이브러리를 찾습니다.
Install 버튼을 클릭하여 라이브러리를 설치합니다.
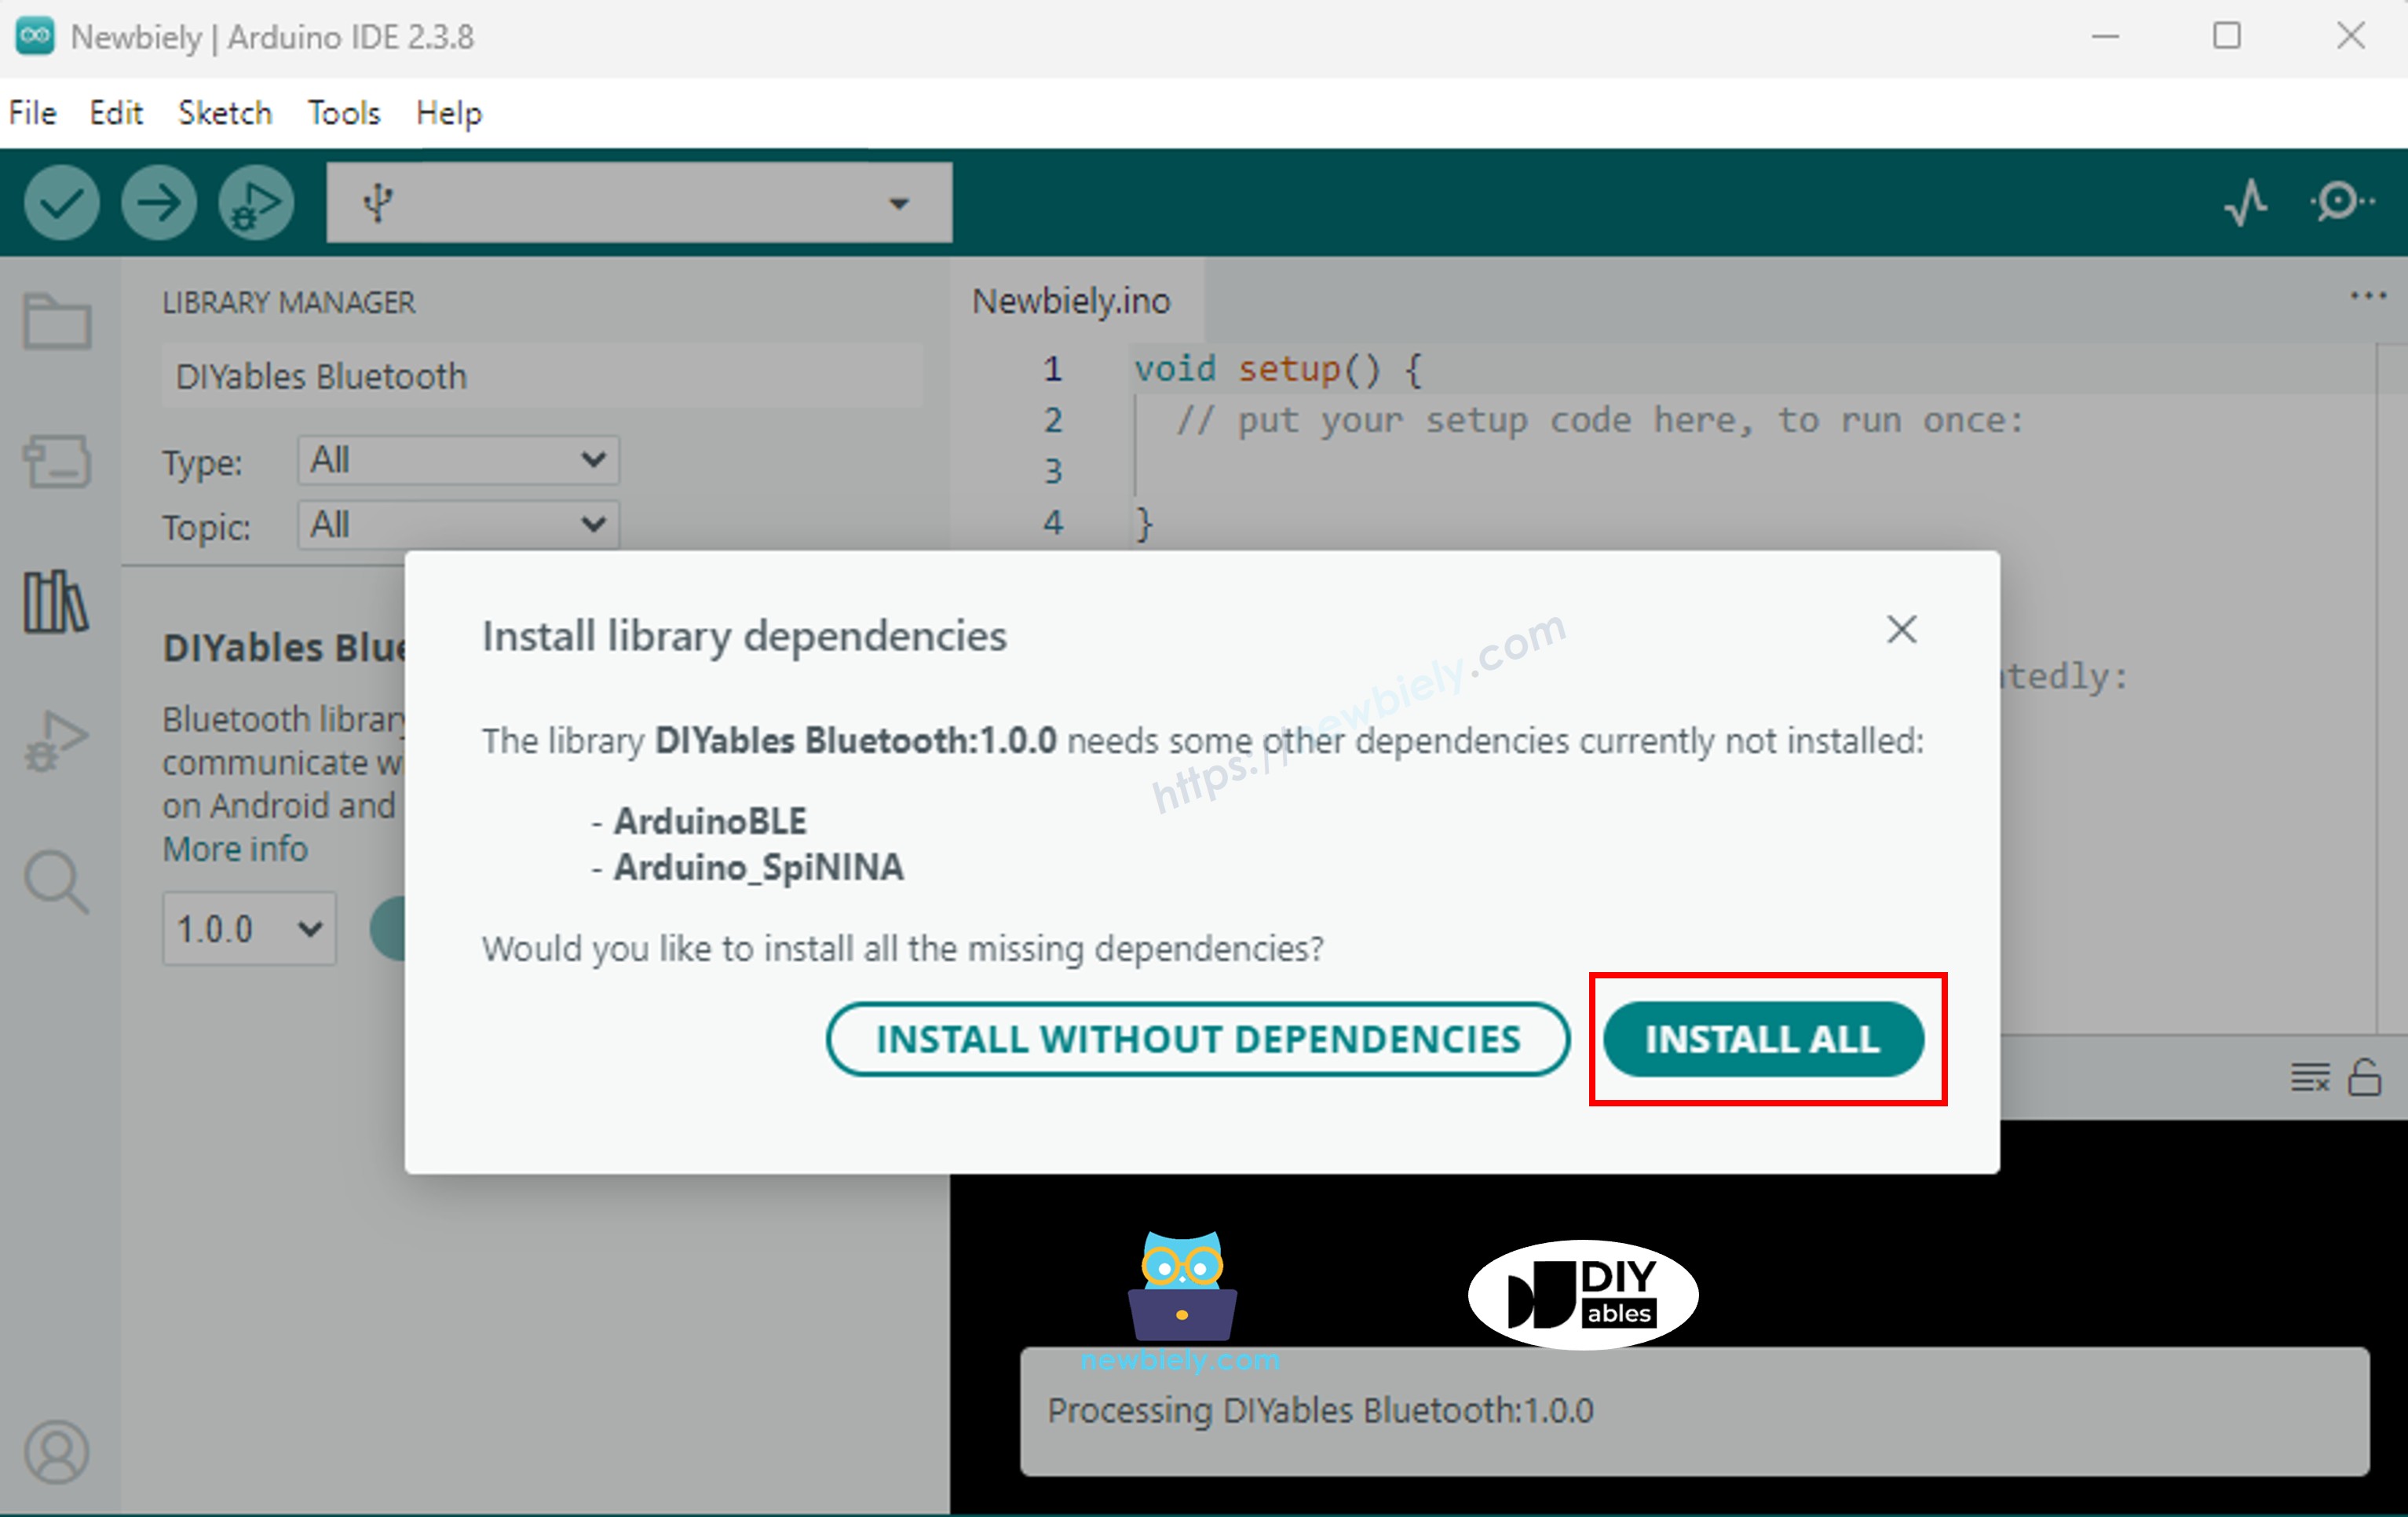
다른 라이브러리 종속성 설치를 요청받습니다.
Install All 버튼을 클릭하여 모든 라이브러리 종속성을 설치합니다.
BLE 코드
Arduino IDE에서 File Examples DIYables Bluetooth ArduinoBLE_Chat 예제로 이동하거나, 위의 코드를 복사하여 Arduino IDE 편집기에 붙여 넣습니다.
/* * DIYables Bluetooth Library - Bluetooth Chat Example * Works with DIYables Bluetooth STEM app on Android and iOS * * This example demonstrates the Bluetooth Chat feature: * - Two-way text messaging via Bluetooth * - Receive messages from mobile app * - Send messages to mobile app * * Compatible Boards: * - Arduino UNO R4 WiFi * - Arduino Nano 33 BLE / BLE Sense * - Arduino Nano 33 IoT * - Arduino MKR WiFi 1010 * - Arduino Nano RP2040 Connect * - Any board supporting the ArduinoBLE library * * Setup: * 1. Upload the sketch to your Arduino * 2. Open Serial Monitor to see connection status and messages * 3. Use DIYables Bluetooth App to connect and chat * * Tutorial: https://diyables.io/bluetooth-app * Author: DIYables */#include <DIYables_BluetoothServer.h>#include <DIYables_BluetoothChat.h>#include <platforms/DIYables_ArduinoBLE.h>// BLE Configurationconst char* DEVICE_NAME = "Arduino_Chat";const char* SERVICE_UUID = "19B10000-E8F2-537E-4F6C-D104768A1214";const char* TX_UUID = "19B10001-E8F2-537E-4F6C-D104768A1214";const char* RX_UUID = "19B10002-E8F2-537E-4F6C-D104768A1214";// Create Bluetooth instancesDIYables_ArduinoBLE bluetooth(DEVICE_NAME, SERVICE_UUID, TX_UUID, RX_UUID);DIYables_BluetoothServer bluetoothServer(bluetooth);// Create Chat app instanceDIYables_BluetoothChat bluetoothChat;// Variables for periodic messagesunsignedlong lastMessageTime = 0;constunsignedlong MESSAGE_INTERVAL = 10000; // Send message every 10 secondsint messageCount = 0;voidsetup() {Serial.begin(9600);while (!Serial);Serial.println("DIYables Bluetooth - Chat Example");// Initialize Bluetooth server with platform-specific implementation bluetoothServer.begin();// Add chat app to server bluetoothServer.addApp(&bluetoothChat);// Set up connection event callbacks bluetoothServer.setOnConnected([]() {Serial.println("Bluetooth connected!"); bluetoothChat.send("Hello! Arduino is ready to chat."); }); bluetoothServer.setOnDisconnected([]() {Serial.println("Bluetooth disconnected!"); messageCount = 0; });// Set up callback for received chat messages bluetoothChat.onChatMessage([](const String& message) {Serial.print("Received: ");Serial.println(message);// Echo the message backString response = "Echo: "; response += message; bluetoothChat.send(response);// You can add custom command handling hereif (message.equalsIgnoreCase("ping")) { bluetoothChat.send("pong!"); } elseif (message.equalsIgnoreCase("status")) { bluetoothChat.send("Arduino is running normally"); } elseif (message.equalsIgnoreCase("time")) {String timeMsg = "Uptime: "; timeMsg += String(millis() / 1000); timeMsg += " seconds"; bluetoothChat.send(timeMsg); } });Serial.println("Waiting for Bluetooth connection..."); Serial.println("Type 'ping', 'status', or'time' in the app to test commands");}void loop() {// Handle Bluetooth server communications bluetoothServer.loop();// Send periodic status message (only when connected)if (bluetooth.isConnected() && millis() - lastMessageTime >= MESSAGE_INTERVAL) { lastMessageTime = millis(); messageCount++;String statusMsg = "Status update #"; statusMsg += String(messageCount); statusMsg += " - All systems operational"; bluetoothChat.send(statusMsg);Serial.print("Sent: ");Serial.println(statusMsg); }// Optional: Read from Serial and send to Bluetoothif (Serial.available()) {String serialMsg = Serial.readStringUntil('\n'); serialMsg.trim();if (serialMsg.length() > 0 && bluetooth.isConnected()) { bluetoothChat.send(serialMsg);Serial.print("Sent from Serial: ");Serial.println(serialMsg); } }delay(10);}
Arduino IDE에서 Upload 버튼을 클릭하여 코드를 Arduino UNO R4 WiFi에 업로드합니다.
시리얼 모니터를 엽니다.
시리얼 모니터에서 결과를 확인합니다. 아래와 같이 표시됩니다:
Newbiely | Arduino IDE 2.3.8
──
☐
✕
File
Edit
Sketch
Tools
Help
Arduino Uno R4 WiFi
Newbiely.ino
···
8Serial.println("Hello World!");
Output
Serial Monitor
Message (Enter to send message to 'Arduino Uno R4 WiFi' on 'COM15')
New Line
9600 baud
DIYables Bluetooth - Chat Example
Waiting for Bluetooth connection...
더 많은 elseif 블록을 추가하여 원하는 만큼 사용자 지정 명령어를 추가할 수 있습니다. 예를 들어, 핀을 제어하려면 LED_ON / LED_OFF를, 센서 값을 읽으려면 READ를 추가하면 됩니다. 앱에서 입력하는 모든 단어가 명령어가 됩니다.
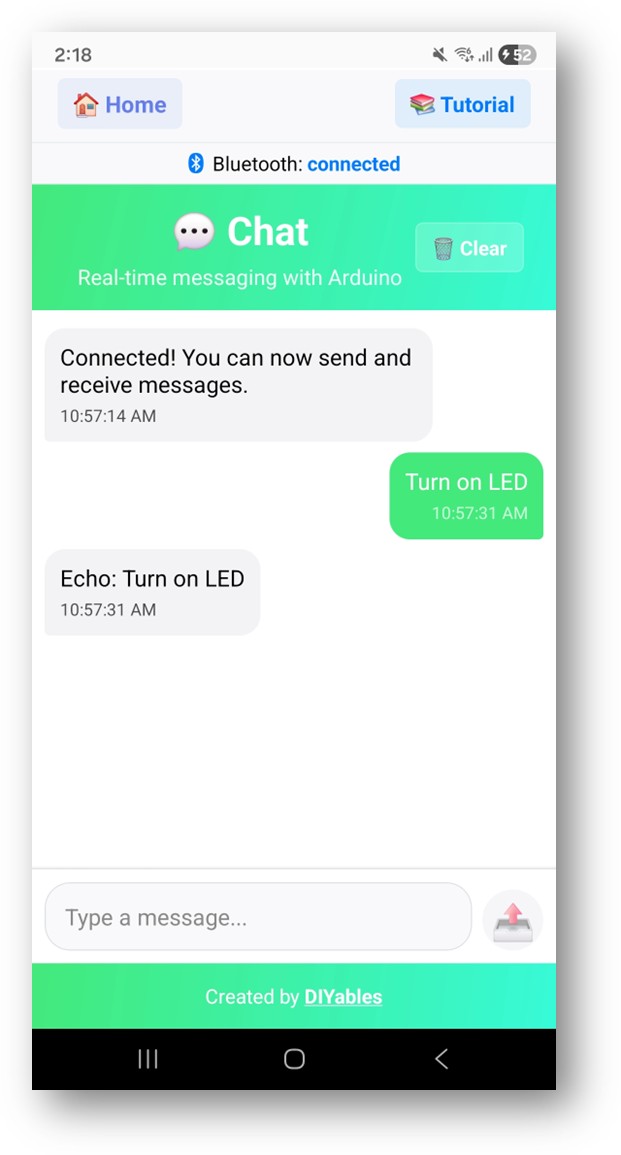
Arduino에서 메시지 전송
// Send a text message to the appbluetoothChat.send("Hello from Arduino!");// Send sensor readingfloat temp = readTemperature();bluetoothChat.send("Temperature: " + String(temp, 1) + " °C");
시리얼-블루투스 브리지
시리얼 모니터와 블루투스 간 메시지를 전달합니다:
// In loop():if (Serial.available()) {String serialMsg = Serial.readStringUntil('\n'); serialMsg.trim();if (serialMsg.length() > 0 && bluetooth.isConnected()) { bluetoothChat.send(serialMsg);Serial.print("Sent from Serial: ");Serial.println(serialMsg); }}
연결 이벤트 처리
bluetoothServer.setOnConnected([]() {Serial.println("Bluetooth connected!"); bluetoothChat.send("Hello! Arduino is ready to chat.");});bluetoothServer.setOnDisconnected([]() {Serial.println("Bluetooth disconnected!");});
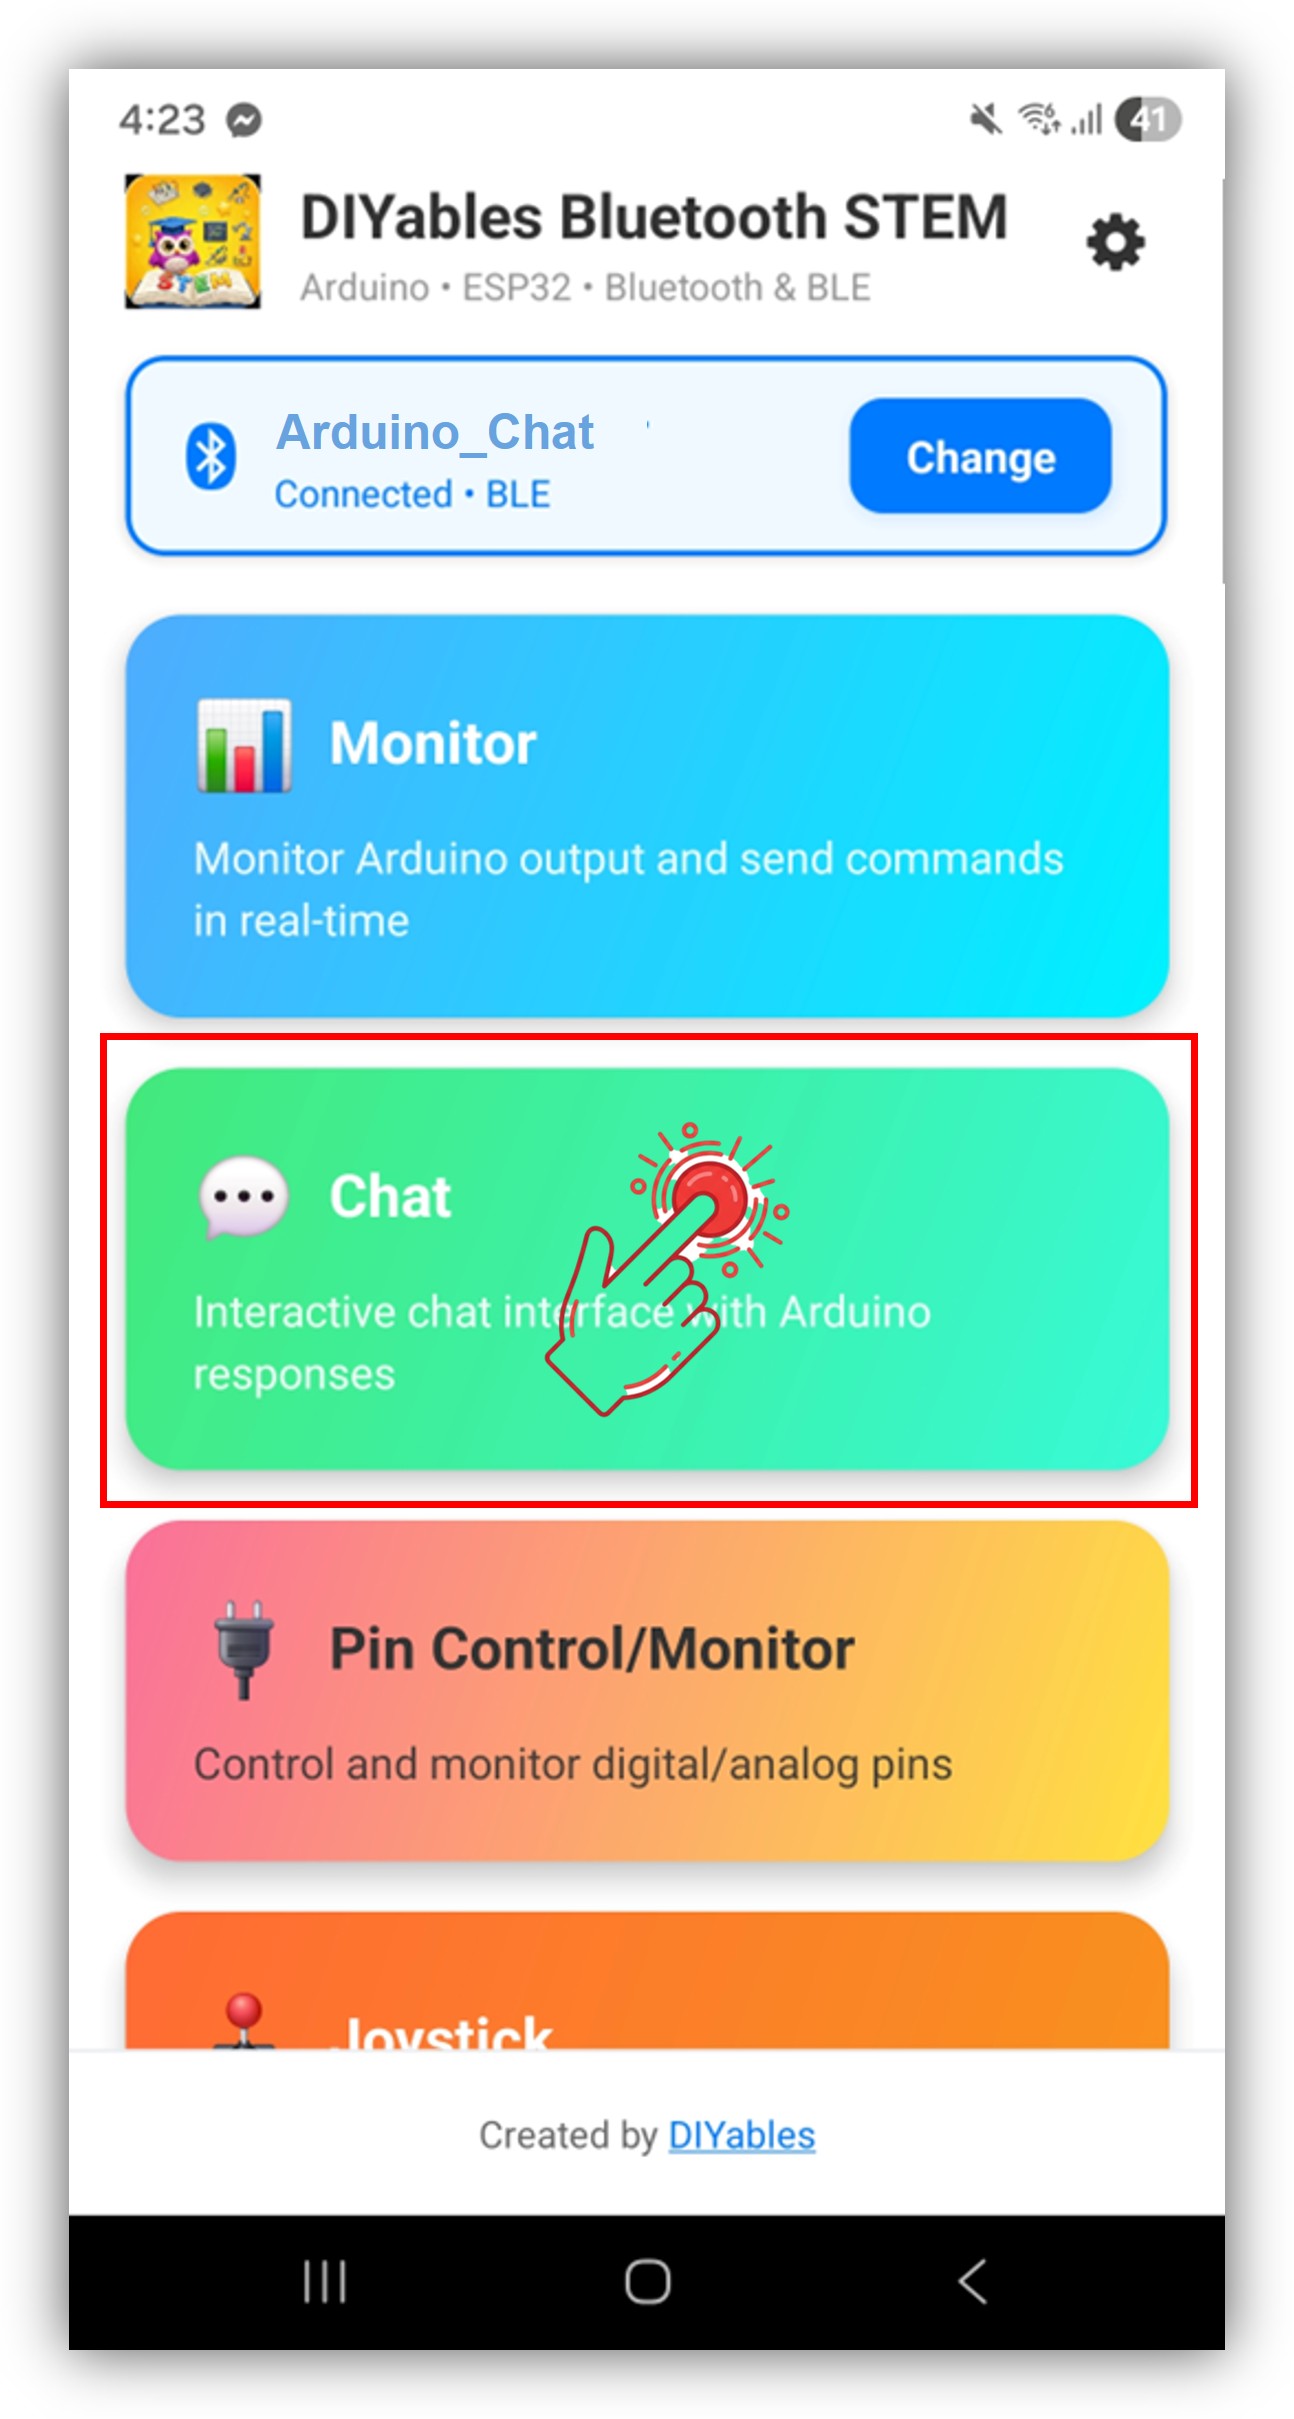
채팅 사용 방법
앱 인터페이스
DIYables 블루투스 앱의 채팅 인터페이스는 다음을 제공합니다:
메시지 목록: 타임스탬프가 포함된 송수신 메시지 표시
텍스트 입력: Arduino로 전송할 메시지 입력
전송 버튼: 탭하여 메시지 전송
통신 흐름
앱에서 메시지를 입력하면 Arduino가 onChatMessage() 콜백으로 수신합니다.
Arduino가 메시지를 처리하고 필요에 따라 bluetoothChat.send()로 응답을 전송합니다.