이 튜토리얼에서는 ESP32를 사용하여 다양한 타입의 변수들을 Micro SD 카드에 쓰는 과정을 탐구할 것입니다. 특히 다음과 같은 주제들을 다룰 것입니다:
ESP32를 사용하여 Micro SD 카드에 문자열 변수 쓰기.
ESP32를 사용하여 Micro SD 카드에 정수 변수 쓰기.
ESP32를 사용하여 Micro SD 카드에 부동 소수점 변수 쓰기.
ESP32를 사용하여 Micro SD 카드에 문자 배열 변수 쓰기.
ESP32를 사용하여 Micro SD 카드에 바이트 배열 변수 쓰기.
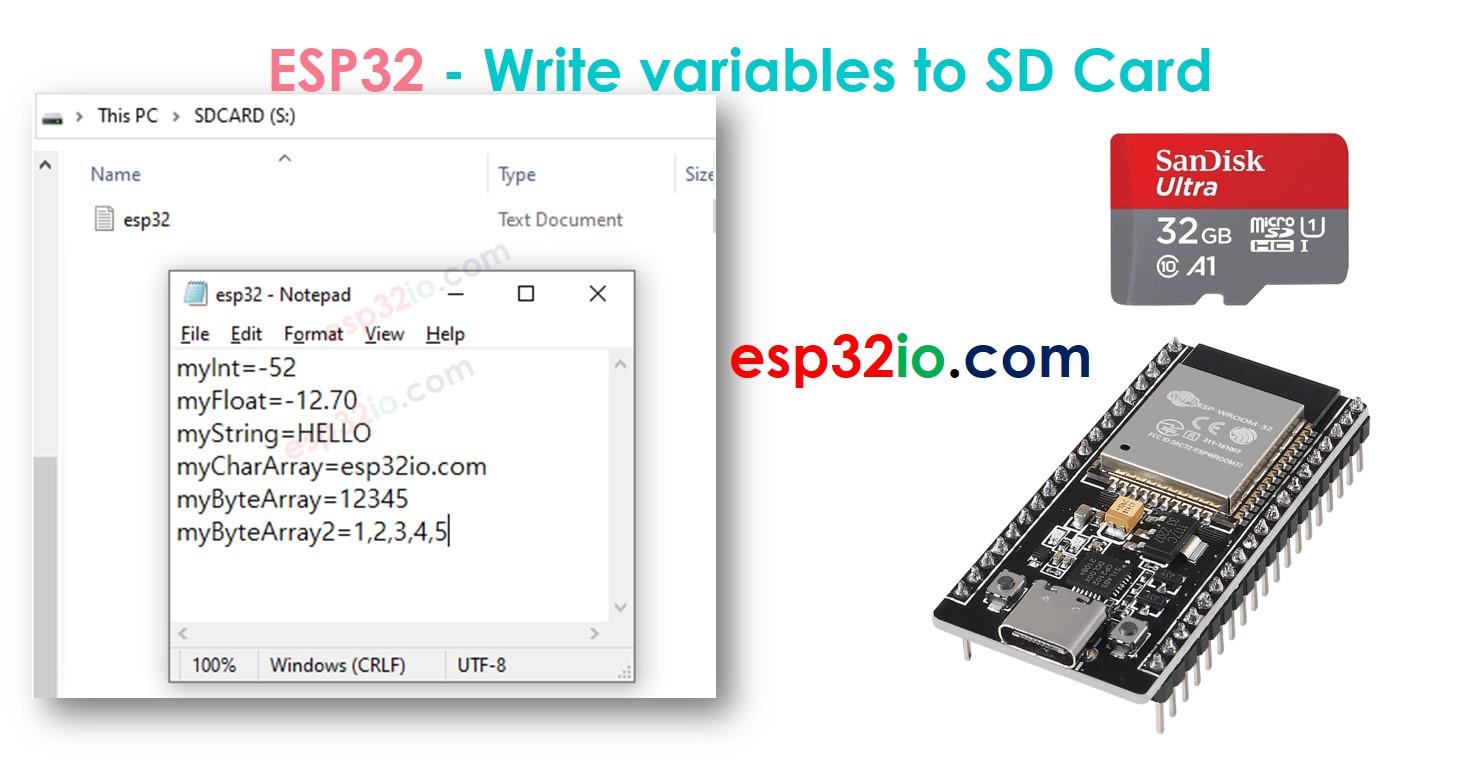
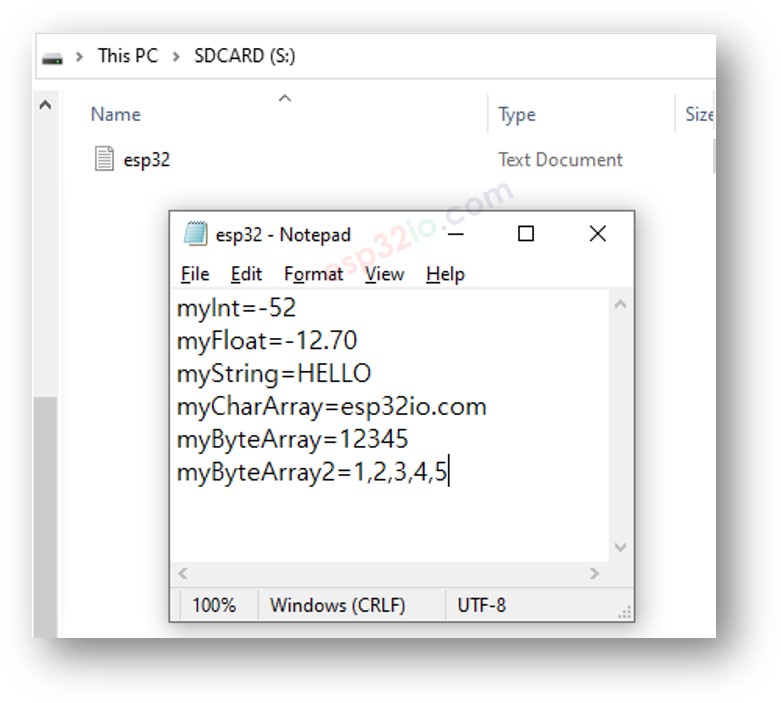
ESP32를 사용하여 Micro SD 카드에 키-값 쌍으로 변수 쓰기.
이 튜토리얼은 다양한 종류의 변수를 마이크로 SD 카드에 저장할 수 있는 종합적인 가이드를 제공하여, 유연한 데이터 저장 및 검색을 가능하게 합니다. 마이크로 SD 카드에서 키-값 쌍을 읽고 정수, 부동 소수점, 문자열 형식으로 변환하는 방법을 배우려면 ESP32 - SD 카드에서 설정 읽기 튜토리얼을 참조하세요.
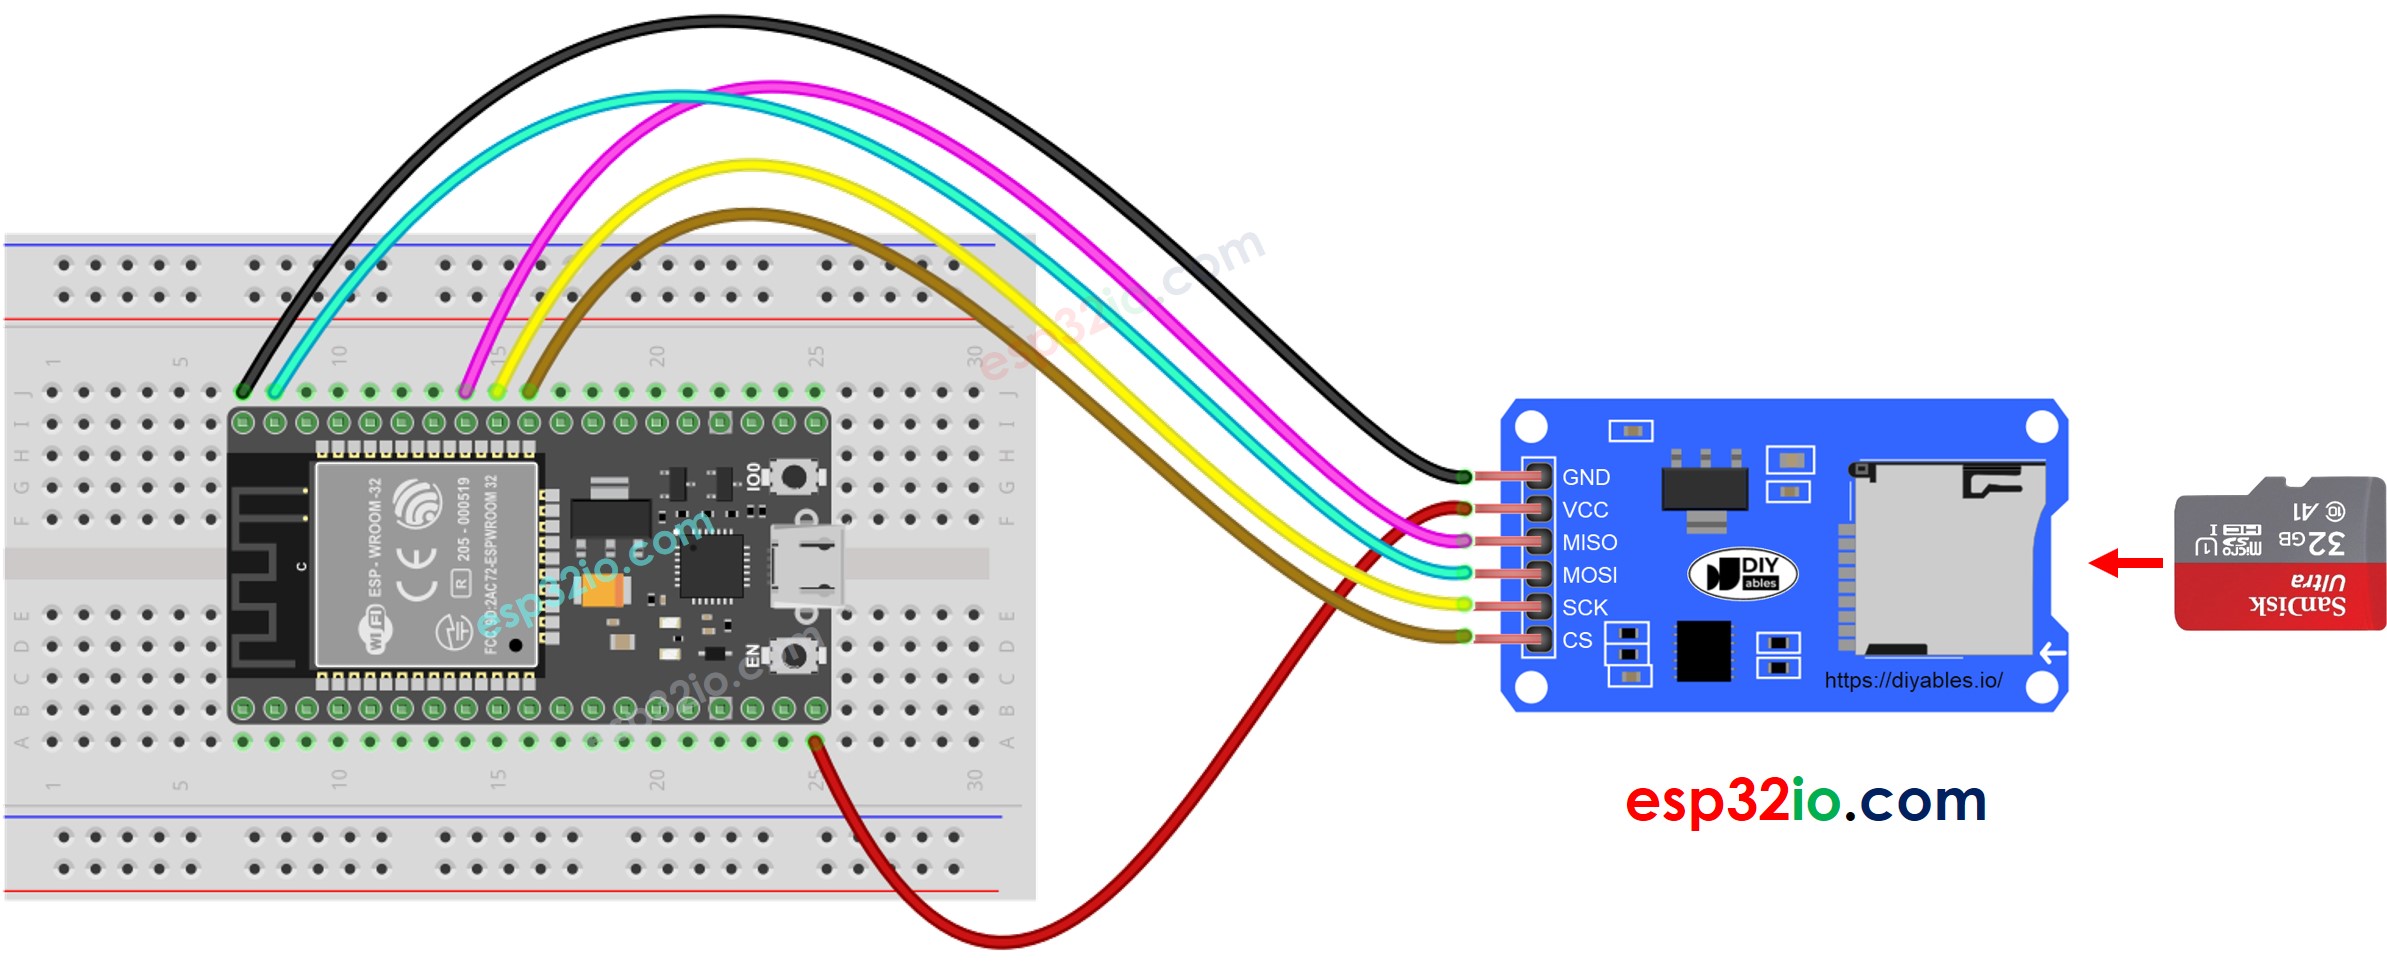
ESP32 및 다른 구성 요소에 전원을 공급하는 방법에 대해 잘 알지 못하는 경우, 다음 튜토리얼에서 안내를 찾을 수 있습니다: ESP32 전원 공급 방법.
※ 주의:
이더넷 실드 또는 마이크로 SD 카드 홀더가 있는 어떤 실드를 사용하는 경우, 마이크로 SD 카드 모듈을 사용할 필요가 없습니다. 단지 실드에 있는 마이크로 SD 카드 홀더에 마이크로 SD 카드를 삽입하기만 하면 됩니다.
ESP32 - Micro SD 카드에 변수를 파일로 작성하는 방법
아래 코드는 다음 작업을 수행합니다:
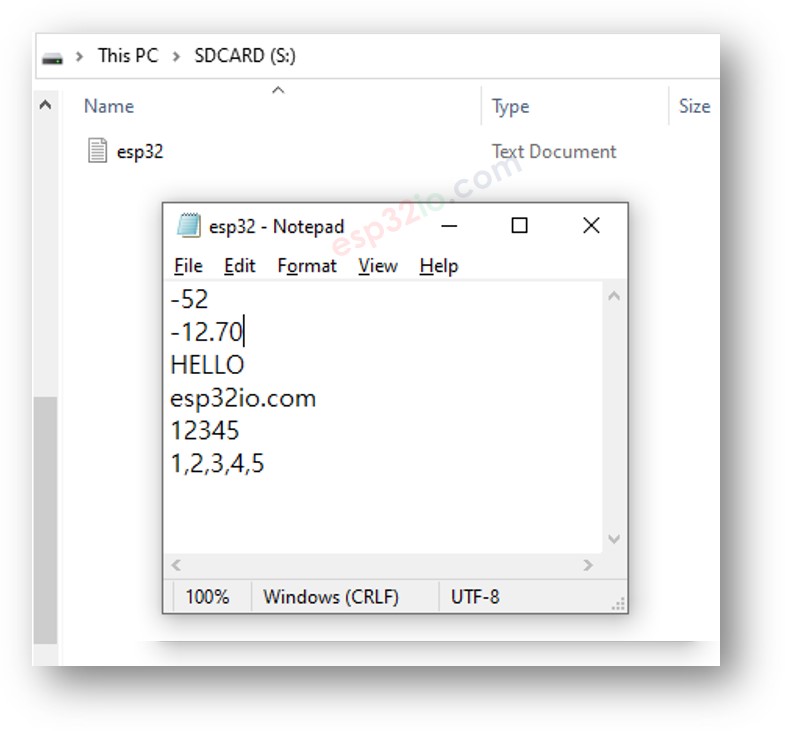
정수 변수를 마이크로 SD 카드에 쓰기
실수 변수를 마이크로 SD 카드에 쓰기
문자열 변수를 마이크로 SD 카드에 쓰기
문자 배열을 마이크로 SD 카드에 쓰기
바이트 배열을 마이크로 SD 카드에 쓰기
/* * 이 ESP32 코드는 newbiely.kr 에서 개발되었습니다 * 이 ESP32 코드는 어떠한 제한 없이 공개 사용을 위해 제공됩니다. * 상세한 지침 및 연결도에 대해서는 다음을 방문하세요: * https://newbiely.kr/tutorials/esp32/esp32-write-variable-to-sd-card */#include <SD.h>#define PIN_SPI_CS 5 // The ESP32 pin GPIO5File myFile;int myInt = -52;float myFloat = -12.7;String myString = "HELLO";char myCharArray[] = "esp32io.com";byte myByteArray[] = {'1', '2', '3', '4', '5'};voidsetup() {Serial.begin(9600);if (!SD.begin(PIN_SPI_CS)) {while (1) {Serial.println(F("SD CARD FAILED, OR NOT PRESENT!"));delay(1000); } }Serial.println(F("SD CARD INITIALIZED."));Serial.println(F("--------------------"));SD.remove("/esp32.txt"); // delete the file if existed// create new file by opening file for writing myFile = SD.open("/esp32.txt", FILE_WRITE);if (myFile) { myFile.println(myInt); // write int variable to SD card in line myFile.println(myFloat); // write float variable to SD card in line myFile.println(myString); // write String variable to SD card in line myFile.println(myCharArray); // write char array to SD card in line myFile.write(myByteArray, 5); myFile.write("\n"); // new linefor (int i = 0; i < 5; i++) { myFile.write(myByteArray[i]); // new lineif (i < 4) myFile.write(","); // comma } myFile.write("\n"); // new line myFile.close(); } else {Serial.print(F("SD Card: Issue encountered while attempting to open the file esp32.txt")); }// open file for reading myFile = SD.open("/esp32.txt", FILE_READ);if (myFile) {while (myFile.available()) {char ch = myFile.read(); // read characters one by one from Micro SD CardSerial.print(ch); // print the character to Serial Monitor } myFile.close(); } else {Serial.print(F("SD Card: Issue encountered while attempting to open the file esp32.txt")); }}voidloop() {}
/* * 이 ESP32 코드는 newbiely.kr 에서 개발되었습니다 * 이 ESP32 코드는 어떠한 제한 없이 공개 사용을 위해 제공됩니다. * 상세한 지침 및 연결도에 대해서는 다음을 방문하세요: * https://newbiely.kr/tutorials/esp32/esp32-write-variable-to-sd-card */#include <SD.h>#define PIN_SPI_CS 5 // The ESP32 pin GPIO5File myFile;int myInt = -52;float myFloat = -12.7;String myString = "HELLO";char myCharArray[] = "esp32io.com";byte myByteArray[] = {'1', '2', '3', '4', '5'};voidsetup() {Serial.begin(9600);if (!SD.begin(PIN_SPI_CS)) {while (1) {Serial.println(F("SD CARD FAILED, OR NOT PRESENT!"));delay(1000); } }Serial.println(F("SD CARD INITIALIZED."));Serial.println(F("--------------------"));SD.remove("/esp32.txt"); // delete the file if existed// create new file by opening file for writing myFile = SD.open("/esp32.txt", FILE_WRITE);if (myFile) { myFile.print("myInt="); // write key to SD card myFile.println(myInt); // write int variable to SD card in line myFile.print("myFloat="); // write key to SD card myFile.println(myFloat); // write float variable to SD card in line myFile.print("myString="); // write key to SD card myFile.println(myString); // write String variable to SD card in line myFile.print("myCharArray="); // write key to SD card myFile.println(myCharArray); // write char array to SD card in line myFile.print("myByteArray="); // write key to SD card myFile.write(myByteArray, 5); myFile.write("\n"); // new line myFile.print("myByteArray2="); // write key to SD cardfor (int i = 0; i < 5; i++) { myFile.write(myByteArray[i]); // new lineif (i < 4) myFile.write(","); // comma } myFile.write("\n"); // new line myFile.close(); } else {Serial.print(F("SD Card: Issue encountered while attempting to open the file esp32.txt")); }// open file for reading myFile = SD.open("/esp32.txt", FILE_READ);if (myFile) {while (myFile.available()) {char ch = myFile.read(); // read characters one by one from Micro SD CardSerial.print(ch); // print the character to Serial Monitor } myFile.close(); } else {Serial.print(F("SD Card: Issue encountered while attempting to open the file esp32.txt")); }}voidloop() {}