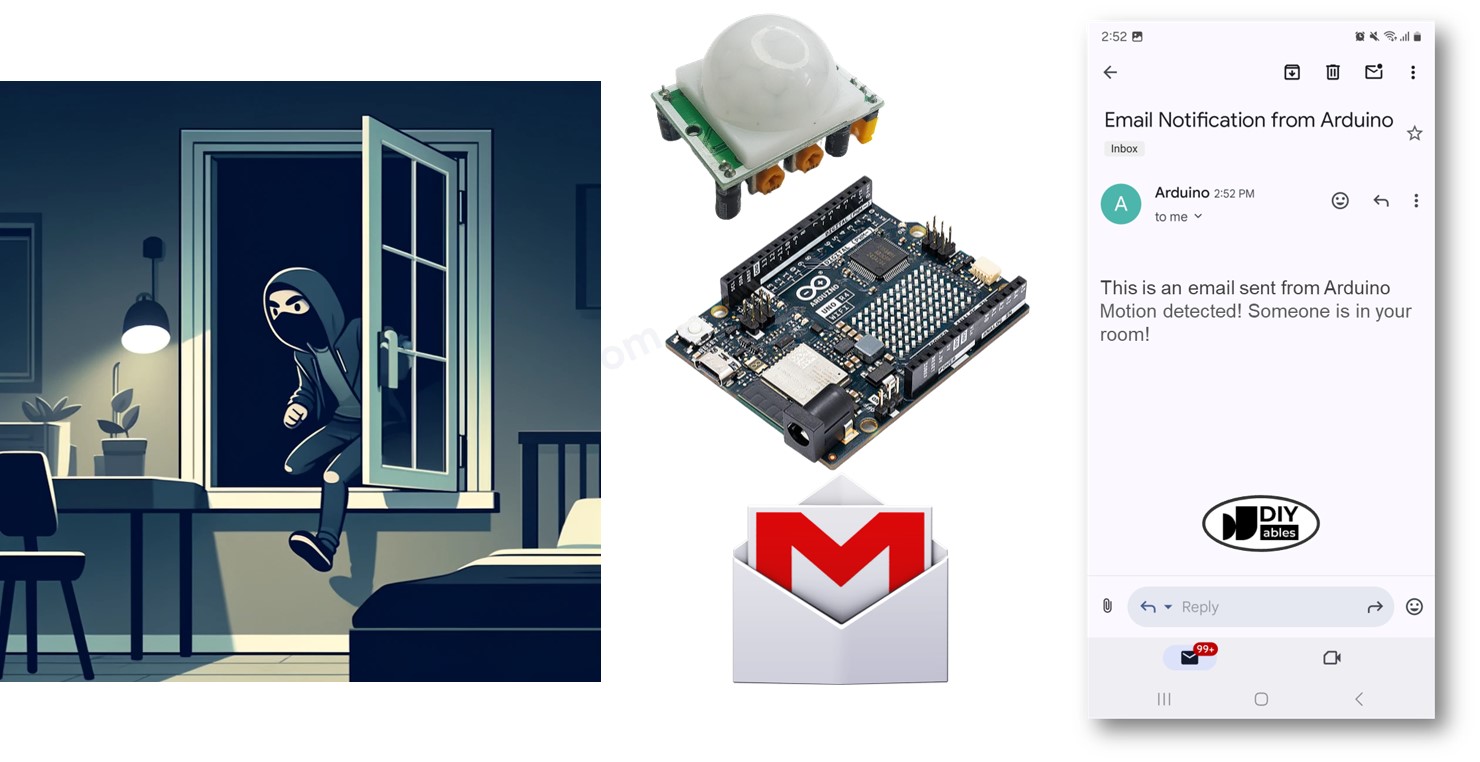
아두이노 모션 센서 이메일 알림
이 가이드에서는 누군가 허락 없이 당신의 방에 들어올 때 이메일을 보내는 방법을 알려드릴 것입니다. 아두이노와 모션 센서를 이용하여 모든 것을 설정하는 방법, 필요한 것들, 그리고 아두이노와 모션 센서를 이메일 시스테ム에 연결하는 자세한 지침에 대해 설명할 것입니다. 아두이노를 통해 즉각적인 이메일 알림을 받음으로써 집안의 보안을 향상시키세요.
준비물
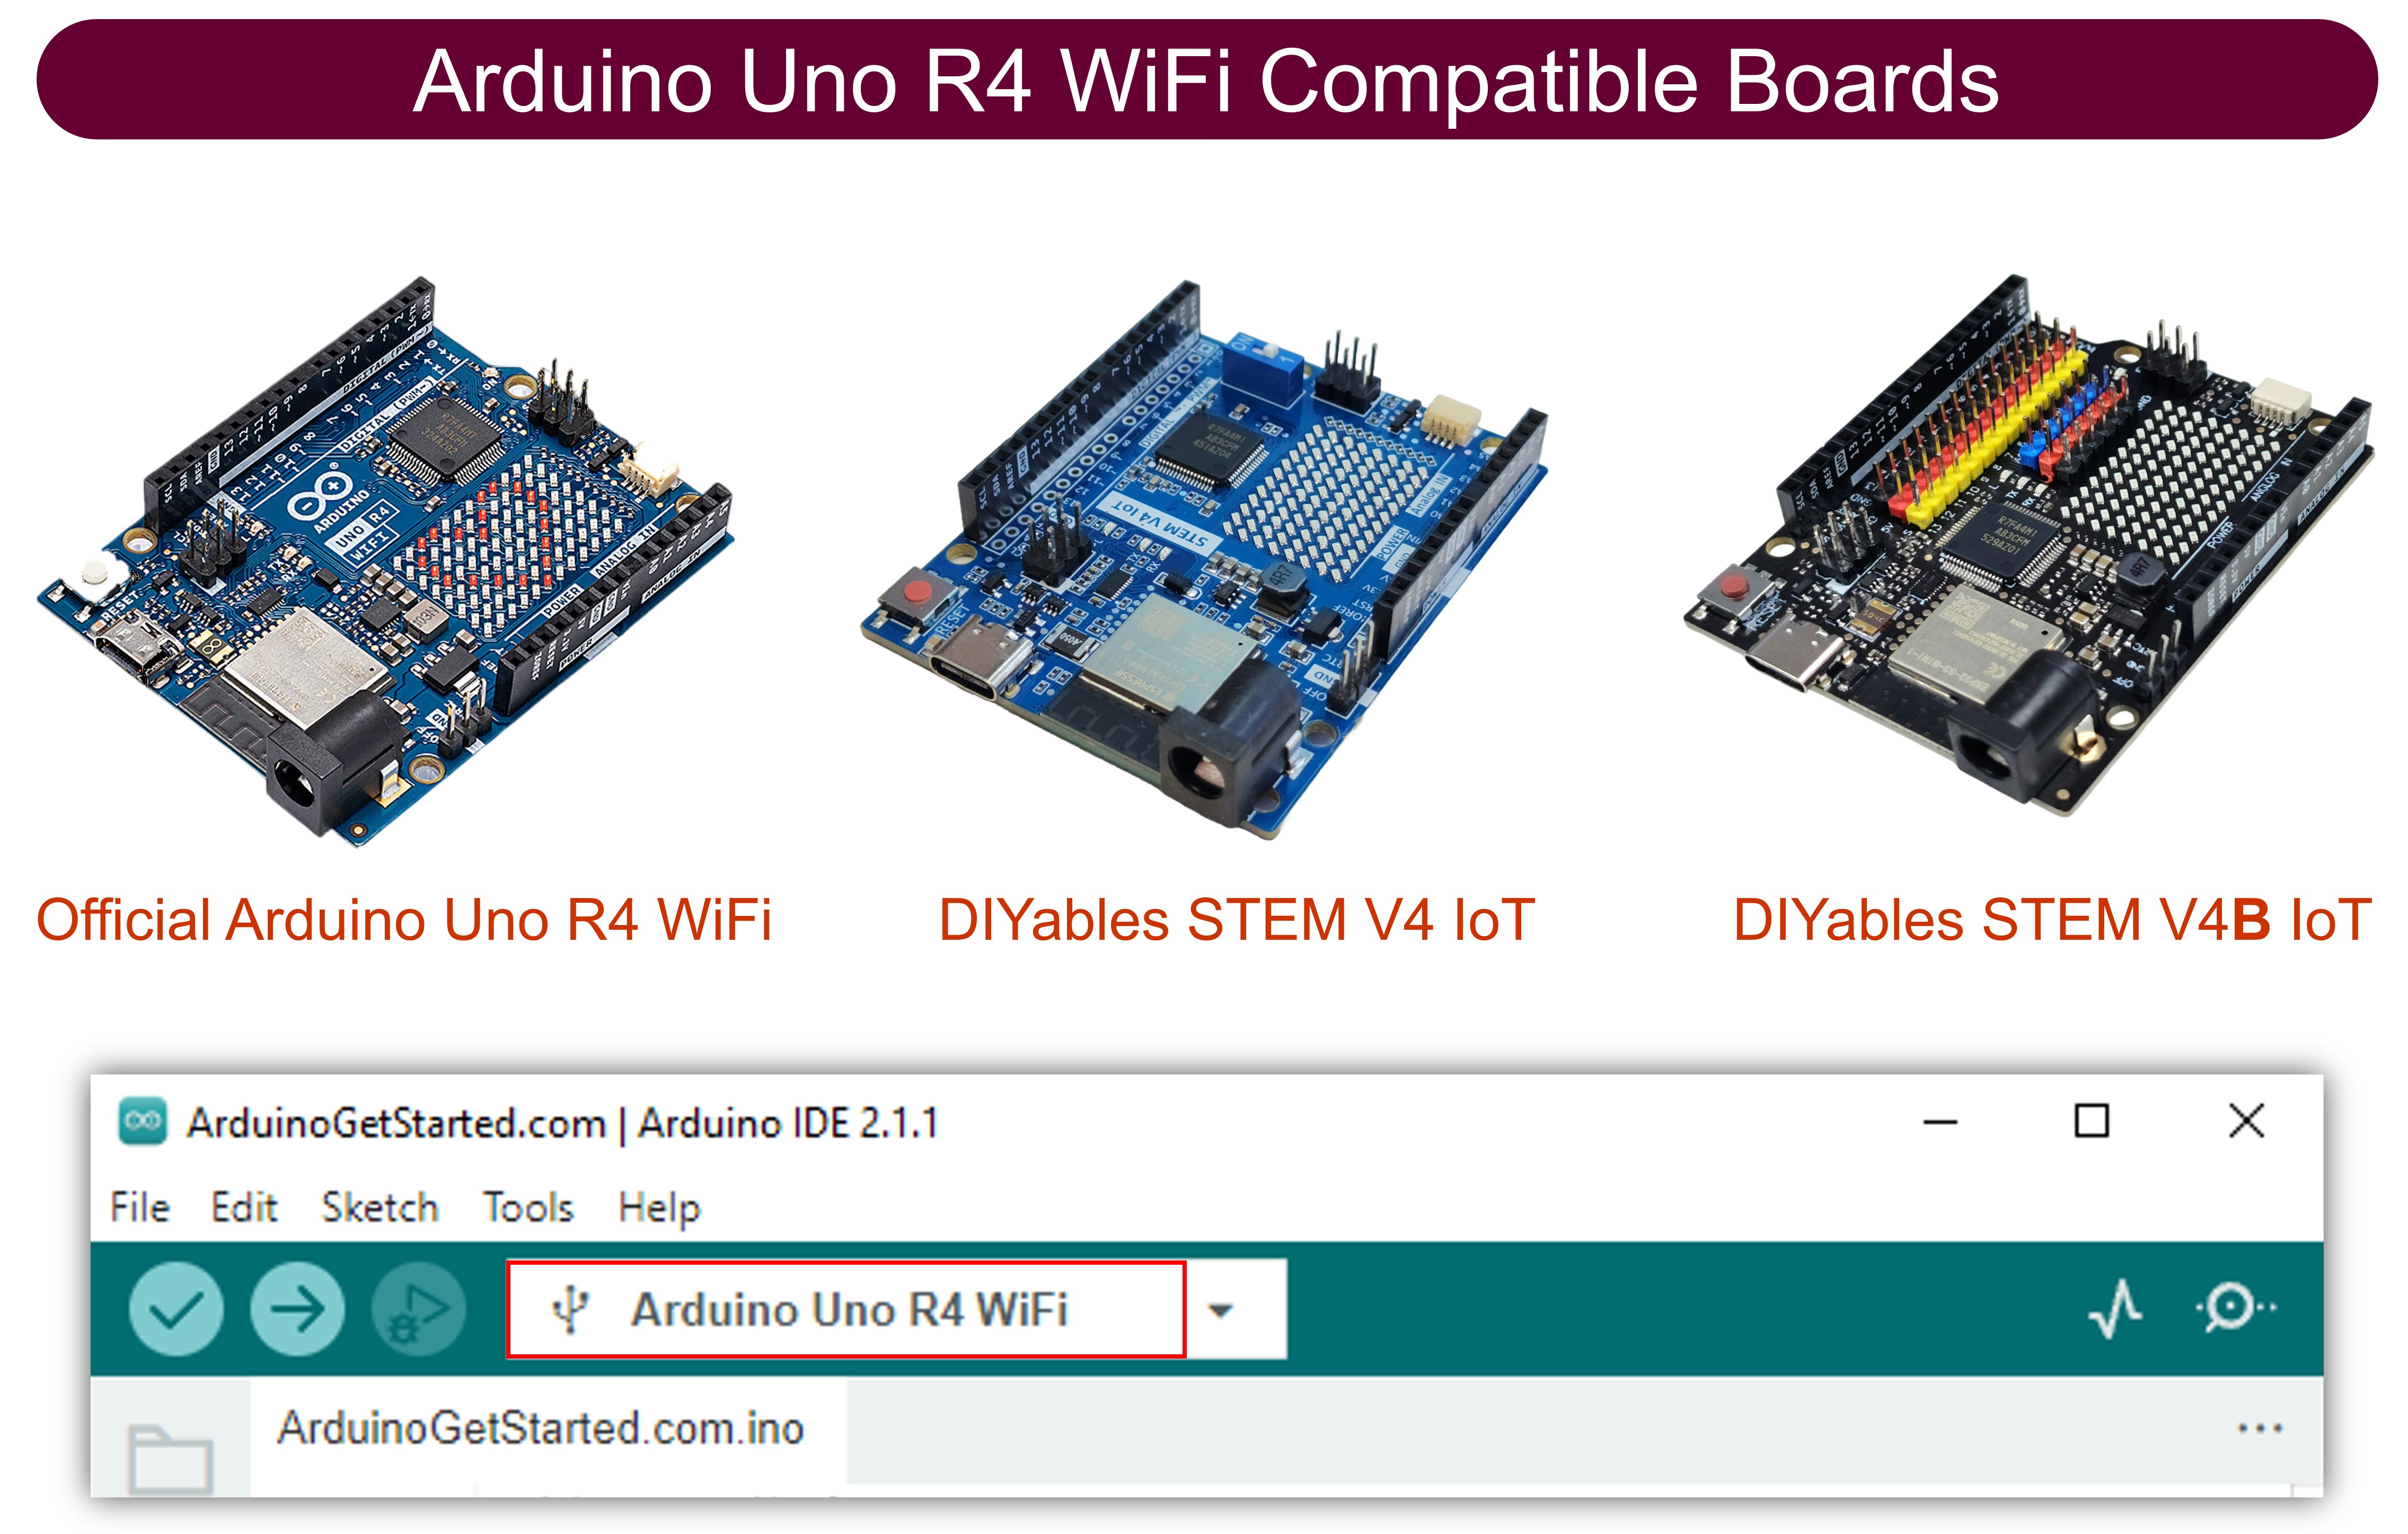
| 1 | × | 아두이노 우노 R4 와이파이 | 쿠팡 | 아마존 | |
| 1 | × | (또는) DIYables STEM V4 IoT | 쿠팡 | 아마존 | |
| 1 | × | USB 케이블 타입-A to 타입-C (USB-A PC용) | 쿠팡 | 아마존 | |
| 1 | × | USB 케이블 타입-C to 타입-C (USB-C PC용) | 아마존 | |
| 1 | × | HC-SR501 모션 센서 | 쿠팡 | 아마존 | |
| 1 | × | 브레드보드 | 쿠팡 | 아마존 | |
| 1 | × | 점퍼케이블 | 쿠팡 | 아마존 | |
| 1 | × | (옵션) DC 커넥터 전원 연결 잭 플러그 소켓 | 쿠팡 | 아마존 | |
| 1 | × | (추천) 아두이노 우노 R4용 스크루 터미널 블록 쉴드 | 쿠팡 | 아마존 | |
| 1 | × | (추천) Sensors/Servo Expansion Shield for Arduino UNO R4 | 쿠팡 | 아마존 | |
| 1 | × | (추천) 아두이노 우노 R4용 브레드보드 쉴드 | 쿠팡 | 아마존 | |
| 1 | × | (추천) 아두이노 우노 R4용 케이스 | 쿠팡 | 아마존 | |
| 1 | × | (추천) 아두이노 우노 R4용 전원 분배기 | 쿠팡 | 아마존 | |
| 1 | × | (추천) 아두이노 우노용 프로토타이핑 베이스 플레이트 & 브레드보드 키트 | 아마존 |
공개: 이 포스팅 에 제공된 일부 링크는 아마존 제휴 링크입니다. 이 포스팅은 쿠팡 파트너스 활동의 일환으로, 이에 따른 일정액의 수수료를 제공받습니다.
모션 센서와 Gmail에 관하여
모션 센서와 Gmail에 대한 상세한 가이드를 제공합니다. 각 가이드는 하드웨어 설정, 작동 방법, 그리고 아두이노 연결 및 프로그래밍 방법에 대한 완벽한 정보와 쉽게 따라할 수 있는 단계를 제공합니다. 이 링크를 방문하여 자세히 알아보세요:
- 아두이노 - 모션 센서 튜토리얼
- 아두이노 - 지메일 튜토리얼
모션 센서와 아두이노 간의 배선도
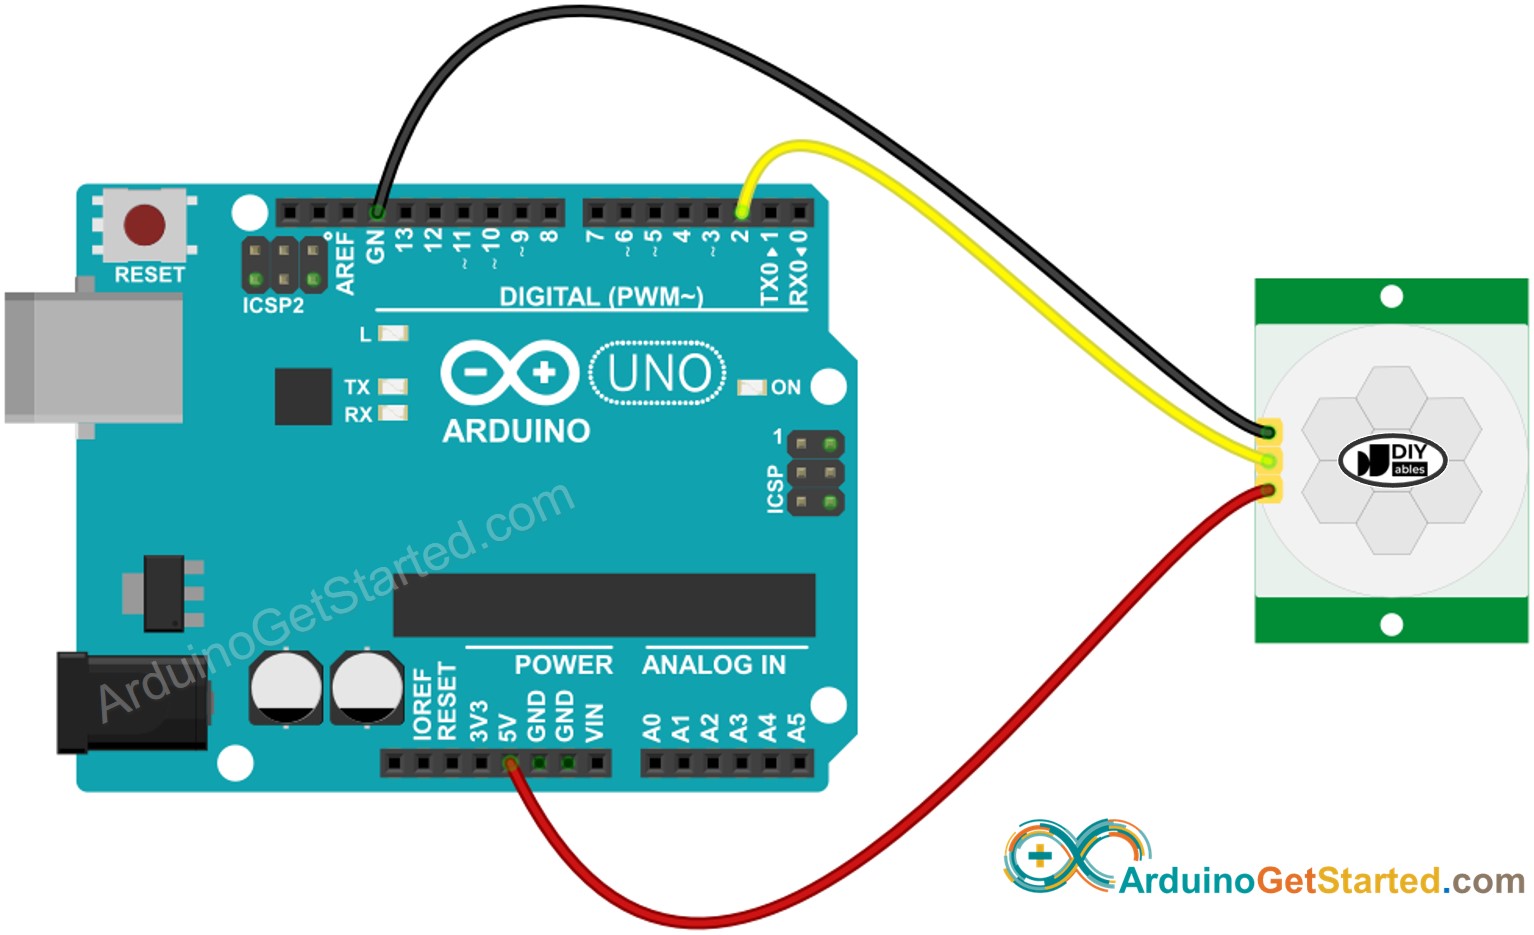
이 이미지는 Fritzing을 사용하여 만들어졌습니다. 이미지를 확대하려면 클릭하세요.
아두이노 코드
/*
* 이 아두이노 코드는 newbiely.kr 에서 개발되었습니다
* 이 아두이노 코드는 어떠한 제한 없이 공개 사용을 위해 제공됩니다.
* 상세한 지침 및 연결도에 대해서는 다음을 방문하세요:
* https://newbiely.kr/tutorials/arduino/arduino-motion-sensor-email-notification
*/
#include <WiFiS3.h>
#include <ESP_Mail_Client.h>
#define WIFI_SSID "YOUR_WIFI_SSID" // CHANGE IT
#define WIFI_PASSWORD "YOUR_WIFI_PASSWORD" // CHANGE IT
// the sender email credentials
#define SENDER_EMAIL "xxxxxx@gmail.com" // CHANGE IT
#define SENDER_PASSWORD "xxxx xxxx xxxx xxxx" // CHANGE IT to your Google App password
#define RECIPIENT_EMAIL "xxxxxx@gmail.com" // CHANGE IT
#define SMTP_HOST "smtp.gmail.com"
#define SMTP_PORT 587
#define MOTION_SENSOR_PIN 2 // Arduino pin connected to motion sensor's pin
int motion_state; // current state of motion sensor
int prev_motion_state; // previous state of motion sensor
SMTPSession smtp;
void setup() {
Serial.begin(9600);
WiFi.begin(WIFI_SSID, WIFI_PASSWORD);
Serial.print("Connecting to Wi-Fi");
while (WiFi.status() != WL_CONNECTED) {
Serial.print(".");
delay(300);
}
Serial.println();
Serial.print("Connected with IP: ");
Serial.println(WiFi.localIP());
Serial.println();
pinMode(MOTION_SENSOR_PIN, INPUT);
motion_state = digitalRead(MOTION_SENSOR_PIN); // read state
}
void loop() {
prev_motion_state = motion_state; // save the last state
motion_state = digitalRead(MOTION_SENSOR_PIN); // read new state
if (prev_motion_state == LOW && motion_state == HIGH) { // state change: LOW -> HIGH
Serial.println("Motion detected! Someone is in your room!");
String subject = "Email Notification from ESP32";
String textMsg = "This is an email sent from ESP32.\n";
textMsg += "Motion detected! Someone is in your room!";
gmail_send(subject, textMsg);
}
}
void gmail_send(String subject, String textMsg) {
// set the network reconnection option
MailClient.networkReconnect(true);
smtp.debug(1);
smtp.callback(smtpCallback);
Session_Config config;
// set the session config
config.server.host_name = SMTP_HOST;
config.server.port = SMTP_PORT;
config.login.email = SENDER_EMAIL;
config.login.password = SENDER_PASSWORD;
config.login.user_domain = F("127.0.0.1");
config.time.ntp_server = F("pool.ntp.org,time.nist.gov");
config.time.gmt_offset = 3;
config.time.day_light_offset = 0;
// declare the message class
SMTP_Message message;
// set the message headers
message.sender.name = F("ESP32");
message.sender.email = SENDER_EMAIL;
message.subject = subject;
message.addRecipient(F("To Whom It May Concern"), RECIPIENT_EMAIL);
message.text.content = textMsg;
message.text.transfer_encoding = "base64";
message.text.charSet = F("utf-8");
message.priority = esp_mail_smtp_priority::esp_mail_smtp_priority_low;
// set the custom message header
message.addHeader(F("Message-ID: <abcde.fghij@gmail.com>"));
// connect to the server
if (!smtp.connect(&config)) {
Serial.println("Connection error");
return;
}
if (!smtp.isLoggedIn()) {
Serial.println("Not yet logged in.");
} else {
if (smtp.isAuthenticated())
Serial.println("Successfully logged in.");
else
Serial.println("Connected with no Auth.");
}
// start sending Email and close the session
if (!MailClient.sendMail(&smtp, &message)) {
Serial.println("Connection error: ");
Serial.print("- Status Code: ");
Serial.println(smtp.statusCode());
Serial.print("- Error Code: ");
Serial.println(smtp.errorCode());
Serial.print("- Reason: ");
Serial.println(smtp.errorReason().c_str());
}
}
// callback function to get the Email sending status
void smtpCallback(SMTP_Status status) {
// print the current status
Serial.println(status.info());
// print the sending result
if (status.success()) {
for (size_t i = 0; i < smtp.sendingResult.size(); i++) {
// get the result item
SMTP_Result result = smtp.sendingResult.getItem(i);
Serial.print("Status: ");
if (result.completed)
Serial.println("success");
else
Serial.println("failed");
Serial.print("Recipient: ");
Serial.println(result.recipients.c_str());
Serial.print("Subject: ");
Serial.println(result.subject.c_str());
}
Serial.println("----------------\n");
// free the memory
smtp.sendingResult.clear();
}
}
자세한 사용 방법
- 아두이노를 처음 사용하는 경우 여기에서 Arduino IDE로 설정하는 방법을 배워보세요: 아두이노 - 소프트웨어 설치.
- 아두이노 보드를 모션 센서에 연결합니다.
- 마이크로 USB 케이블을 사용하여 아두이노 보드를 컴퓨터에 연결합니다.
- 컴퓨터에서 Arduino IDE를 시작합니다.
- 예를 들어 Arduino Dev Module과 COM 포트처럼 올바른 아두이노 보드 옵션을 선택합니다.
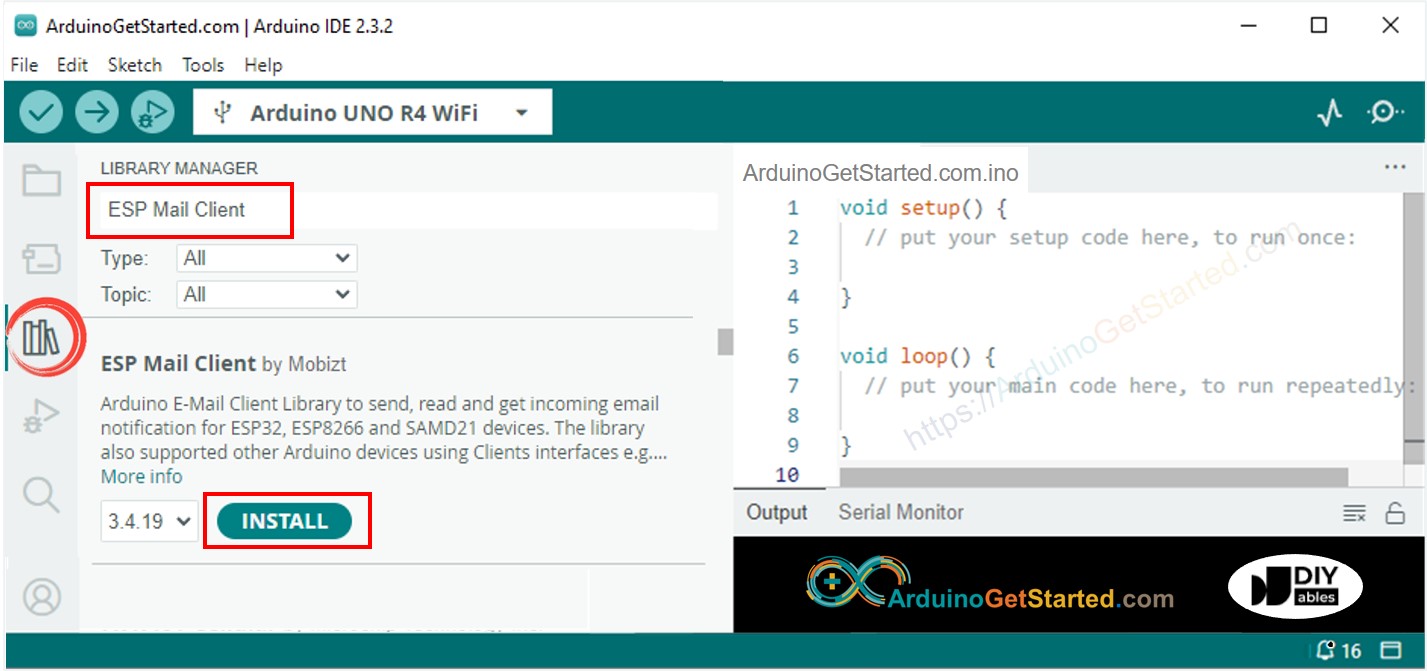
- Arduino IDE의 왼쪽에 있는 라이브러리 관리자 아이콘을 클릭하여 라이브러리 관리자에 접근합니다.
- "ESP Mail Client"를 검색하고 Mobizt의 버전을 찾습니다.
- 설치 버튼을 눌러 ESP Mail Client 라이브러리를 추가합니다.
- 제공된 코드를 복사하여 아두이노 IDE에서 엽니다.
- 코드에서 WIFI_SSID와 WIFI_PASSWORD를 업데이트하여 네트워크 이름과 비밀번호(와이파이 세부 정보)를 변경합니다.
- 코드에서 SENDER_EMAIL과 SENDER_PASSWORD를 업데이트하여 발신자의 이메일과 비밀번호를 변경합니다.
- 코드에서 RECIPIENT_EMAIL을 업데이트하여 메시지를 받고 싶은 이메일 주소로 수신자의 이메일을 변경합니다. 이는 발신자의 이메일과 동일할 수 있습니다.
※ 주의:
- 보내는 이메일은 반드시 Gmail 이어야 합니다.
- 발신자의 비밀번호는 이전 단계에서 받은 앱 비밀번호를 사용하세요.
- 수신자의 이메일 주소는 어떤 종류의 이메일이든 가능합니다.
- Arduino IDE에서 Upload 버튼을 눌러 코드를 Arduino로 전송하세요.
- 시리얼 모니터를 엽니다.
- 움직임 센서 앞으로 이동하세요.
- 결과를 보기 위해 시리얼 모니터를 확인하세요.
8
Serial.println("Hello World!");
Message (Enter to send message to 'Arduino Uno' on 'COM15')
New Line
9600 baud
Motion detected! Someone is in your room!
#### Email sent successfully
> C: Email sent successfully
----------------
Message sent success: 1
Message sent failed: 0
----------------
Message No: 1
Status: success
Date/Time: May 27, 2024 04:42:50
Recipient: xxxxxx@gmail.com
Subject: Email Notification from Arduino
----------------
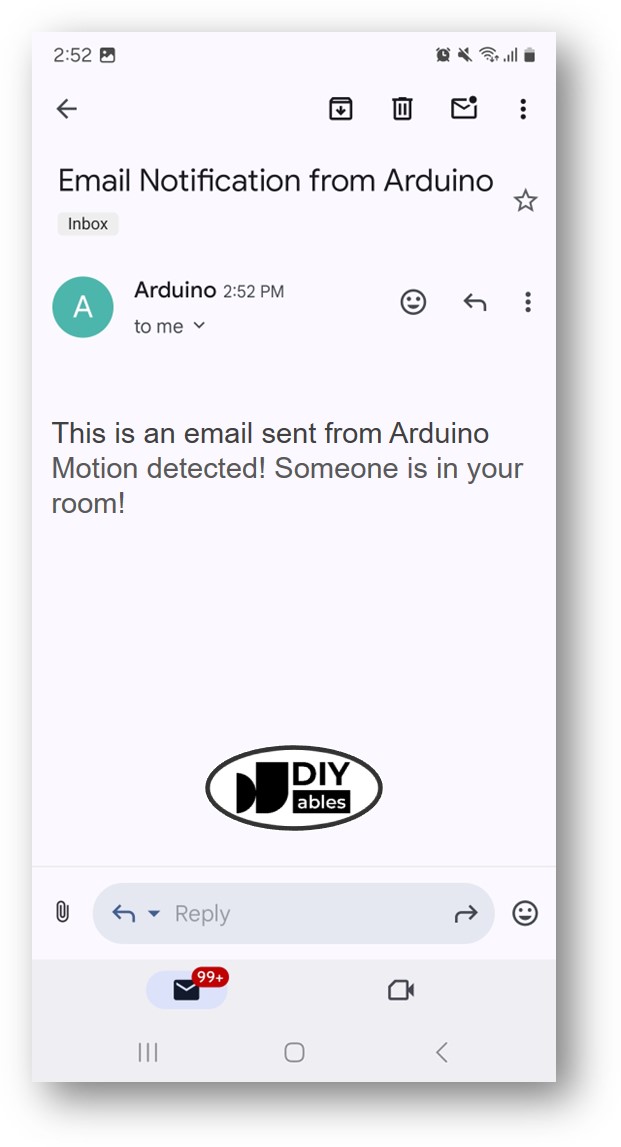
- 수신한 사랜의 이메일 받는 편지함을 확인하세요. 그들은 아래와 같은 이메일을 받게 될 것입니다:
동영상
비디오 제작은 시간이 많이 걸리는 작업입니다. 비디오 튜토리얼이 학습에 도움이 되었다면, YouTube 채널 을 구독하여 알려 주시기 바랍니다. 비디오에 대한 높은 수요가 있다면, 비디오를 만들기 위해 노력하겠습니다.