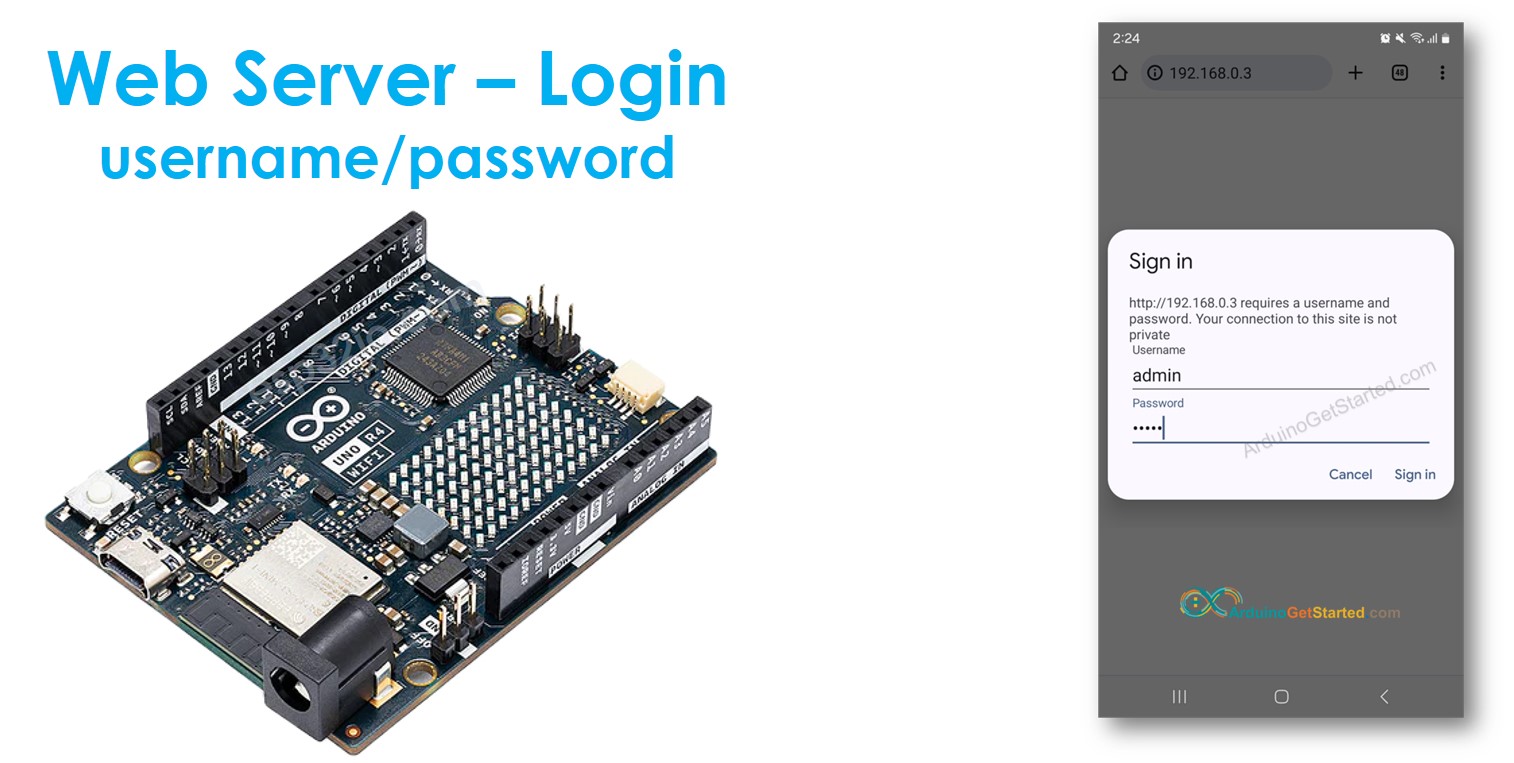
아두이노 웹 서버 비밀번호
이 튜토리얼에서는 로그인을 위해 사용자 이름과 비밀번호가 필요한 보안 아두이노 웹 서버를 만드는 방법을 배워볼 것입니다. 아두이노에서 호스트하는 웹 페이지에 접근하기 전에 사용자는 사용자 이름과 비밀번호를 입력하라는 메시지가 표시됩니다.
준비물
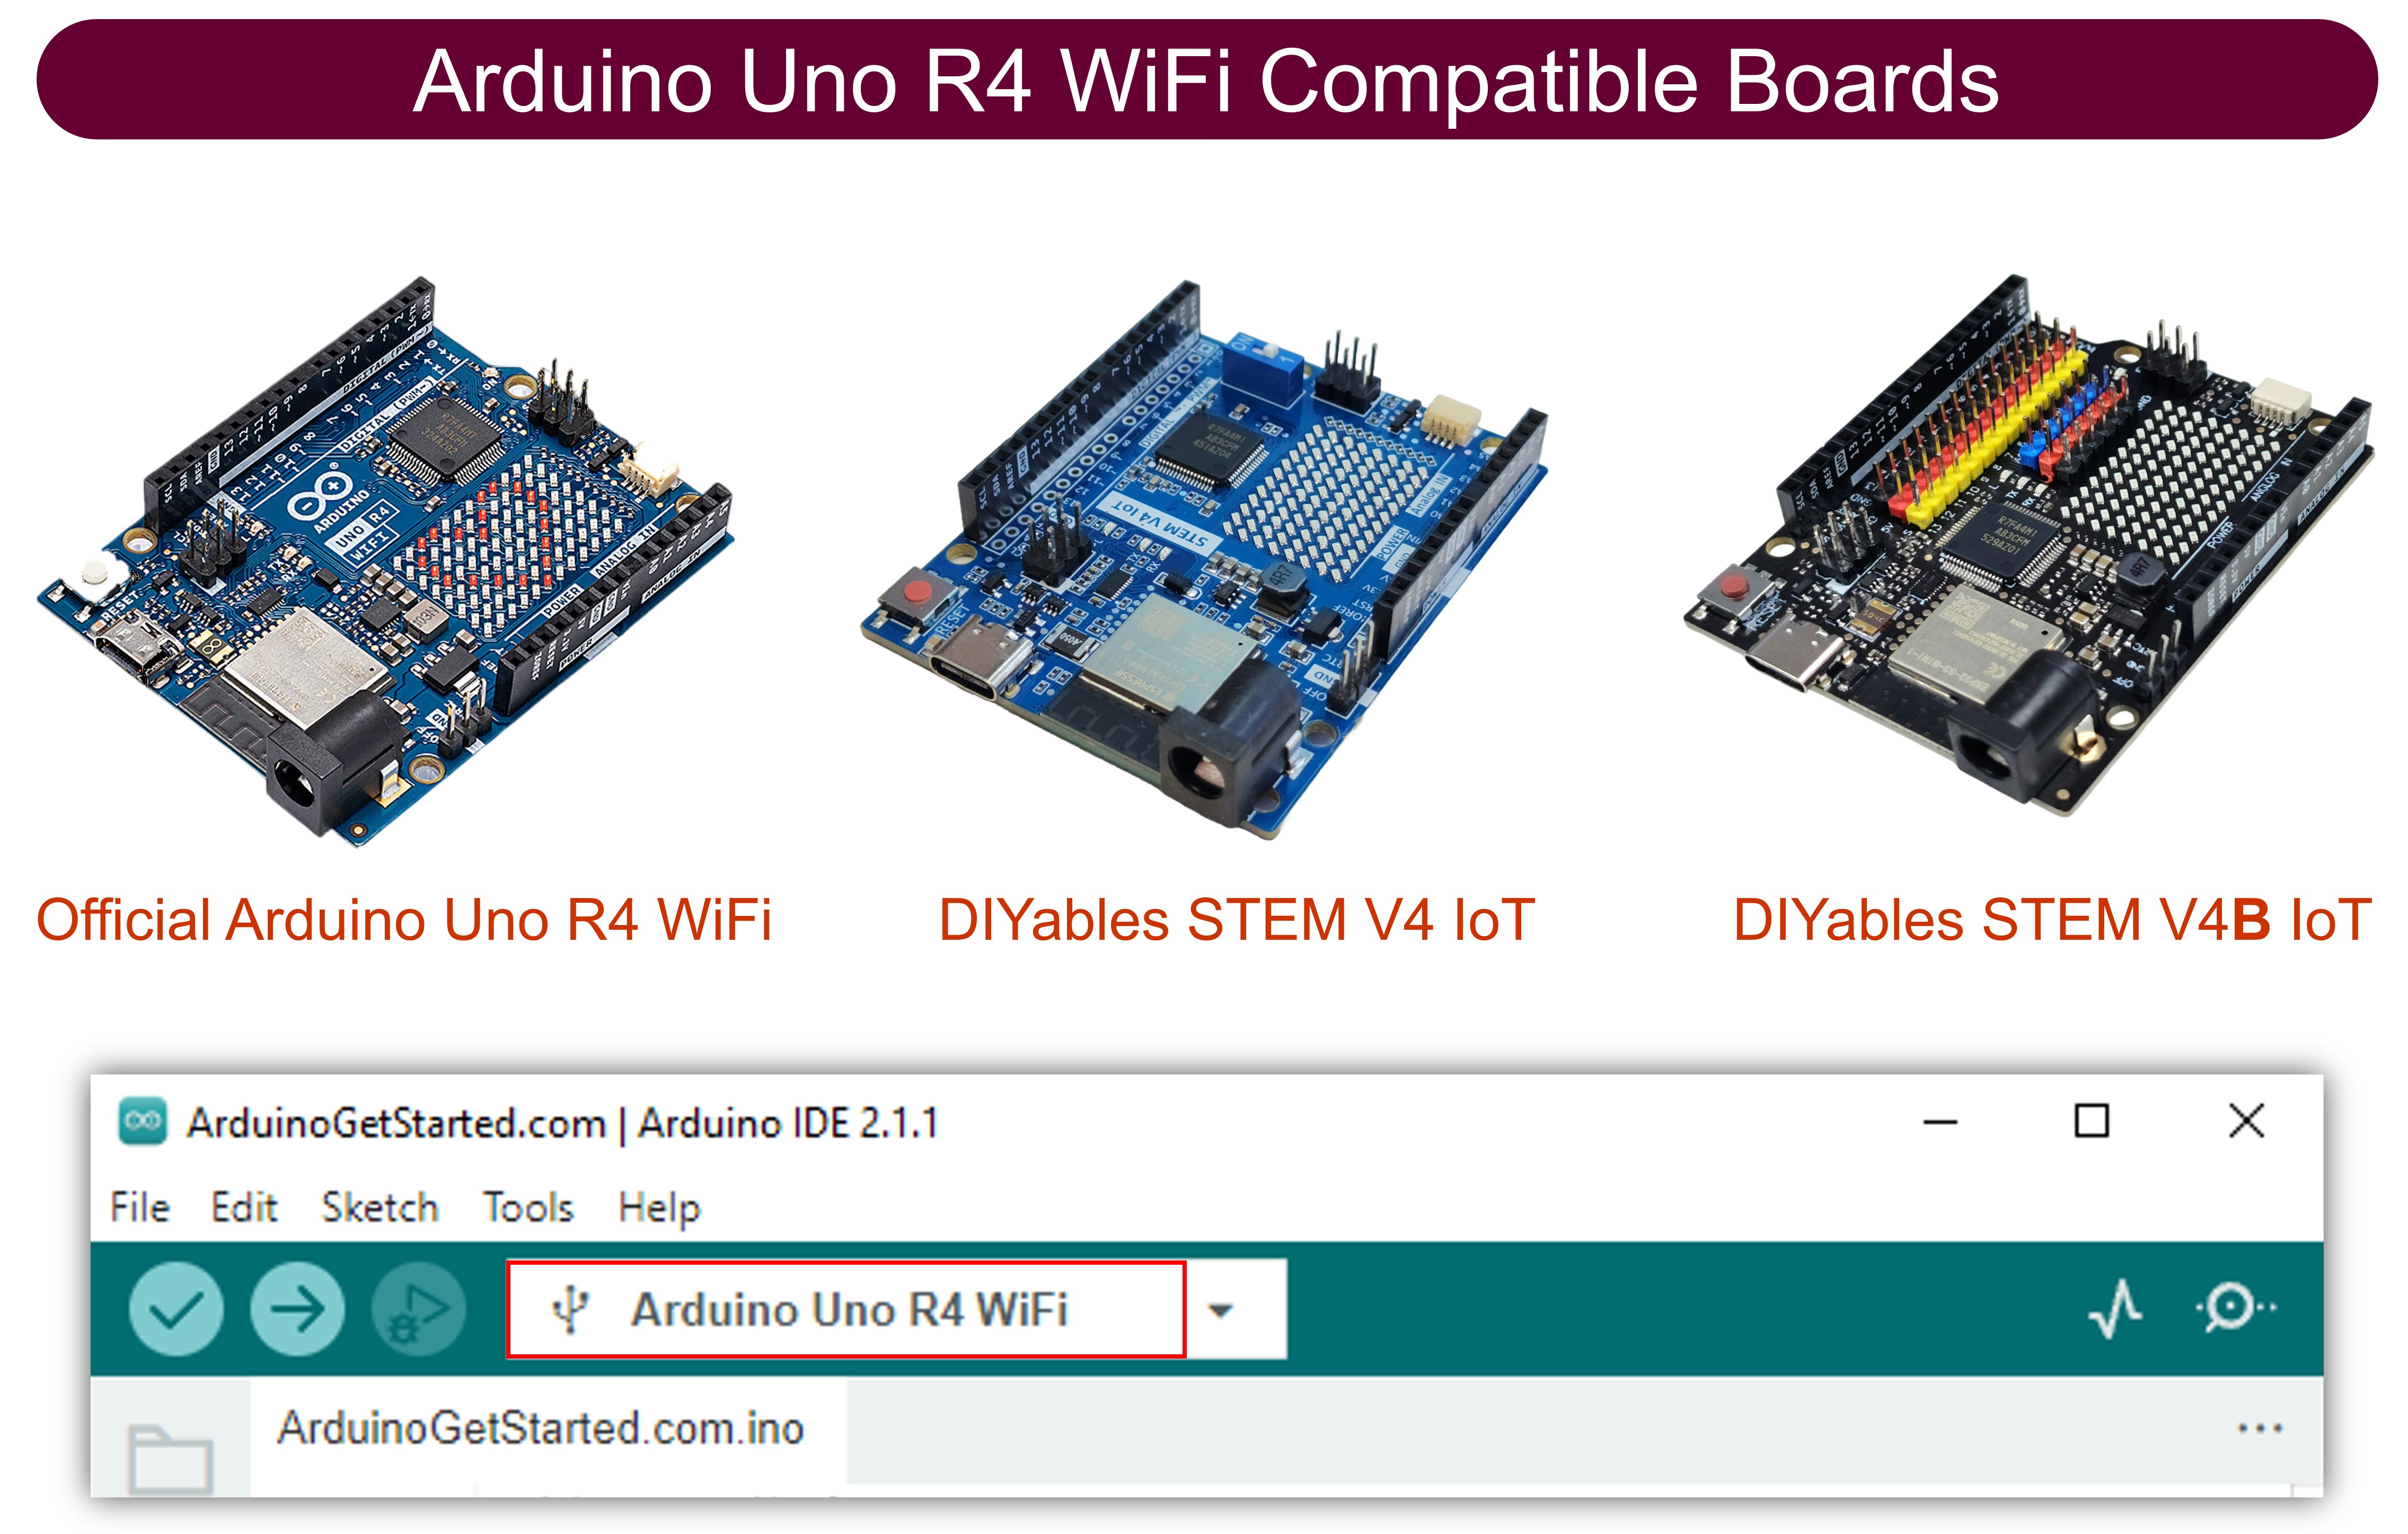
| 1 | × | 아두이노 우노 R4 와이파이 | 쿠팡 | 아마존 | |
| 1 | × | (또는) DIYables STEM V4 IoT | 쿠팡 | 아마존 | |
| 1 | × | USB 케이블 타입-A to 타입-C (USB-A PC용) | 쿠팡 | 아마존 | |
| 1 | × | USB 케이블 타입-C to 타입-C (USB-C PC용) | 아마존 | |
| 1 | × | (추천) 아두이노 우노 R4용 스크루 터미널 블록 쉴드 | 쿠팡 | 아마존 | |
| 1 | × | (추천) Sensors/Servo Expansion Shield for Arduino UNO R4 | 쿠팡 | 아마존 | |
| 1 | × | (추천) 아두이노 우노 R4용 브레드보드 쉴드 | 쿠팡 | 아마존 | |
| 1 | × | (추천) 아두이노 우노 R4용 케이스 | 쿠팡 | 아마존 | |
| 1 | × | (추천) 아두이노 우노 R4용 전원 분배기 | 쿠팡 | 아마존 | |
| 1 | × | (추천) 아두이노 우노용 프로토타이핑 베이스 플레이트 & 브레드보드 키트 | 아마존 |
공개: 이 포스팅 에 제공된 일부 링크는 아마존 제휴 링크입니다. 이 포스팅은 쿠팡 파트너스 활동의 일환으로, 이에 따른 일정액의 수수료를 제공받습니다.
아두이노와 웹 서버에 대하여
아두이노 및 웹 서버(핀 배치, 작동 방식 및 프로그래밍 포함)에 익숙하지 않다면, 다음 튜토리얼을 통해 배울 수 있습니다:
아두이노 코드 - 웹 서버 사용자 이름/비밀번호
/*
* 이 아두이노 코드는 newbiely.kr 에서 개발되었습니다
* 이 아두이노 코드는 어떠한 제한 없이 공개 사용을 위해 제공됩니다.
* 상세한 지침 및 연결도에 대해서는 다음을 방문하세요:
* https://newbiely.kr/tutorials/arduino/arduino-web-server-password
*/
#include <WiFiS3.h>
const char ssid[] = "YOUR_WIFI_SSID"; // change your network SSID (name)
const char pass[] = "YOUR_WIFI_PASSWORD"; // change your network password (use for WPA, or use as key for WEP)
int status = WL_IDLE_STATUS;
WiFiServer server(80);
const char* www_username = "admin";
const char* www_password = "arduino";
void setup() {
Serial.begin(9600);
delay(1000);
String fv = WiFi.firmwareVersion();
if (fv < WIFI_FIRMWARE_LATEST_VERSION)
Serial.println("Please upgrade the firmware");
// attempt to connect to WiFi network:
while (status != WL_CONNECTED) {
Serial.print("Attempting to connect to SSID: ");
Serial.println(ssid);
// Connect to WPA/WPA2 network. Change this line if using open or WEP network:
status = WiFi.begin(ssid, pass);
// wait 5 seconds for connection:
delay(5000);
}
server.begin();
Serial.print("IP Address: ");
Serial.println(WiFi.localIP());
}
void loop() {
// Check if a client has connected
WiFiClient client = server.available();
if (client) {
Serial.println("Client connected");
boolean authorized = checkAuthorization(client);
if (authorized) {
Serial.println("Client is authorized");
client.println("HTTP/1.1 200 OK");
client.println("Content-Type: text/html");
client.println("Connection: close");
client.println();
// replaced by your HTML code here:
client.println("<!DOCTYPE HTML>");
client.println("<html>");
client.println("<head><title>Arduino Web Server</title></head>");
client.println("<body>");
client.println("<h1>Login Successful!</h1>");
client.println("<p>You are now logged in.</p>");
client.println("</body>");
client.println("</html>");
} else {
Serial.println("Client is unauthorized");
client.println("HTTP/1.1 401 Unauthorized");
client.println("WWW-Authenticate: Basic realm=\"Arduino\"");
client.println("Content-Type: text/html");
client.println("Connection: close");
client.println();
client.println("<!DOCTYPE HTML>");
client.println("<html>");
client.println("<head><title>401 Unauthorized</title></head>");
client.println("<body><h1>401 Unauthorized</h1></body>");
client.println("</html>");
}
// Close the connection
delay(1);
client.stop();
Serial.println("Client disconnected");
}
}
boolean checkAuthorization(WiFiClient client) {
boolean authorized = false;
while (client.connected()) {
String header = client.readStringUntil('\n');
//Serial.println(header);
if (header.startsWith("Authorization:")) {
String encodedCreds = header.substring(21, header.length() - 1);
String decodedCreds = base64_decode(encodedCreds);
String userPass = String(www_username) + ":" + String(www_password);
if (decodedCreds.equals(userPass)) {
authorized = true;
}
} else if (header == "\r") { // Detect empty line to break
break;
}
}
return authorized;
}
String base64_decode(String input) {
String decoded = "";
int padding = 0;
for (int i = 0; i < input.length(); i += 4) {
long value = 0;
for (int j = 0; j < 4; j++) {
value = value << 6;
if (input[i + j] == '=') {
padding++;
} else {
if (input[i + j] >= 'A' && input[i + j] <= 'Z') {
value += input[i + j] - 'A';
} else if (input[i + j] >= 'a' && input[i + j] <= 'z') {
value += input[i + j] - 'a' + 26;
} else if (input[i + j] >= '0' && input[i + j] <= '9') {
value += input[i + j] - '0' + 52;
} else if (input[i + j] == '+') {
value += 62;
} else if (input[i + j] == '/') {
value += 63;
}
}
}
for (int j = 0; j < 3 - padding; j++) {
char c = (value >> ((2 - j) * 8) & 0xFF);
decoded += c;
}
}
return decoded;
}
사용 방법
- 아두이노 우노 R4를 처음 사용하는 경우, 아두이노 우노 R4를 시작하는 방법을 참조하세요.
- 아두이노 보드를 마이크로 USB 케이블을 사용하여 PC에 연결하세요.
- PC에서 아두이노 IDE를 엽니다.
- 올바른 아두이노 보드와 COM 포트를 선택하세요.
- 위의 코드를 복사하여 아두이노 IDE에서 엽니다.
- 코드 내의 와이파이 정보(SSID와 비밀번호)를 귀하의 것으로 변경하세요.
- 아두이노 IDE에서 Upload 버튼을 클릭하여 코드를 아두이노에 업로드하세요.
- 시리얼 모니터를 엽니다.
- 시리얼 모니터에서 결과를 확인하세요.
8
Serial.println("Hello World!");
Message (Enter to send message to 'Arduino Uno' on 'COM15')
New Line
9600 baud
Attempting to connect to SSID: YOUR_WIFI_SSID
Connected! IP Address: 192.168.0.254
SSID: YOUR_WIFI_SSID
IP Address: 192.168.0.254
Signal strength (RSSI): -43 dBm
Basic Authentication enabled
Realm: Arduino
IP Address: 192.168.0.254
Server ready with authentication enabled
Username: admin
Password: arduino
- 시리얼 모니터에서 IP 주소를 볼 수 있습니다. 예를 들어: 192.168.0.3
- 스마트폰이나 PC의 웹브라우저 주소창에 IP 주소를 입력하세요.
- 시리얼 모니터에서 얻은 IP 주소로 192.168.0.3을 변경해야 한다는 점을 참고하세요.
- 사용자 이름/비밀번호를 입력하라는 페이지가 나타납니다.
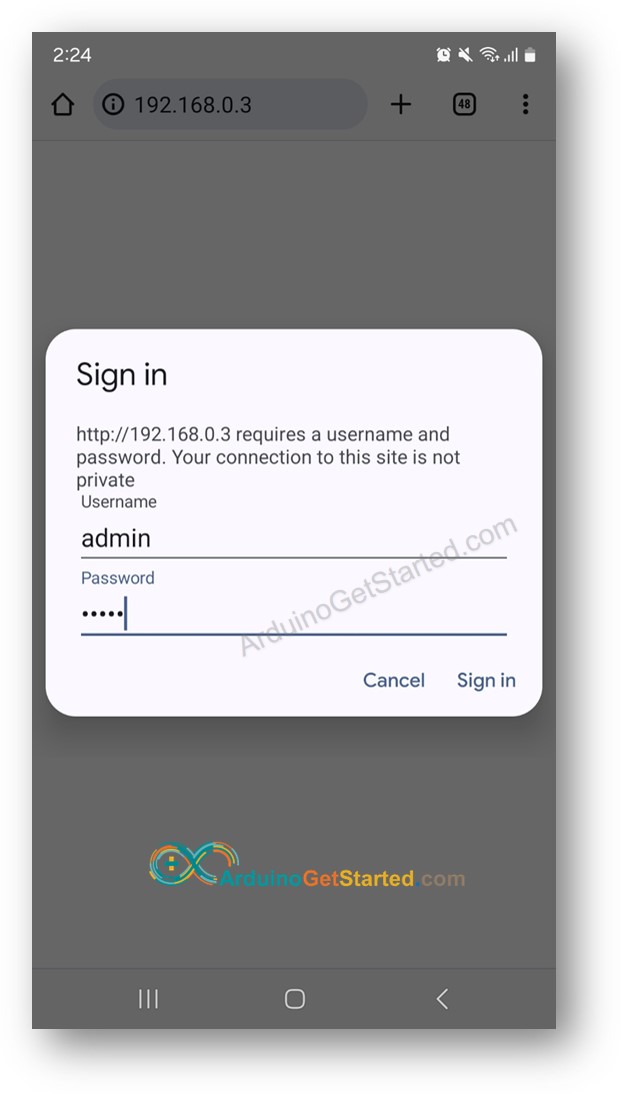
아두이노 코드에 있는 사용자 이름/비밀번호를 입력하세요. 이 경우 사용자 이름은 admin, 비밀번호는 arduino 입니다.
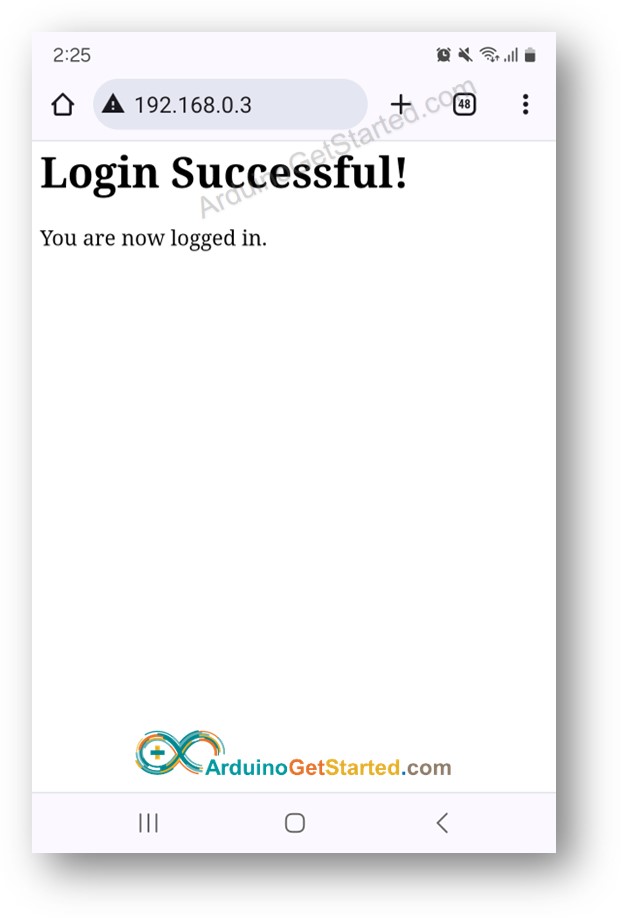
사용자 이름/비밀번호를 올바르게 입력하면 아두이노의 웹 콘텐츠가 표시됩니다.
※ 주의:
- 자신의 웹사이트용 사용자 이름과 비밀번호는 코드 내에서 www_username 및 www_password 두 변수에 할당된 값을 변경하여 직접 조정할 수 있습니다.
- 이 코드를 자신의 HTML, CSS 및 JavaScript를 추가하여 웹페이지를 자신의 취향에 맞게 디자인하도록 사용자 정의할 수 있는 유연성이 있습니다.
- 코드 내부에 사용자가 사용자 이름과 비밀번호를 입력하는 로그인 폼에 특별히 사용된 HTML 코드가 없다는 점을 유의해야 합니다. 이에 놀라지 마세요! 대신, 로그인 폼은 필요시 웹 브라우저에 의해 동적으로 생성됩니다.
고급 지식
이 섹션에서는 로그인 폼에 HTML을 사용하지 않고 사용자 이름/비밀번호 시스템이 어떻게 작동하는지에 대한 심층적인 정보를 제공합니다.
- 웹 브라우저에 Arduino의 IP 주소를 처음 입력하면 브라우저는 HTTP를 통해 사용자 이름/비밀번호 없이 Arduino에 요청을 보냅니다.
- 이 요청을 받은 Arduino의 코드는 사용자 이름/비밀번호 자격 증명이 포함되어 있는지 확인합니다. 발견되지 않으면, Arduino는 페이지의 내용을 응답으로 보내지 않습니다. 대신, 사용자에게 사용자 이름/비밀번호를 입력하라는 지시가 포함된 HTTP 메시지 헤더를 돌려보냅니다. 중요한 것은, 이 응답에 로그인 폼의 HTML 코드가 포함되어 있지 않다는 것입니다.
- 브라우저가 이 응답을 받으면, HTTP 헤더를 해석하고 Arduino가 사용자 이름/비밀번호를 요청하고 있음을 이해합니다. 그 결과, 브라우저는 사용자가 자격 증명을 입력할 수 있도록 동적으로 로그인 폼을 생성합니다.
- 사용자는 이 폼에 자신의 사용자 이름/비밀번호를 입력합니다.
- 브라우저는 입력된 사용자 이름/비밀번호를 HTTP 요청에 포함시켜 Arduino로 다시 보냅니다.
- Arduino는 HTTP 요청에 포함된 사용자 이름/비밀번호를 확인합니다. 올바르면 요청된 페이지의 내용을 제공합니다. 올바르지 않으면, 사용자에게 다시 올바른 자격 증명을 입력하도록 요청하는 과정이 반복됩니다.
- 사용자가 처음으로 올바른 사용자 이름/비밀번호를 입력하면, 이후의 요청은 세부 정보를 다시 입력할 필요가 없습니다. 이는 브라우저가 자격 증명을 자동으로 저장하고 이후의 요청에 포함시키기 때문입니다.


