아두이노 멀티 기능 쉴드
이 튜토리얼은 Arduino에서 멀티 기능 쉴드를 사용하는 방법을 안내합니다. 자세히 다음을 배울 것입니다:
- 멀티 기능 쉴드를 Arduino에 연결하는 방법.
- 4자리 7세그먼트 디스플레이에 숫자와 텍스트를 표시하는 Arduino 프로그래밍 방법.
- 버튼 누름을 감지하는 Arduino 프로그래밍 방법.
- LED를 제어하는(켜기, 끄기, 깜빡이기) Arduino 프로그래밍 방법.
- 버저를 울리는 Arduino 프로그래밍 방법.
- 가변저항 값을 읽는 Arduino 프로그래밍 방법.
- LM35 센서에서 온도를 읽는 Arduino 프로그래밍 방법.
멀티 기능 쉴드의 모든 예제를 시연하는 단계별 동영상 튜토리얼을 시청하세요. 동영상은 Arduino Uno R4를 보여주지만 Arduino Uno R3에서도 동일하게 작동합니다:
필요한 하드웨어
| 1 | × | 아두이노 우노 R3 | 쿠팡 | 아마존 | |
| 1 | × | USB 2.0 타입 A-to-B 케이블 (USB-A PC용) | 쿠팡 | 아마존 | |
| 1 | × | USB 2.0 타입 C-to-B 케이블 (USB-C PC용) | 아마존 | |
| 1 | × | DIYables Multi-Function Shield | 아마존 | |
| 1 | × | (추천) 아두이노 우노용 스크루 터미널 블록 쉴드 | 쿠팡 | 아마존 | |
| 1 | × | (추천) Sensors/Servo Expansion Shield for Arduino Uno | 쿠팡 | 아마존 | |
| 1 | × | (추천) 아두이노 우노용 브레드보드 쉴드 | 쿠팡 | 아마존 | |
| 1 | × | (추천) 아두이노 우노용 케이스 | 쿠팡 | 아마존 | |
| 1 | × | (추천) 아두이노 우노용 프로토타이핑 베이스 플레이트 & 브레드보드 키트 | 아마존 |
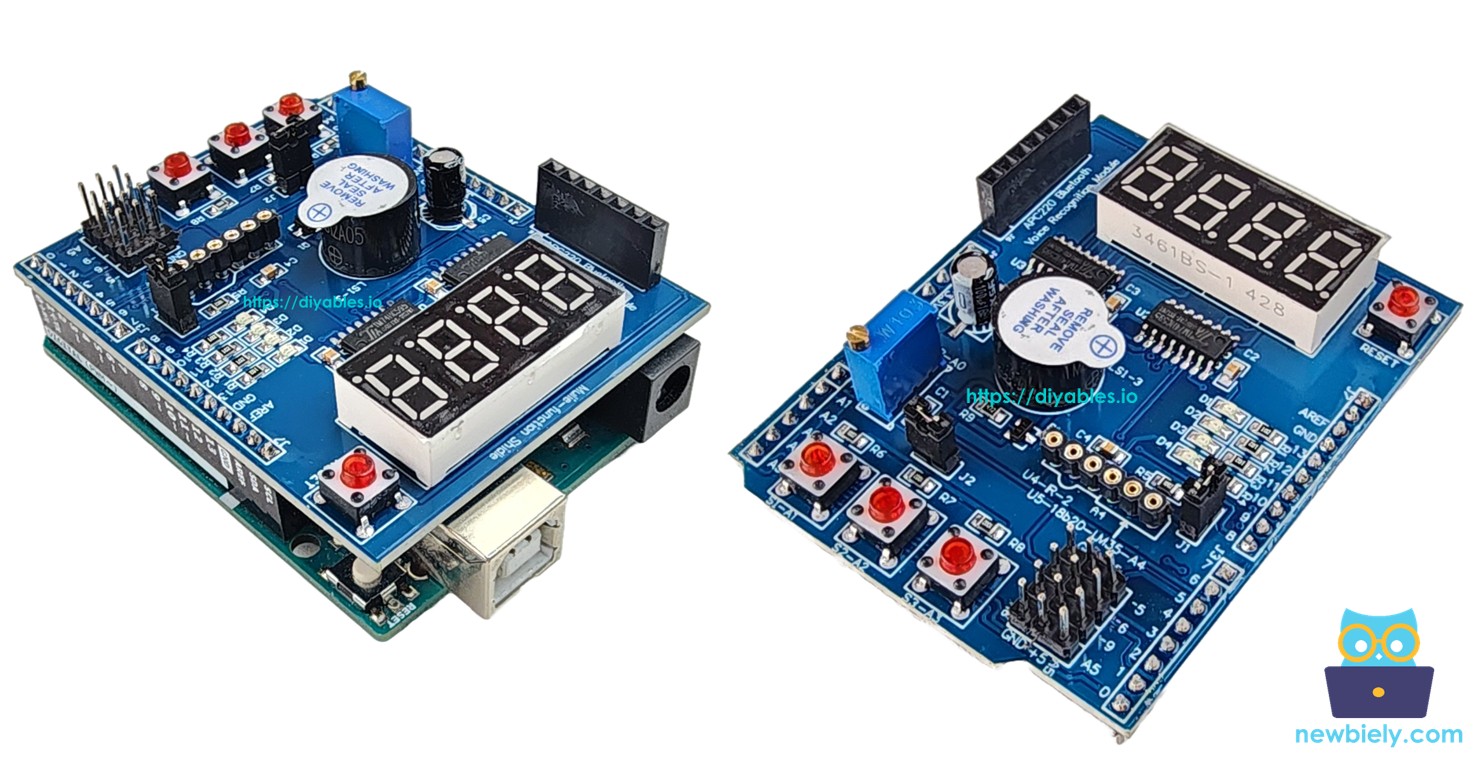
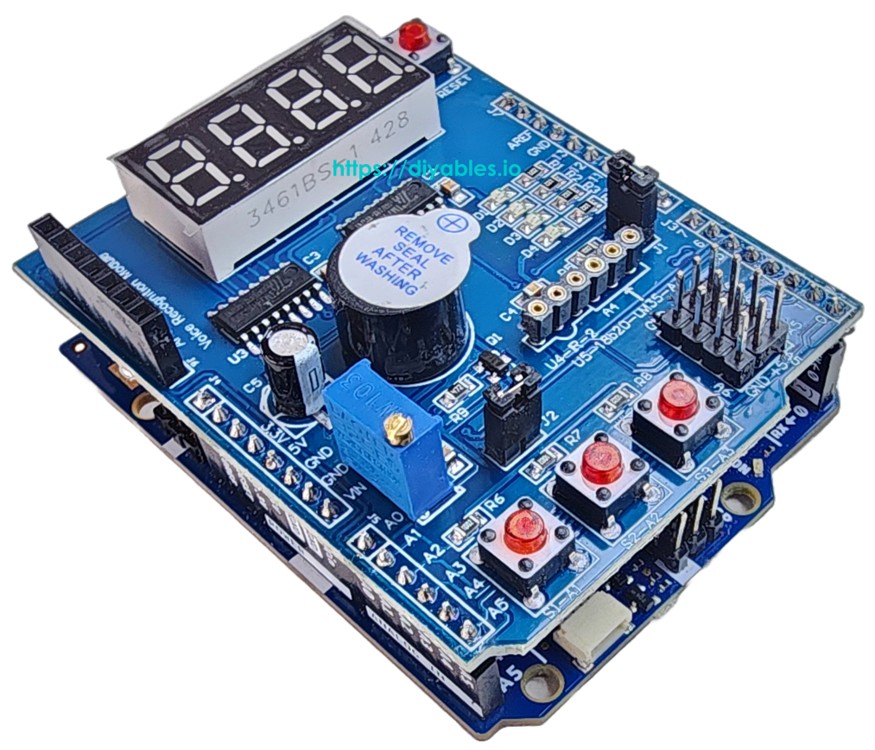
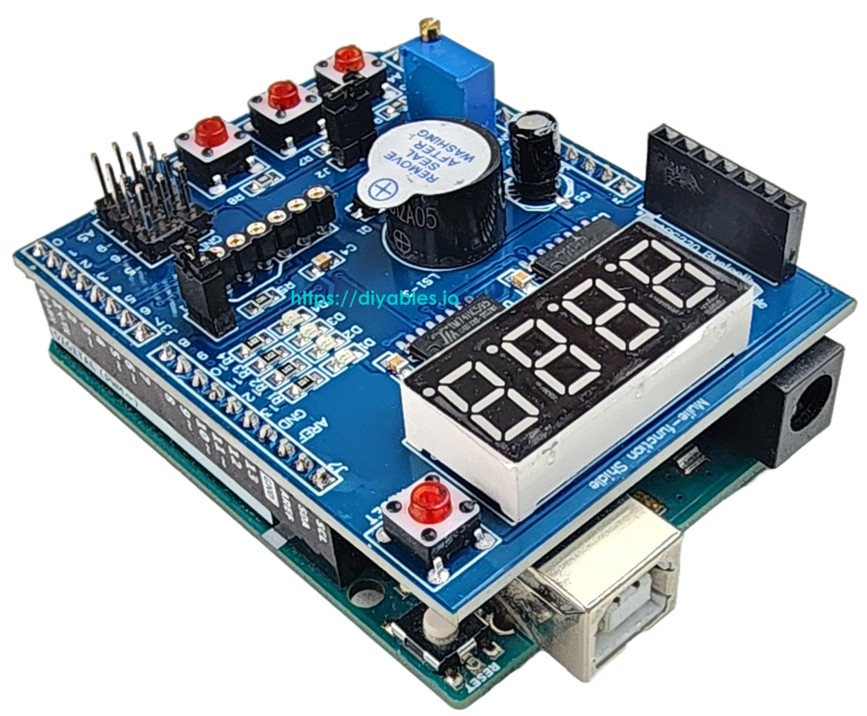
멀티 기능 쉴드에 대하여
멀티 기능 쉴드는 Arduino Uno 및 Mega 보드를 위해 설계된 올인원 학습 및 프로토타이핑 쉴드입니다. 여러 공통 부품을 단일 보드에 통합하여 복잡한 배선이 필요 없습니다.
쉴드에 포함된 부품:
- 4자리 7세그먼트 디스플레이: 74HC595 시프트 레지스터로 구동됩니다. 숫자, 텍스트(A~Z), 도 기호(°) 같은 특수 문자를 표시합니다.
- 3개의 푸시 버튼(S1, S2, S3): 내부 풀업 저항이 있는 액티브 LOW. 사용자 입력과 메뉴 탐색에 유용합니다.
- 4개의 LED(D1, D2, D3, D4): 액티브 LOW. 독립적으로 또는 모두 함께 켜거나, 끄거나, 토글하거나, 깜빡일 수 있습니다.
- 버저: 액티브 LOW. 선택적 지연이 있는 구성 가능한 지속 시간의 비프음을 생성할 수 있습니다.
- 가변저항: 아날로그 핀 A0에 연결됩니다. 0~1023(또는 백분율 0~100%)의 값을 읽습니다.
- LM35 온도 센서: 아날로그 핀 A4에 연결됩니다. 섭씨 온도를 읽습니다. 점퍼 J1을 제거해야 합니다.
Arduino Uno 폼 팩터 기반의 보드(Arduino Uno 또는 Mega 등)의 경우 멀티 기능 쉴드가 보드에 직접 쌓이므로 진정한 플러그 앤 플레이 솔루션입니다 — 브레드보드나 점퍼 와이어가 필요 없습니다.
핀 매핑
| 기능 | Arduino 핀 | 기능 | Arduino 핀 |
|---|---|---|---|
| LED D1 | 13 | Button S1 | A1 |
| LED D2 | 12 | Button S2 | A2 |
| LED D3 | 11 | Button S3 | A3 |
| LED D4 | 10 | Potentiometer | A0 |
| Buzzer | 3 | LM35 Temp Sensor | A4 |
| Display LATCH | 4 | ||
| Display CLOCK | 7 | ||
| Display DATA | 8 |
배선도
Arduino를 멀티 기능 쉴드에 연결하는 것은 간단합니다. 아래 이미지에 나와 있는 것처럼 헤더 핀을 올바르게 정렬하여 멀티 기능 쉴드를 Arduino 위에 쌓기만 하면 됩니다.
이 이미지는 Fritzing을 사용하여 만들어졌습니다. 이미지를 확대하려면 클릭하세요.
라이브러리 설치
- USB 케이블로 Arduino 보드를 컴퓨터에 연결합니다.
- Arduino IDE를 열고 올바른 보드와 포트를 선택합니다.
- Arduino IDE 왼쪽 바의 Libraries 아이콘으로 이동합니다.
- "DIYables_MultiFuncShield"를 검색하고 DIYables의 DIYables_MultiFuncShield 라이브러리를 찾습니다.
- Install 버튼을 클릭하여 최신 버전의 라이브러리를 설치합니다.
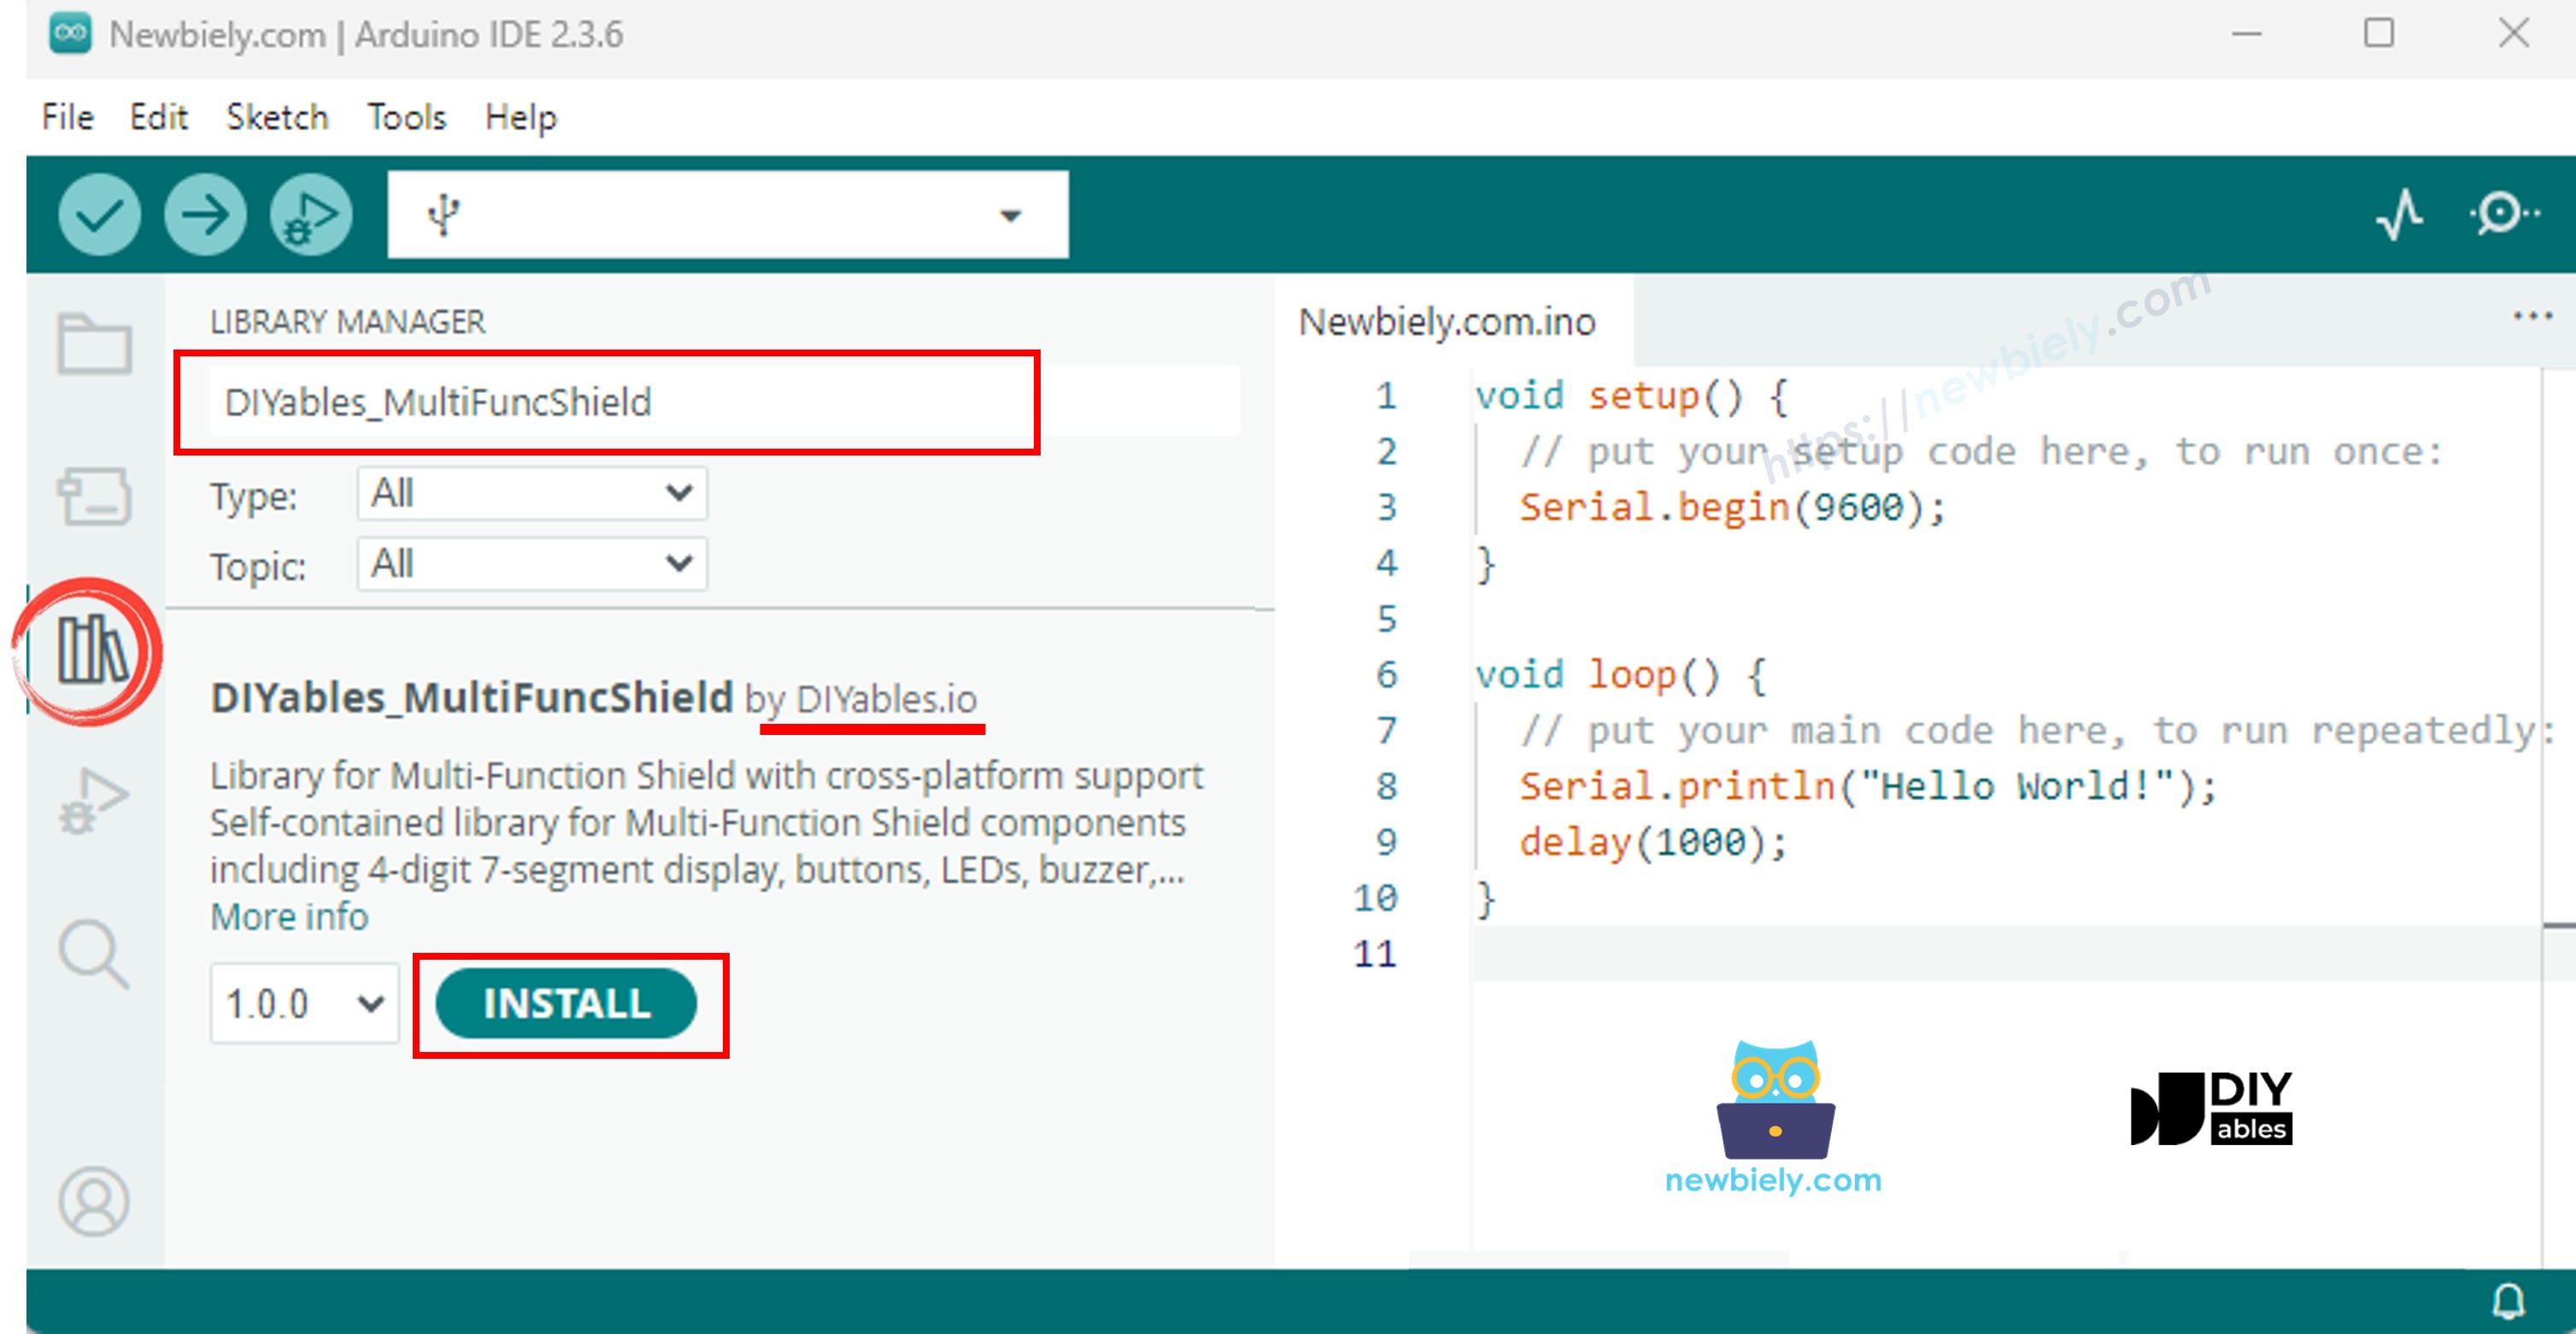
참고: 이 라이브러리는 외부 의존성 없이 자급자족합니다.
기본 구조
멀티 기능 쉴드를 사용하는 모든 스케치는 다음 기본 구조를 따릅니다:
MFS.begin()은 모든 부품(디스플레이, 버튼, LED, 버저)을 초기화합니다. MFS.loop()는 디스플레이 멀티플렉싱, 버튼 디바운스, LED 깜빡임, 버저 타이밍을 업데이트합니다. 두 호출 모두 필수입니다.
Arduino 코드 - 7세그먼트 디스플레이
다음 코드는 4자리 7세그먼트 디스플레이에 정수, 부동소수점, 텍스트, 특수 문자를 표시하는 방법을 시연합니다.
빠른 단계
- Arduino 보드에 멀티 기능 쉴드를 쌓습니다.
- USB 케이블로 Arduino 보드를 컴퓨터에 연결합니다.
- Arduino IDE를 열고 올바른 보드와 포트를 선택합니다.
- 위 코드를 복사하여 Arduino IDE 편집기에 붙여넣습니다.
- Arduino IDE의 Upload 버튼을 클릭하여 Arduino에 코드를 업로드합니다.
디스플레이는 3초마다 7가지 모드를 순환합니다: 정수, 앞자리 0, 부동소수점, 텍스트, 점이 있는 텍스트, 도 기호, 대시.
디스플레이 API 요약
| 메서드 | 설명 | 예시 | ||
|---|---|---|---|---|
| print(int) | 정수 표시 | MFS.display.print(42) | ||
| print(int, true) | 앞자리 0이 있는 정수 | MFS.display.print(42, true) → 0042 | ||
| print(float, dp) | 소수 자릿수가 있는 부동소수점 | MFS.display.print(3.14, 2) | ||
| print(text) | 텍스트 표시(A-Z, 0-9, -, _) | MFS.display.print("HELP") | ||
| setNumber(pos, val) | 단일 자릿수 설정(pos 1-4) | MFS.display.setNumber(1, 5) | ||
| setChar(pos, ch) | 위치에 문자 설정 | MFS.display.setChar(2, 'A') | ||
| setChar(pos, SegChars) | 특수 문자 설정 | MFS.display.setChar(3, SegChars | DEGREE) | |
| setDot(pos) | 위치에 점 추가 | MFS.display.setDot(2) | ||
| clear() | 모든 자릿수와 점 지우기 | MFS.display.clear() | ||
| show() | 수동 변경 사항 적용 | MFS.display.show() |
참고: print() 메서드는 자동으로 show()를 호출합니다. 수동 제어를 위해 clear(), setNumber(), setChar(), setDot()를 사용한 후 show()를 호출합니다.
SegChars를 통해 사용 가능한 특수 문자: DASH (-), UNDERSCORE (_), C, E, F, DEGREE (°).
Arduino 코드 - 버튼
다음 코드는 버튼 누름과 릴리스를 감지하여 시리얼 모니터에 이벤트를 출력합니다.
빠른 단계
- 위 코드를 복사하여 Arduino IDE 편집기에 붙여넣습니다.
- Arduino IDE의 Upload 버튼을 클릭하여 Arduino에 코드를 업로드합니다.
- 시리얼 모니터를 엽니다.
- 쉴드의 버튼 S1, S2, S3을 누르고 놓아 출력을 확인합니다.
버튼 API 요약
| 메서드 | 설명 | |
|---|---|---|
| isPressed() | 버튼이 눌릴 때 한 번 true를 반환합니다 | |
| isReleased() | 버튼이 릴리스될 때 한 번 true를 반환합니다 | |
| setDebounceTime(ms) | 디바운스 시간 설정(기본값 | 50ms) |
버튼에는 내장 디바운싱이 있으며 내부 풀업 저항과 함께 액티브 LOW 로직을 사용합니다. 이름으로(MFS.button1, MFS.button2, MFS.button3) 또는 인덱스로(MFS.button(1) ~ MFS.button(3)) 버튼에 접근할 수 있습니다.
Arduino 코드 - LED
다음 코드는 LED를 하나씩 켜고 모두 함께 깜빡입니다.
빠른 단계
- 위 코드를 복사하여 Arduino IDE 편집기에 붙여넣습니다.
- Arduino IDE의 Upload 버튼을 클릭하여 Arduino에 코드를 업로드합니다.
LED가 500ms 지연으로 순차적으로 점등된 후 4개의 LED가 모두 함께 깜빡입니다.
LED API 요약
| 메서드 | 설명 |
|---|---|
| turnON() | LED 켜기 |
| turnOFF() | LED 끄기 |
| toggle() | LED 상태 토글 |
| blink(interval) | 동일한 켜짐/꺼짐 시간으로 깜빡이기 |
| blink(onTime, offTime) | 별도의 켜짐/꺼짐 시간으로 깜빡이기 |
| isOn() | LED가 현재 켜져 있으면 true를 반환합니다 |
MFS의 편의 메서드:
| 메서드 | 설명 |
|---|---|
| allLedsOn() | 4개의 LED 모두 켜기 |
| allLedsOff() | 4개의 LED 모두 끄기 |
| allLedsBlink(interval) | 모든 LED를 함께 깜빡이기 |
| allLedsBlink(onTime, offTime) | 별도의 켜짐/꺼짐 시간으로 모두 깜빡이기 |
LED는 액티브 LOW입니다. 이름으로(MFS.led1 ~ MFS.led4) 또는 인덱스로(MFS.led(1) ~ MFS.led(4)) 접근합니다.
Arduino 코드 - 버저
다음 코드는 2초마다 버저를 울립니다.
빠른 단계
- 위 코드를 복사하여 Arduino IDE 편집기에 붙여넣습니다.
- Arduino IDE의 Upload 버튼을 클릭하여 Arduino에 코드를 업로드합니다.
2초마다 짧은 비프음이 들립니다.
버저 API 요약
| 메서드 | 설명 |
|---|---|
| beep(ms) | 지정된 기간 동안 비프음 냄 |
| beep(ms, delayMs) | delayMs 기다린 후 ms 동안 비프음 냄 |
| stop() | 즉시 버저 중지 |
| isBeeping() | 버저가 현재 켜져 있으면 true를 반환합니다 |
Arduino 코드 - 가변저항
다음 코드는 가변저항을 읽어 값과 백분율을 시리얼 모니터에 출력합니다.
빠른 단계
- 위 코드를 복사하여 Arduino IDE 편집기에 붙여넣습니다.
- Arduino IDE의 Upload 버튼을 클릭하여 Arduino에 코드를 업로드합니다.
- 시리얼 모니터를 엽니다.
- 가변저항 노브를 돌리면서 시리얼 모니터에서 값이 변화하는 것을 관찰합니다.
가변저항 API 요약
| 메서드 | 반환 | 설명 |
|---|---|---|
| readPot() | int | 원시 ADC 값(Uno에서 0~1023) |
| readPotPercent() | float | 백분율(0.0~100.0) |
Arduino 코드 - 온도 센서(LM35)
다음 코드는 LM35 온도 센서를 읽어 섭씨 값을 디스플레이와 시리얼 모니터에 표시합니다.
중요: LM35 온도 센서를 사용하려면 쉴드의 점퍼 J1을 제거해야 합니다(핀 A4는 I2C SDA와 공유됩니다).
빠른 단계
- 멀티 기능 쉴드에서 점퍼 J1을 제거합니다.
- 위 코드를 복사하여 Arduino IDE 편집기에 붙여넣습니다.
- Arduino IDE의 Upload 버튼을 클릭하여 Arduino에 코드를 업로드합니다.
- 시리얼 모니터를 엽니다.
- 디스플레이와 시리얼 모니터에서 온도 판독값을 관찰합니다.
온도 판독에는 안정적인 값을 위해 4샘플 이동 평균이 사용됩니다. 버퍼는 첫 번째 읽기에서 자동으로 초기화되어 콜드 스타트 오류를 방지합니다.
Arduino 멀티 기능 쉴드 - 전체 데모
아래는 멀티 기능 쉴드의 모든 예제를 시연하는 단계별 동영상 튜토리얼입니다. 동영상은 Arduino Uno R4를 보여주지만 Arduino Uno R3에서도 동일하게 작동합니다:
플랫폼 지원
이 라이브러리는 모든 Arduino 플랫폼(architectures=*)을 지원합니다.


